# Creating templates
Users with the `Template Administrator` role or above can create templates within Coder.
## From a starter template
In most cases, it is best to start with a starter template.
The template builder is the recommended way to create templates in Coder.
It guides you through selecting a base infrastructure template, adding modules (IDEs, tools, integrations), and configuring your template, all without writing Terraform.
The template builder is enabled by default.
When you select **New template** on the **Templates** page, the builder opens automatically for users with the Owner role.
Users with the Template Admin role, and not the Owner role, get the starter templates page instead, where selecting a starter template opens that template in the builder.
The builder guides you through up to five steps:
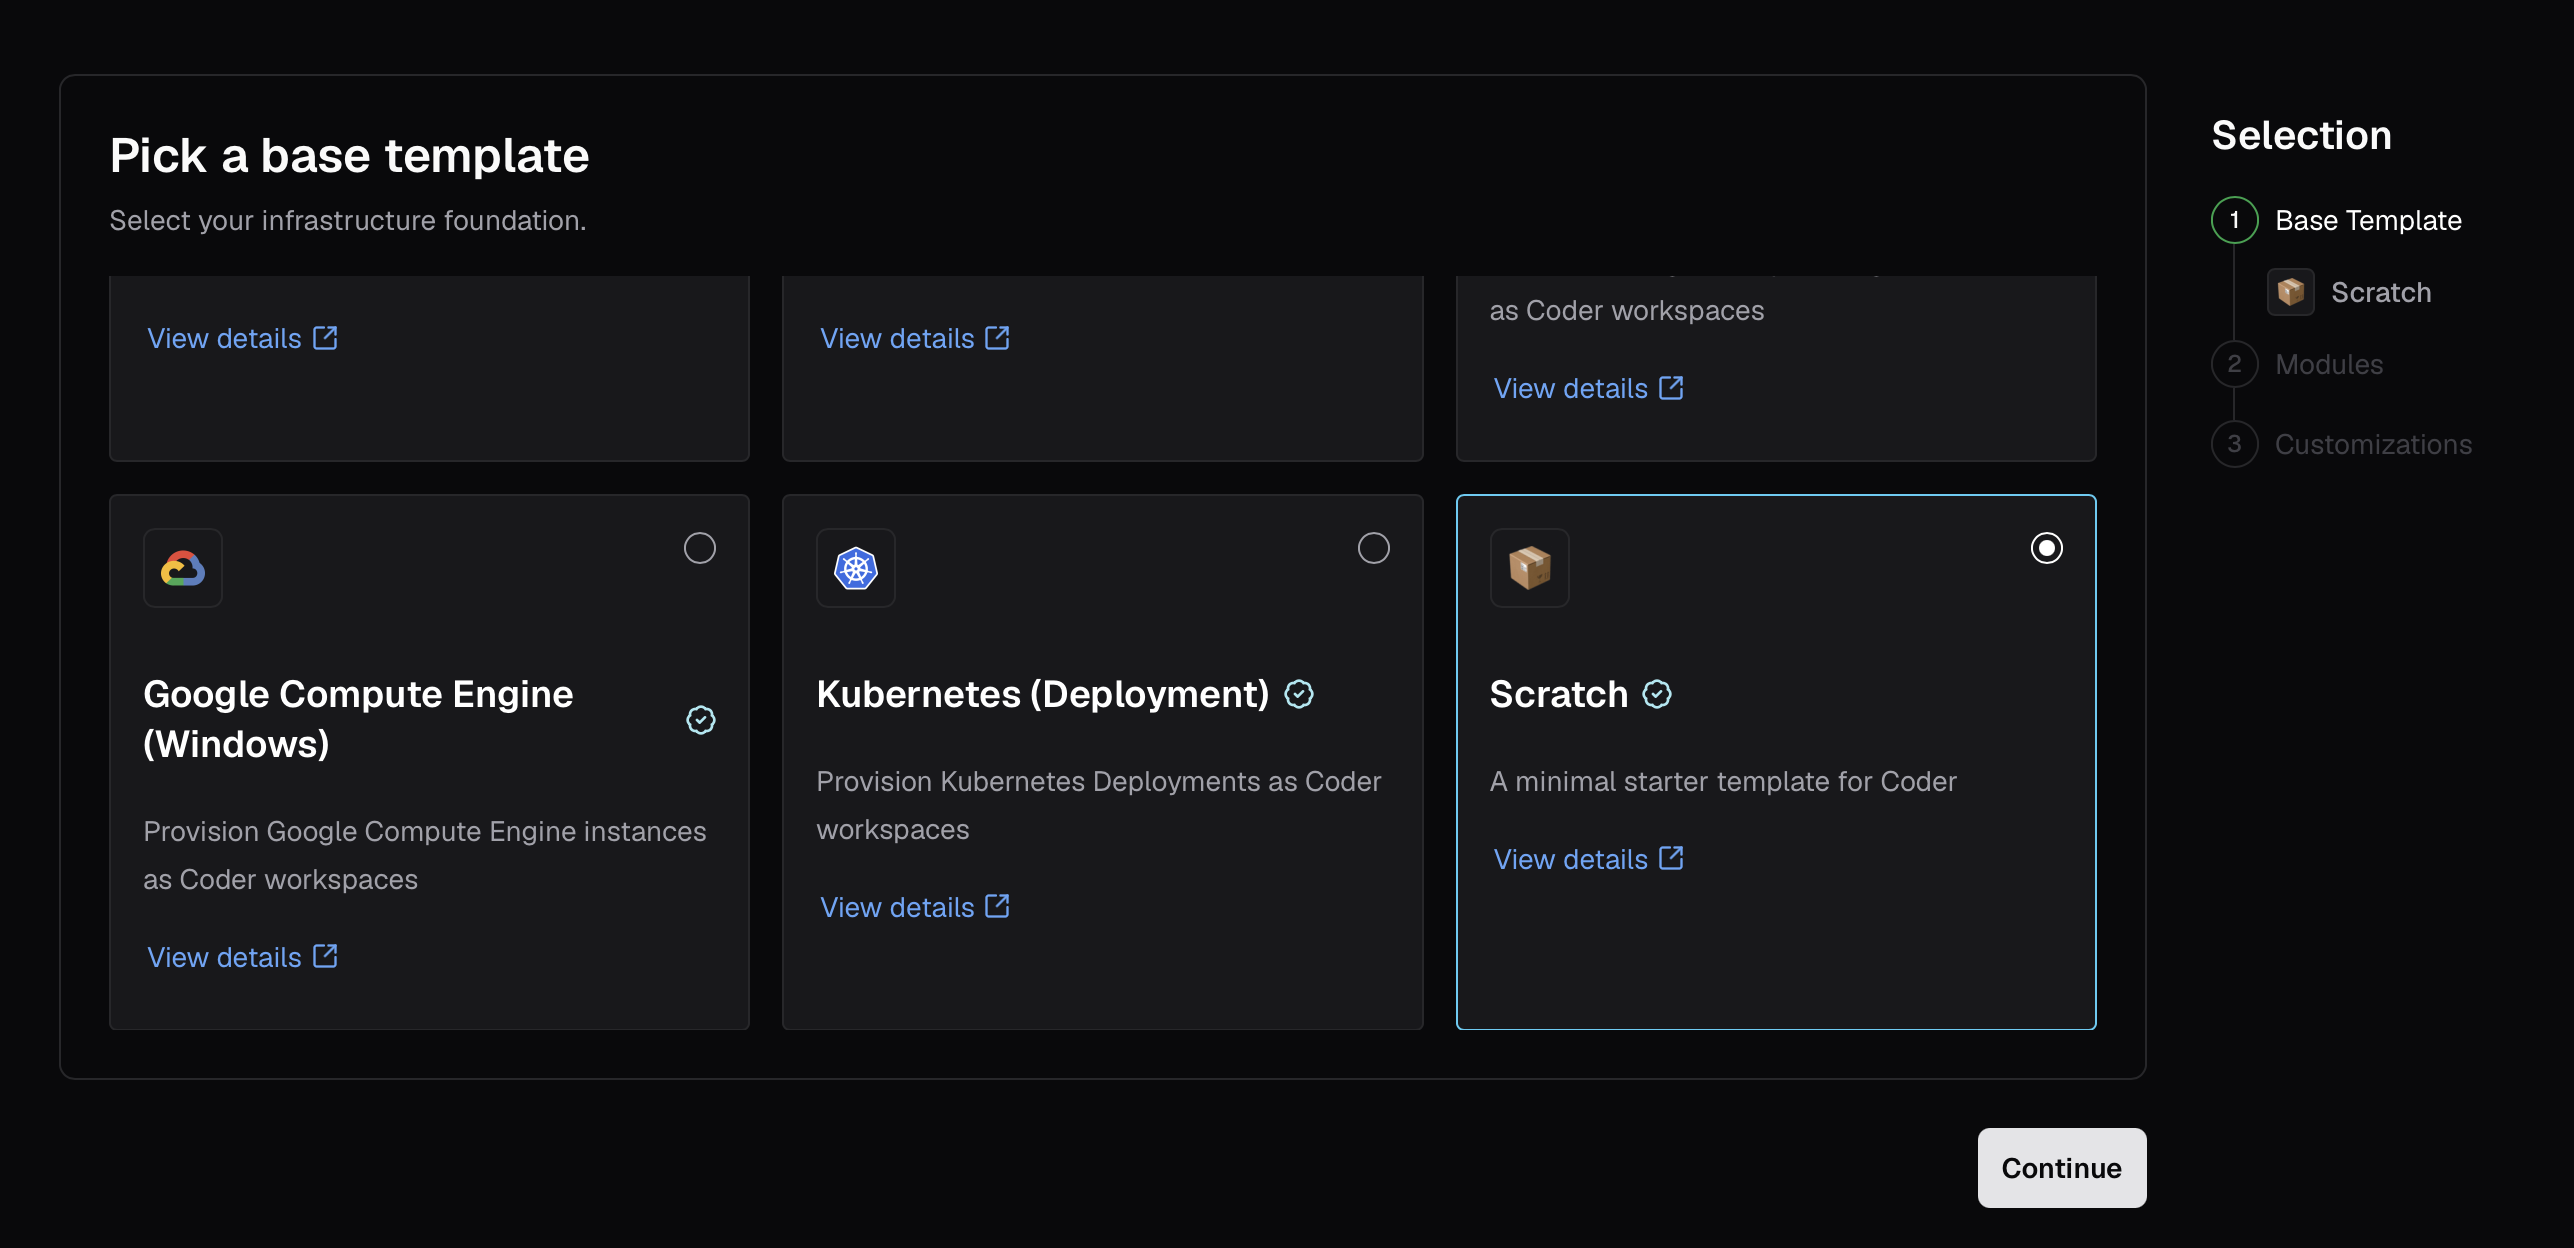
1. **Select base infrastructure**:
Choose a starter template for your target platform (for example, Docker, AWS Elastic Compute Cloud (EC2), Kubernetes).
Each base template provides a working foundation with the Coder agent pre-configured.
2. **Base template parameters** *(optional)*: If the selected base template declares configurable variables, you can supply values for them here.
If the base template has no parameters, this step is skipped automatically.
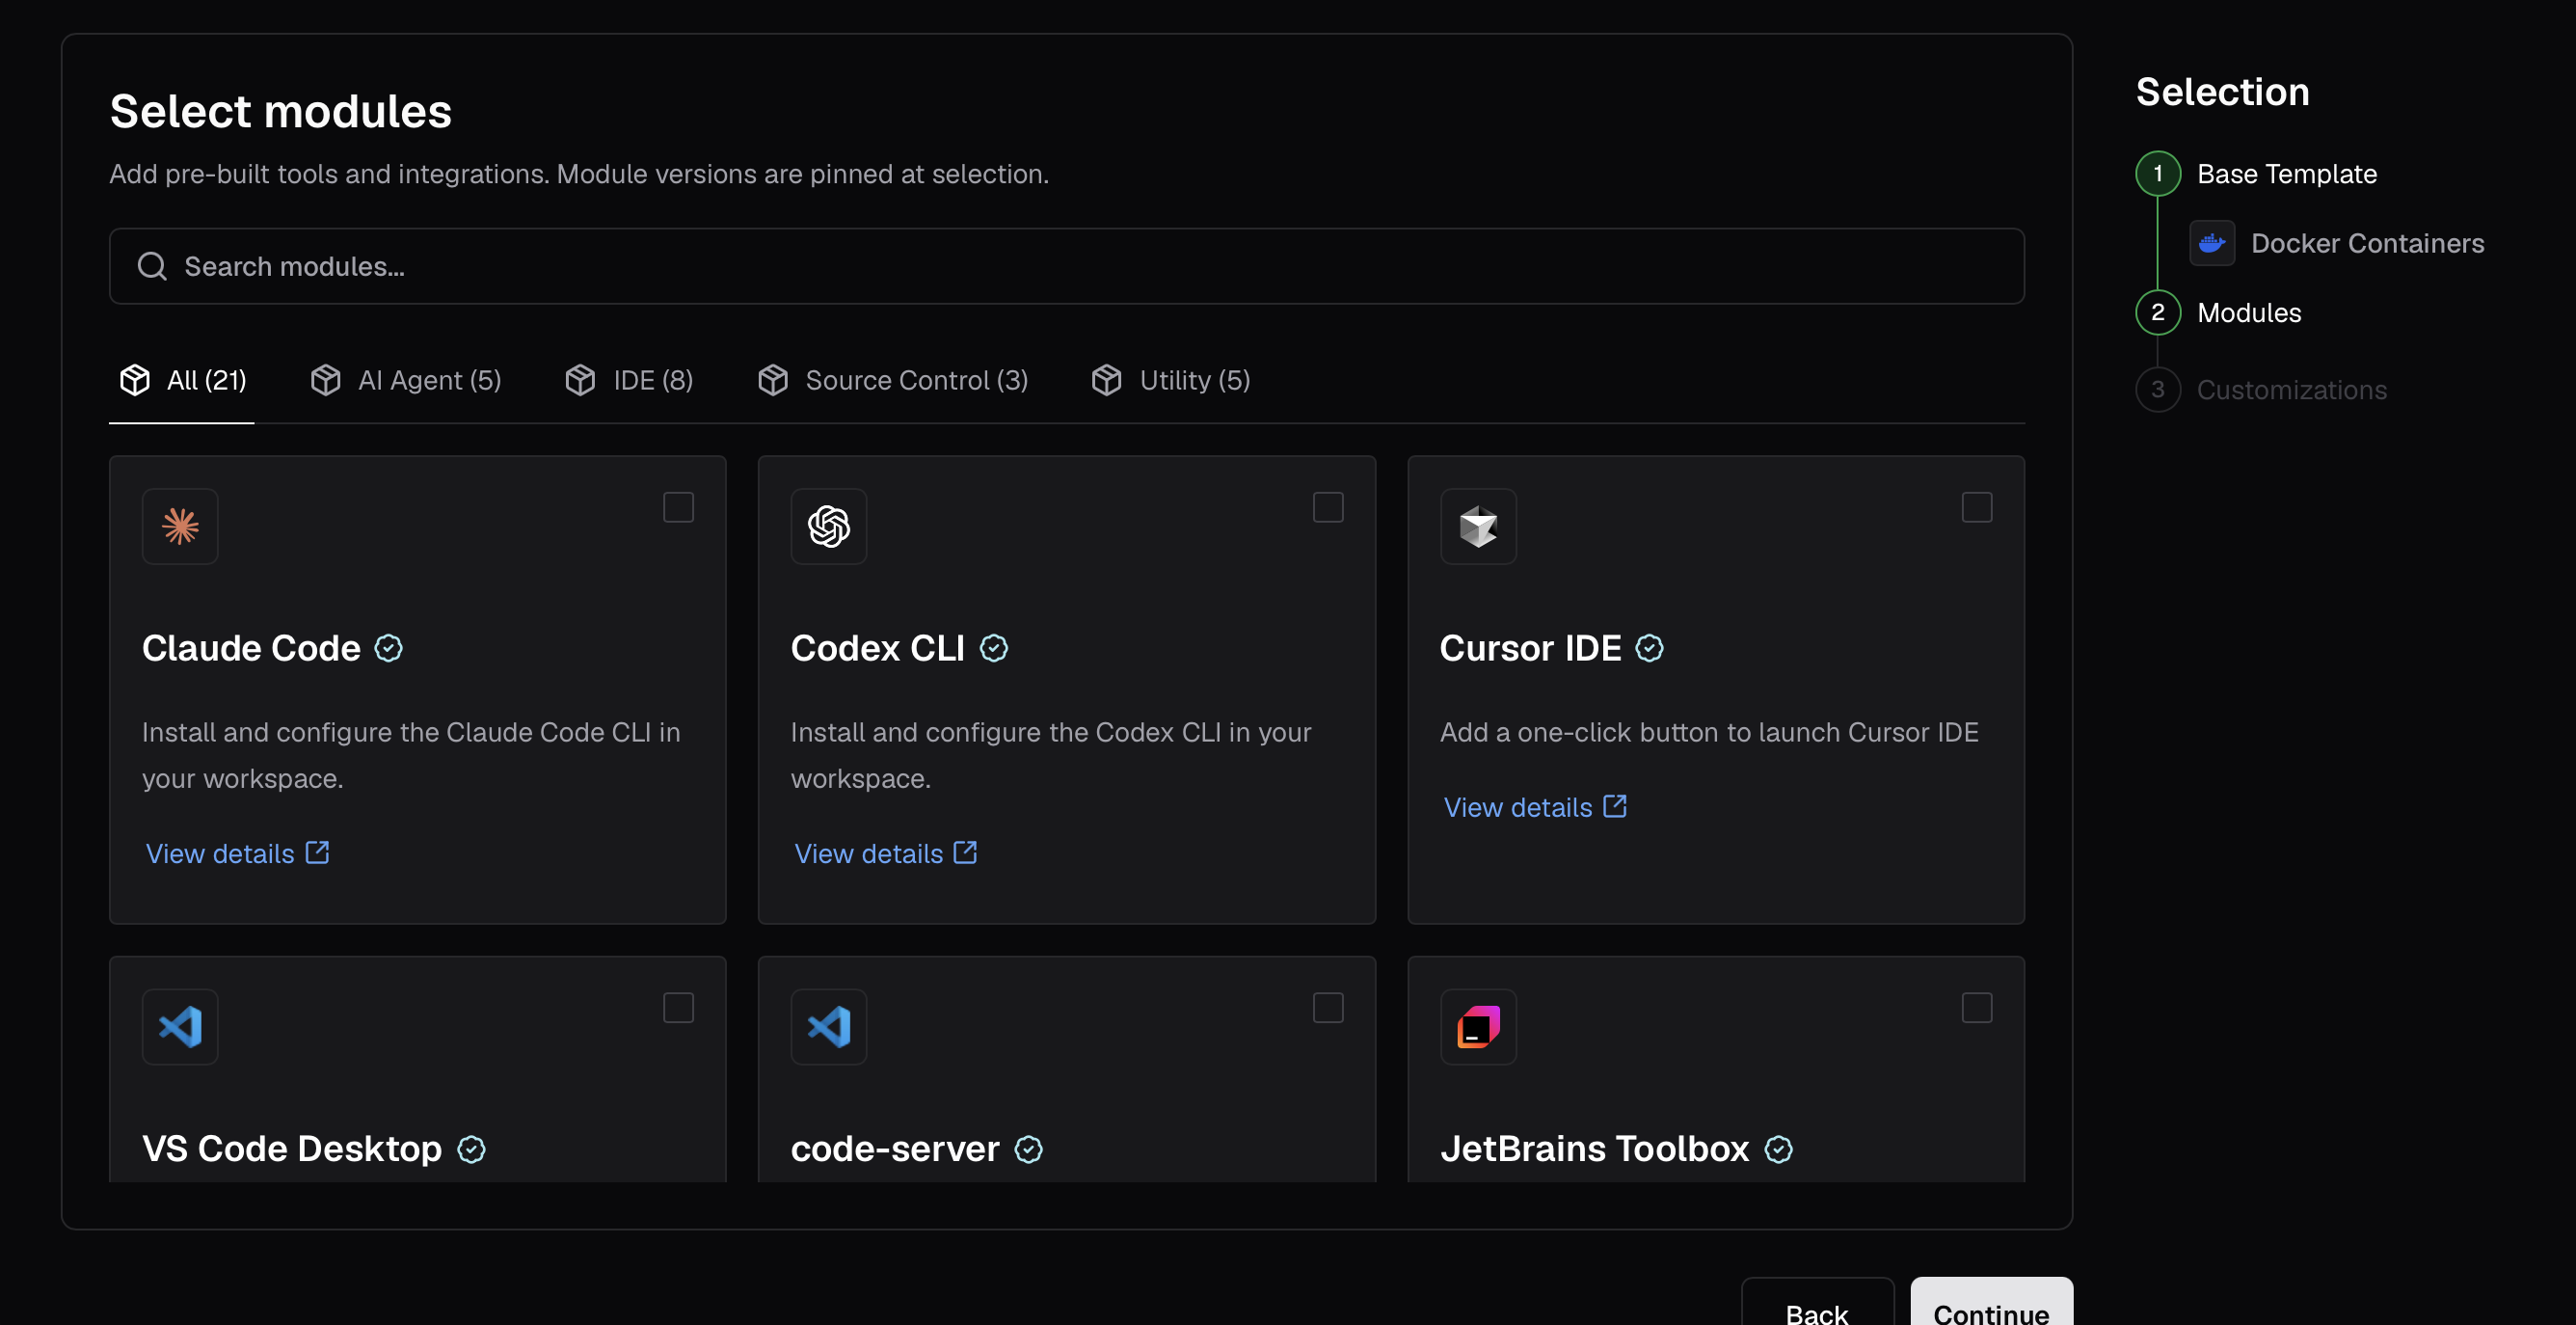
3. **Select modules**:
Pick from a curated list of [registry modules](https://registry.coder.com) to add IDEs, AI agents, source control integrations, and other tools.
Modules are grouped by category and filtered for compatibility with the selected base template's operating system.
You can select multiple modules.
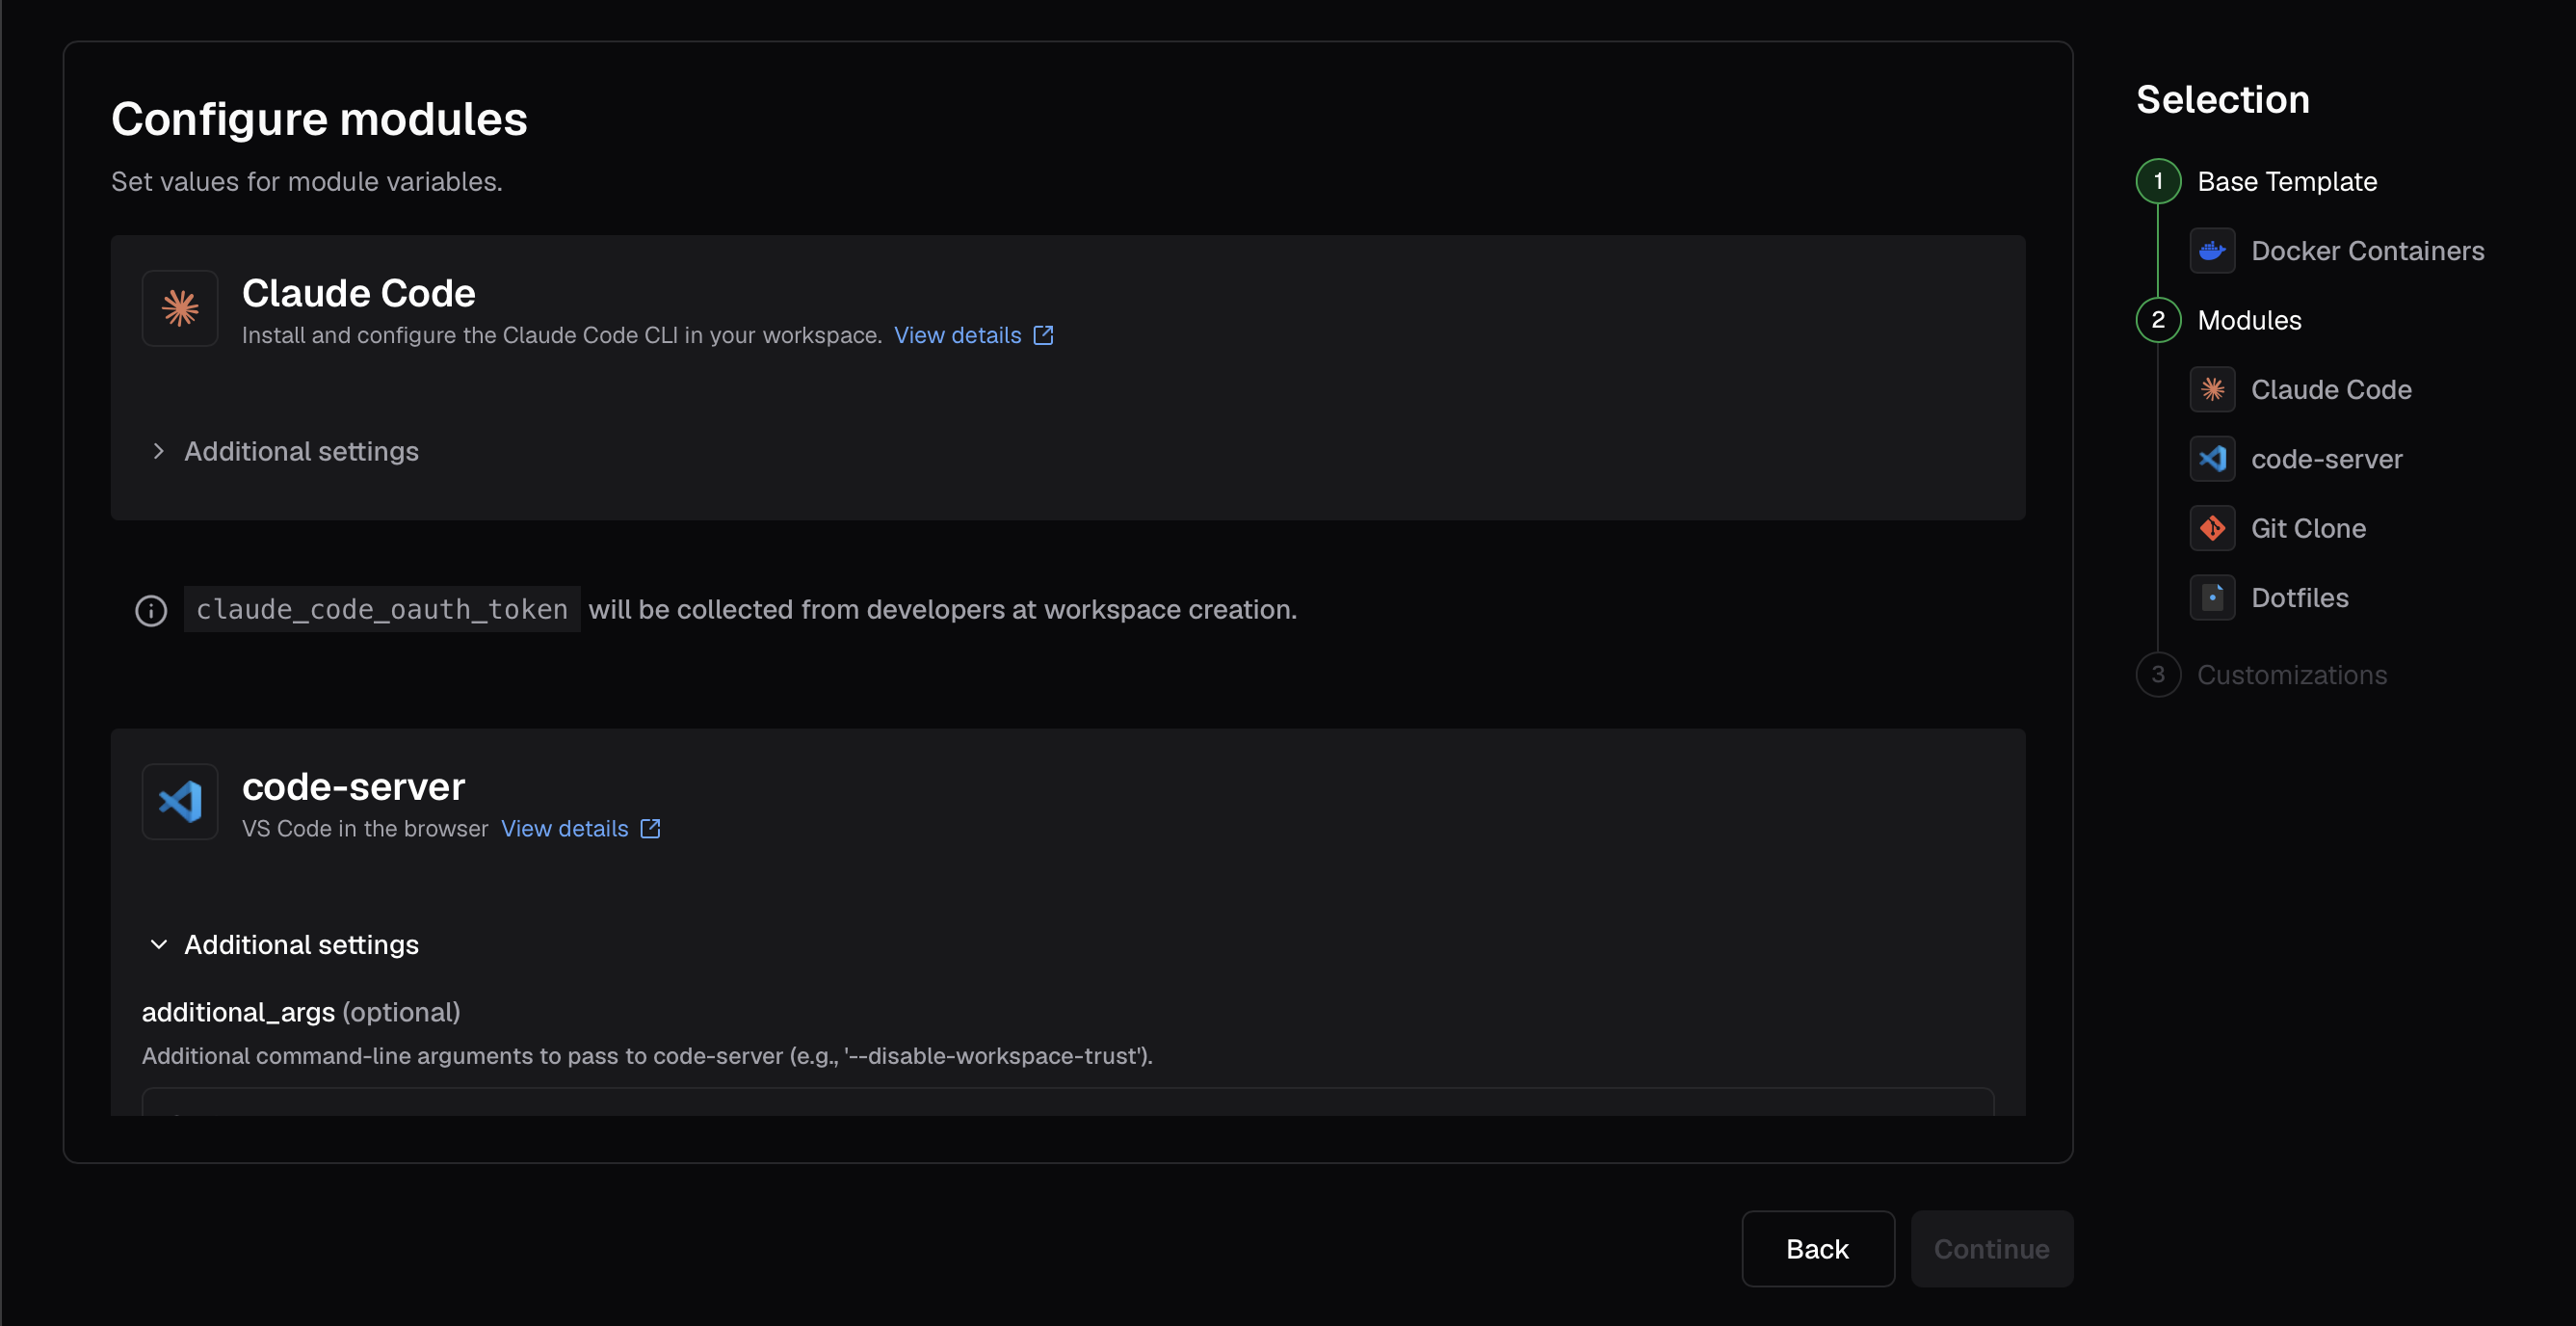
4. **Module settings** *(optional)*: Configure variables for the modules you selected.
Required variables without defaults must be filled in before you can proceed.
Modules that require secrets (such as API keys) display a notice that developers will be prompted for the value at workspace creation time.
5. **Template customizations**:
Set the template's display name, description, icon, and organization, then select **Create Template**.
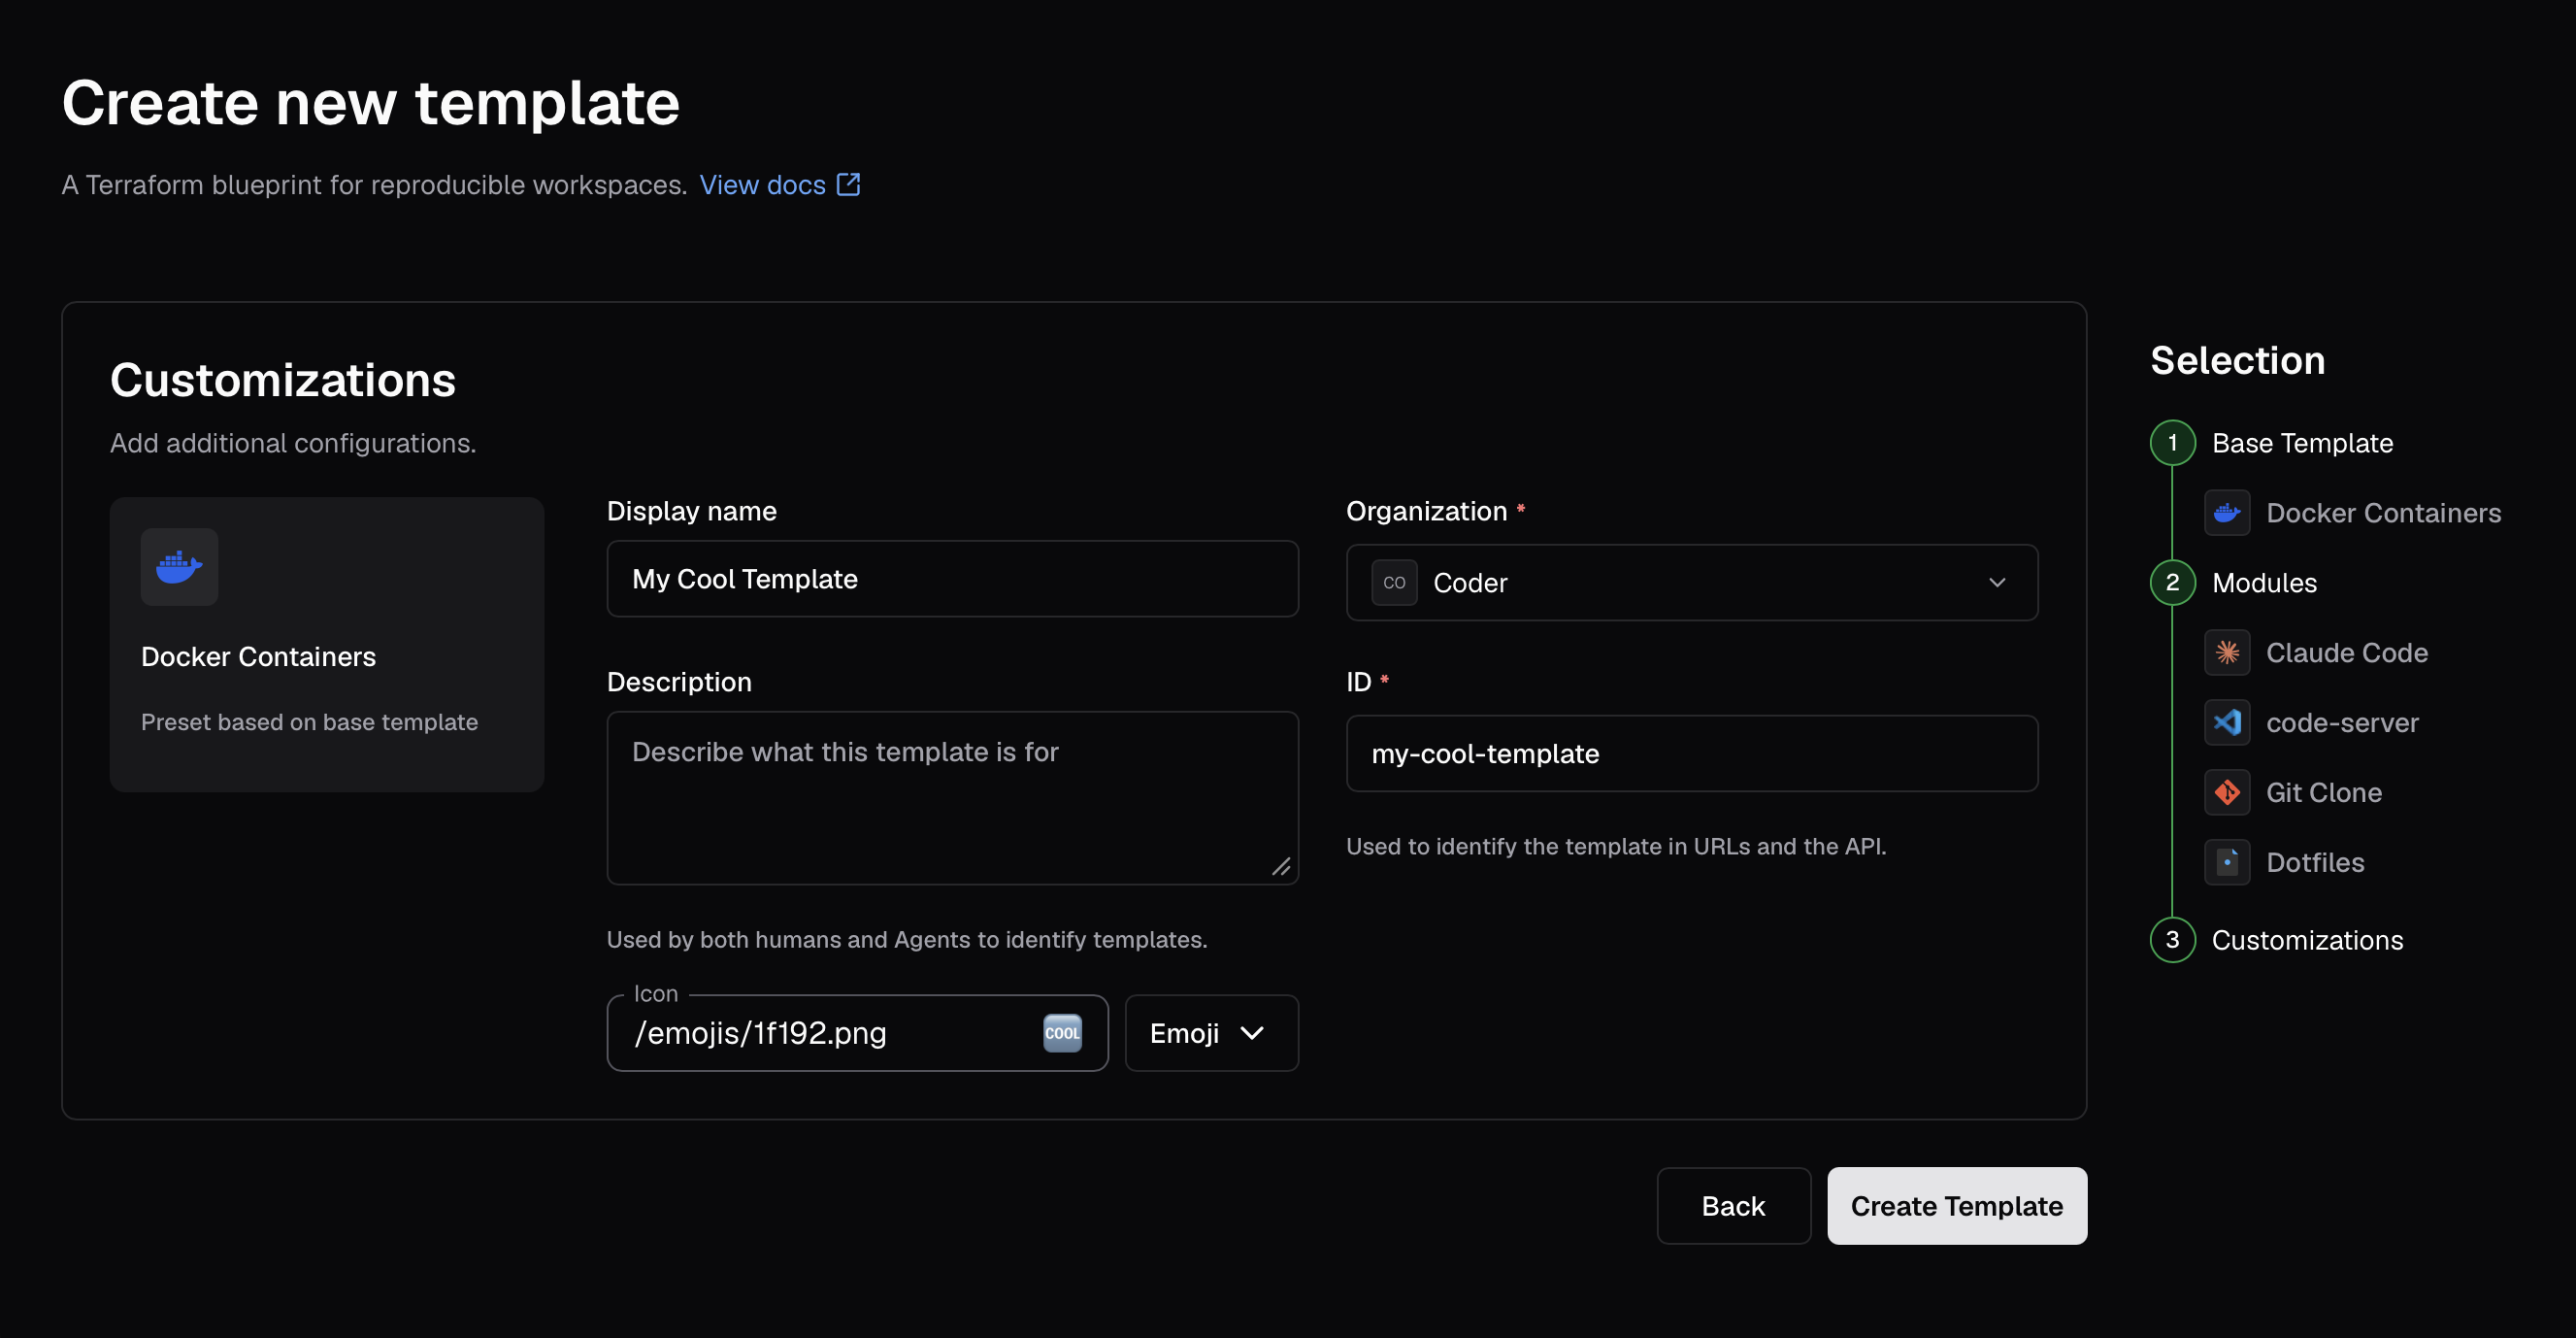
After you select **Create Template**, Coder composes the Terraform configuration server-side, checks it by parsing it and running `terraform init` and `terraform plan`, and creates the template.
The generated template is standard Terraform HashiCorp Configuration Language (HCL) that you can edit later through the dashboard or CLI.
The template builder requires outbound access to `registry.coder.com` so that `terraform init` can resolve module sources.
For air-gapped or restricted-egress deployments, visit [Air-gapped deployments](/docs/@main/install/prepare/airgap/#template-builder).
If you select modules that are known to conflict with each other, the builder displays a warning.
Module conflicts do not block template creation, but you should review the warning before proceeding.
### Turn off the template builder
Operators can disable the template builder by setting the `CODER_DISABLE_TEMPLATE_BUILDER` environment variable or the `--disable-template-builder` server flag.
When disabled, the **New template** button links to the starter templates page instead, and the `/api/v2/templatebuilder/*` endpoints return 404.
Deployments using a self-hosted module registry mirror can set `CODER_TEMPLATE_BUILDER_REGISTRY_URL` to point generated module source paths at the mirror instead of `registry.coder.com`.
The value is a bare host, optionally with a port (for example `mirror.internal:8443`).
A leading `http(s)://` scheme and trailing slash are stripped, and a path, query, fragment, or credentials is rejected at server start.
### Alternative creation methods
The template builder's first step also links to alternative creation paths:
* **Upload an existing template**:
Upload a `.tar.gz` or `.zip` of Terraform files you have authored locally.
* **Start from scratch**:
Follow the [template from scratch tutorial](/docs/@main/templates/template-from-scratch/) to write Terraform by hand.
* **Browse community templates**:
Browse the [Coder Registry](https://registry.coder.com/templates) for community and official templates.
You can use the [Coder CLI](/docs/@main/reference/cli/templates/) to manage templates for Coder.
After [logging in](/docs/@main/reference/cli/login/) to your deployment, create a folder to store your templates:
```sh
# This snippet applies to macOS and Linux only
mkdir $HOME/coder-templates
cd $HOME/coder-templates
```
Use the [`templates init`](/docs/@main/reference/cli/templates/init/) command to pull a starter template:
```sh
coder templates init
```
After pulling the template to your local machine (for example, `aws-linux`), you can rename it:
```sh
# This snippet applies to macOS and Linux only
mv aws-linux universal-template
cd universal-template
```
Next, push it to Coder with the [`templates push`](/docs/@main/reference/cli/templates/push/) command:
```sh
coder templates push
```
If `templates push` fails, it is likely that Coder is not authorized to deploy infrastructure in the given location.
Learn how to configure [provisioner authentication](/docs/@main/install/operate/provisioners/).
You can edit the metadata of the template such as the display name with the [`templates edit`](/docs/@main/reference/cli/templates/edit/) command:
```sh
coder templates edit universal-template \
--display-name "Universal Template" \
--description "Virtual machine configured with Java, Python, Typescript, IntelliJ IDEA, and Ruby. Use this for starter projects. " \
--icon "/emojis/2b50.png"
```
Follow the [change management](/docs/@main/templates/managing-templates/change-management/) guide to manage templates via GitOps.
## From an existing template
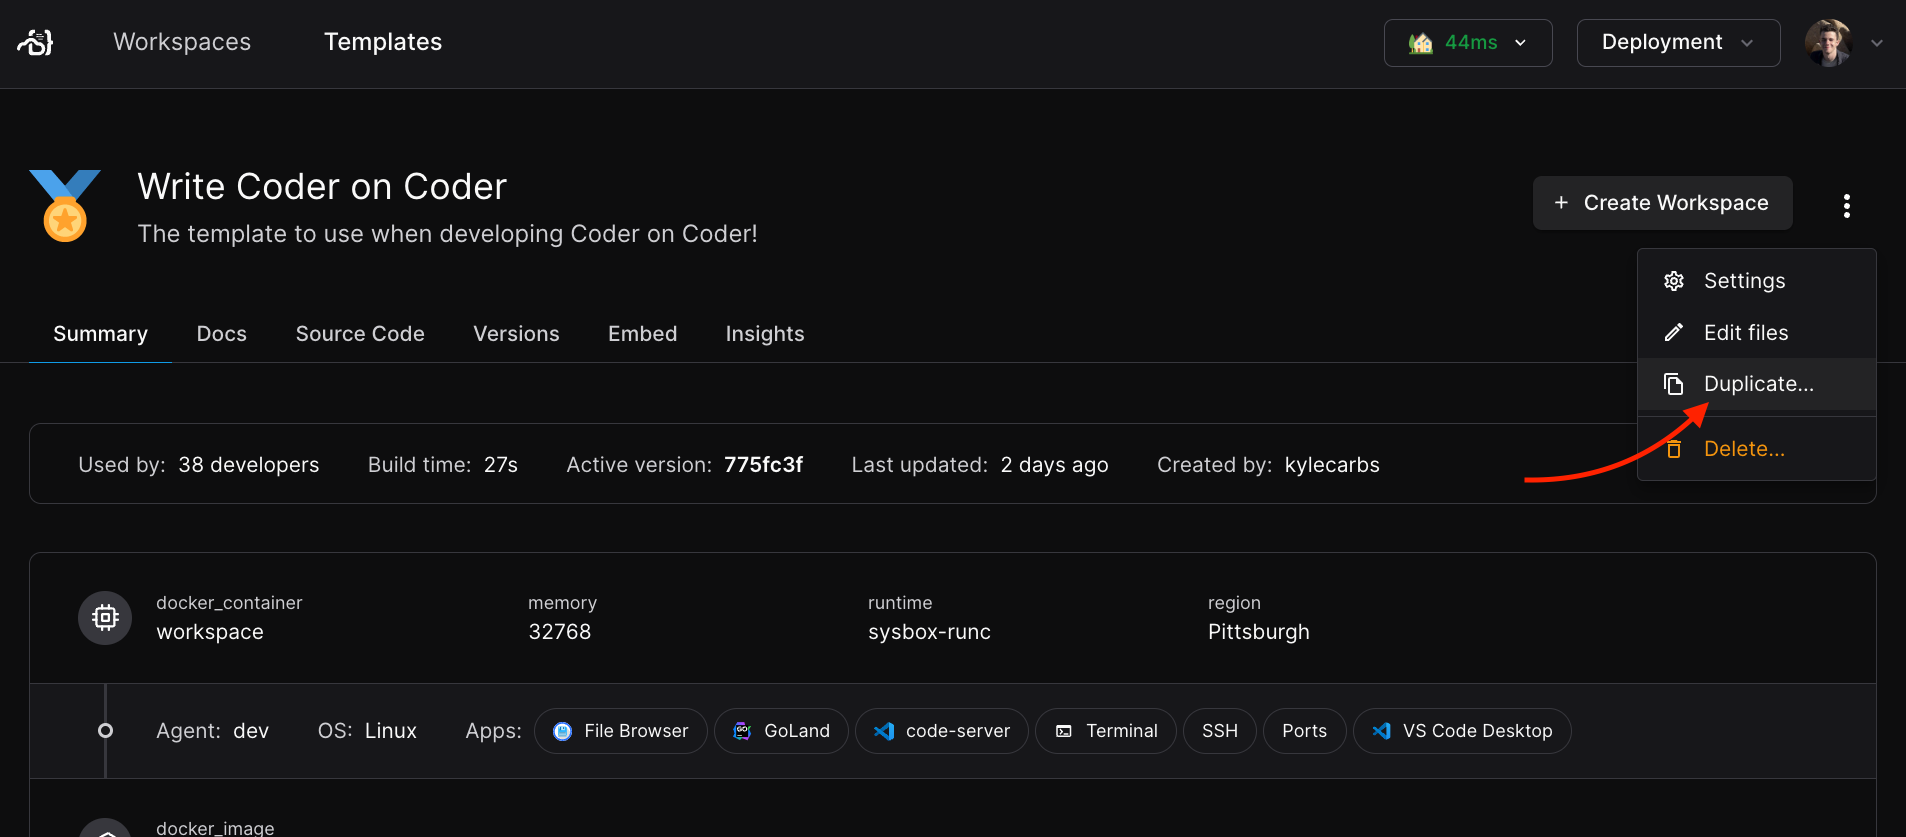
You can duplicate an existing template in your Coder deployment.
This copies the template code and metadata, allowing you to make changes without affecting the original template.
After navigating to the page for a template, use the dropdown menu on the right to `Duplicate`.
Give the new template a name, icon, and description.
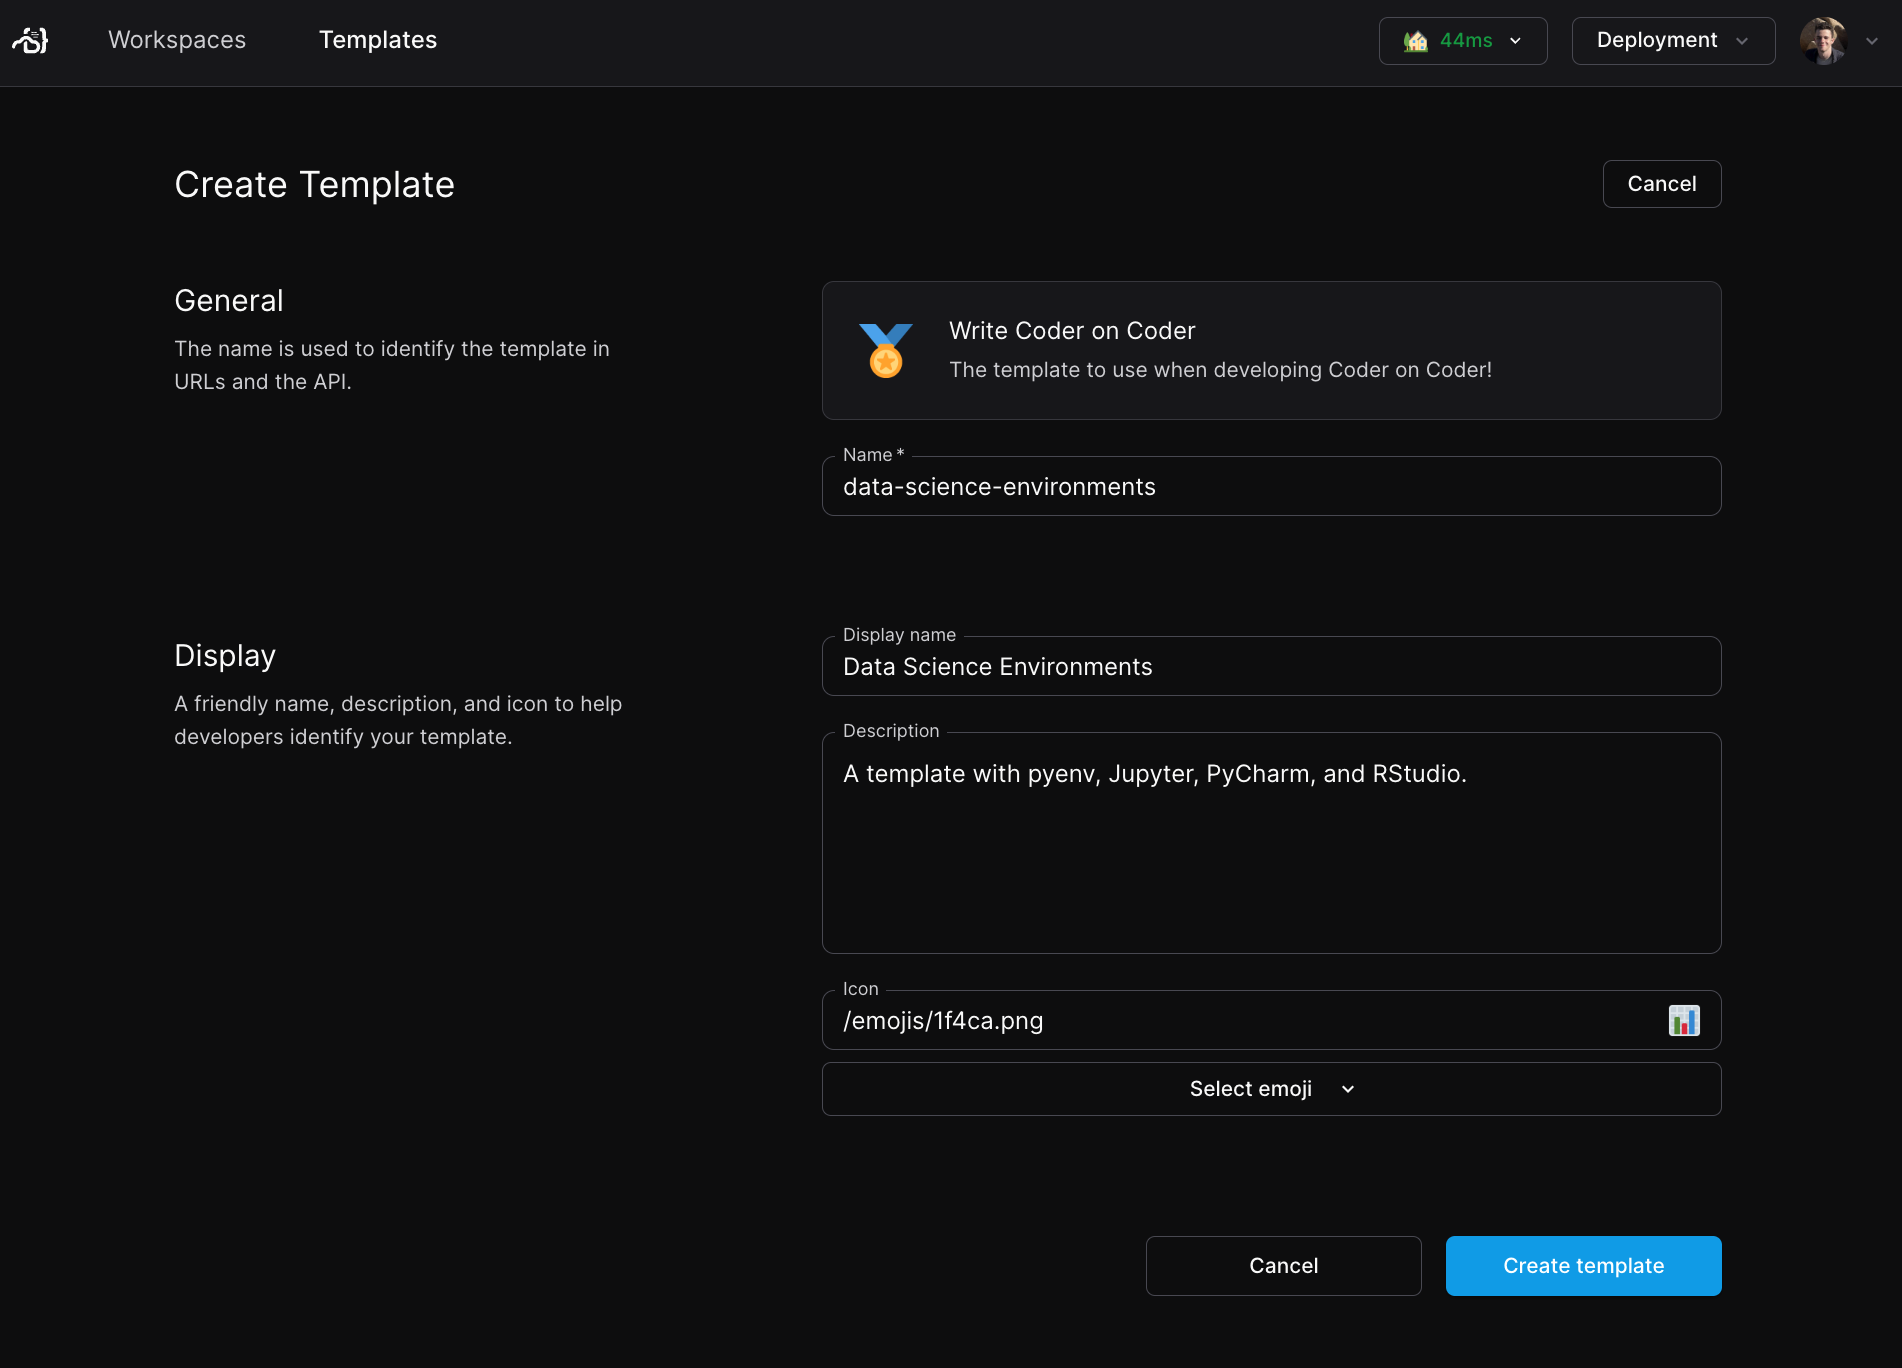
Press `Create template`.
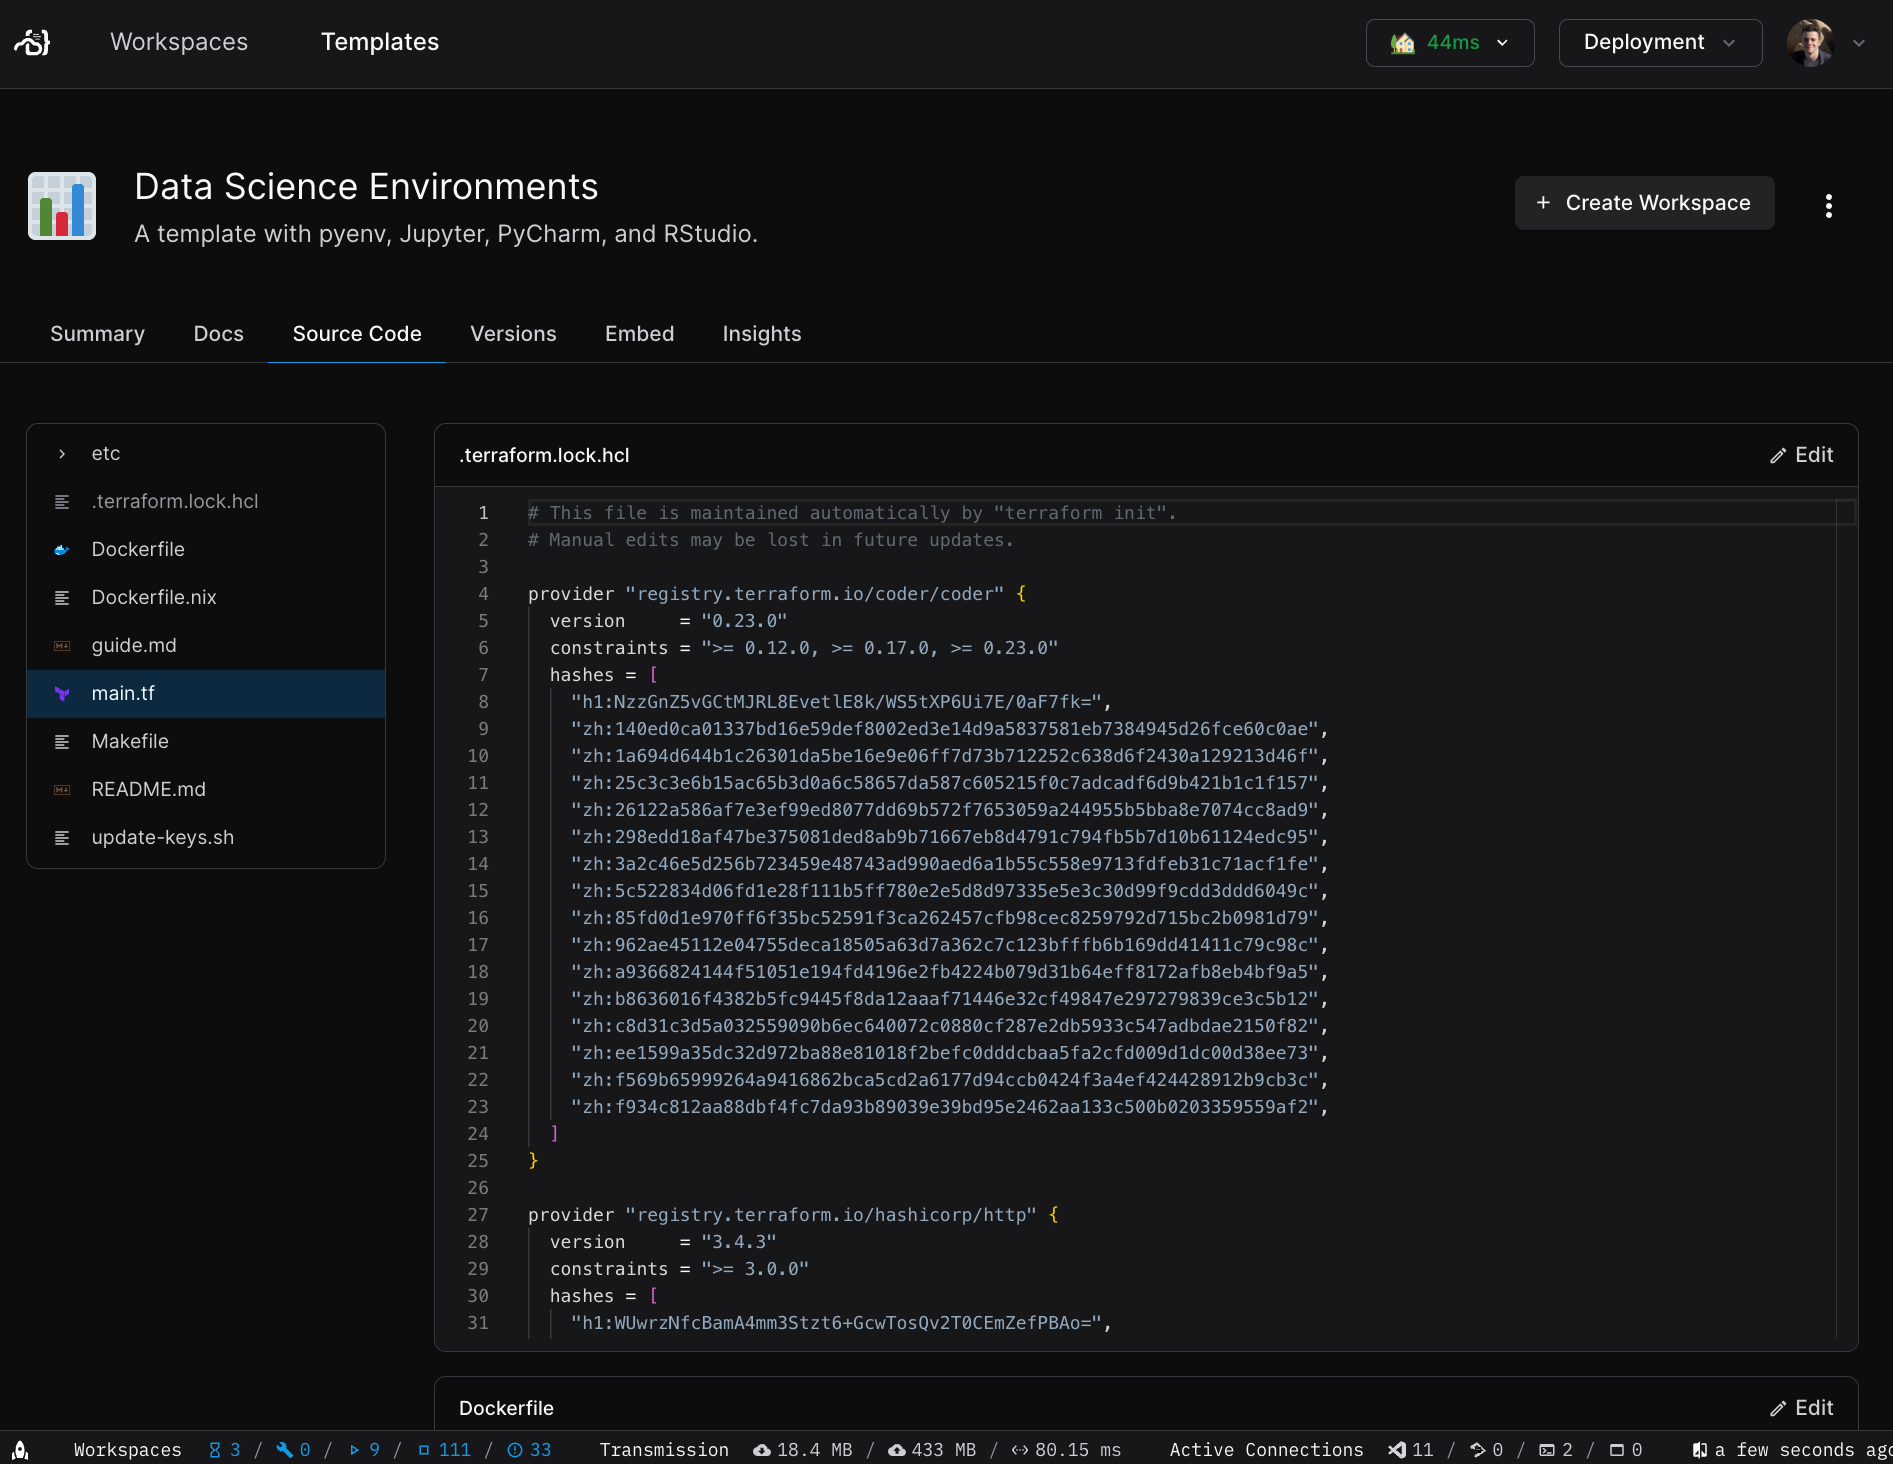
After the build, you will be taken to the new template page.
First, make sure you are logged in to the control plane as a user with permissions to read and write permissions.
```console
coder login
```
You can list the available templates with the following CLI invocation.
```console
coder templates list
```
After identified the template you'd like to work from, clone it into a directory with a name you'd like to assign to the new modified template.
```console
coder templates pull ./
```
Then, you can make modifications to the existing template in this directory and push them to the control plane using the `-d` flag to specify the directory.
```console
coder templates push -d ./
```
You will then see your new template in the dashboard.
## From scratch (advanced)
There might be cases where you want to create a template from scratch.
You can use [any Terraform provider](https://registry.terraform.io) with Coder to create templates for additional clouds (for example, Hetzner, Alibaba) or orchestrators (VMware, Proxmox) that we do not provide example templates for.
Refer to the following resources:
* [Tutorial: Create a template from scratch](/docs/@main/templates/template-from-scratch/)
* [Extending templates](/docs/@main/templates/extending-templates/): Features and concepts around templates (agents, parameters, variables, and so on)
* [Coder Registry](https://registry.coder.com/templates): Official and community templates for Coder
* [Coder Terraform Provider Reference](https://registry.terraform.io/providers/coder/coder)
### Next steps
* [Extending templates](/docs/@main/templates/extending-templates/)
* [Managing templates](/docs/@main/templates/managing-templates/)