
This article walks you through setting up single sign-on to Coder using Okta.
Configuring Coder's OpenID Connect feature requires you to provide three pieces of information from Okta:
- Client ID
- Client Secret
- Issuer
This guide will show you how to set up an app on Okta and obtain the information you need to provide to Coder.
Step 1: Register your app with Okta
-
Log in to your Okta as an admin (
<my-company>.okta.com). -
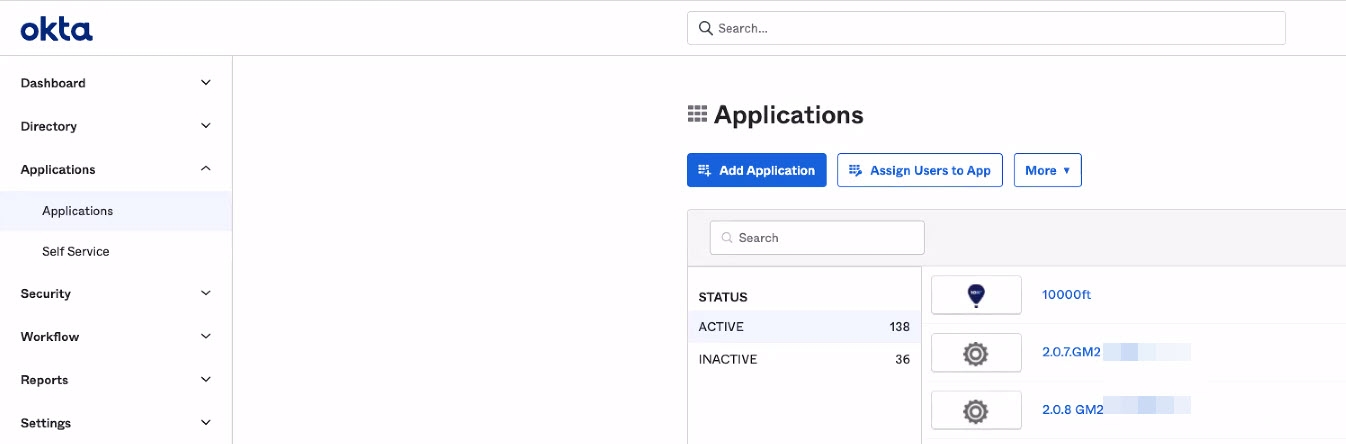
From the admin dashboard, click Applications and click the Applications sub-menu.
-
Click Add Application.
-
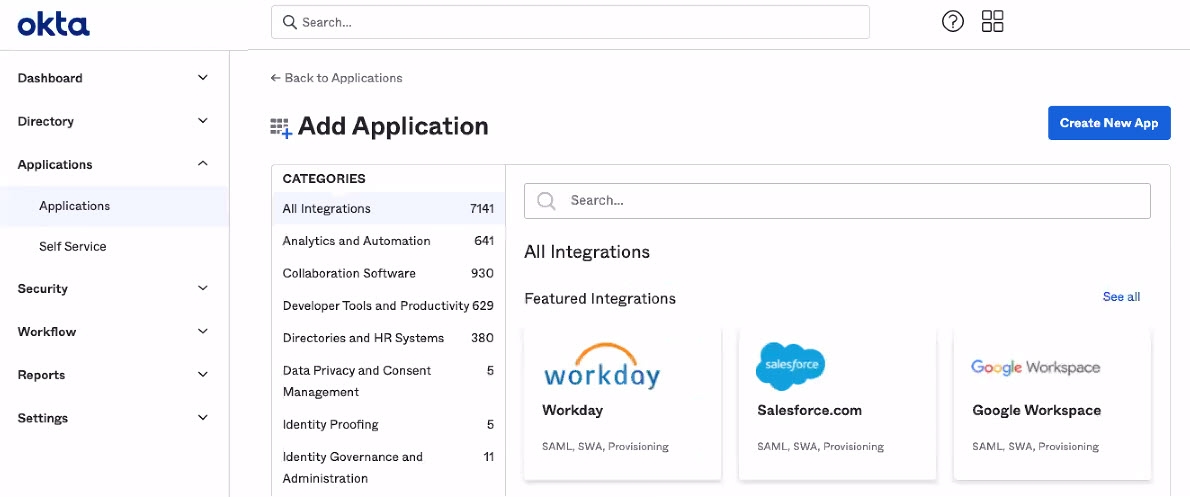
Click Create New App.
-
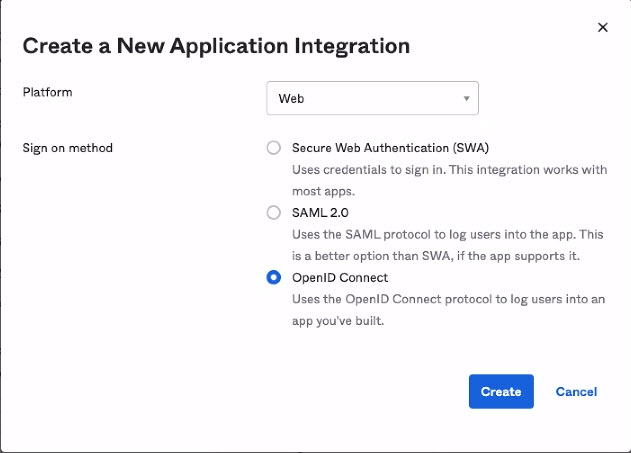
Select OpenID Connect and click Create
-
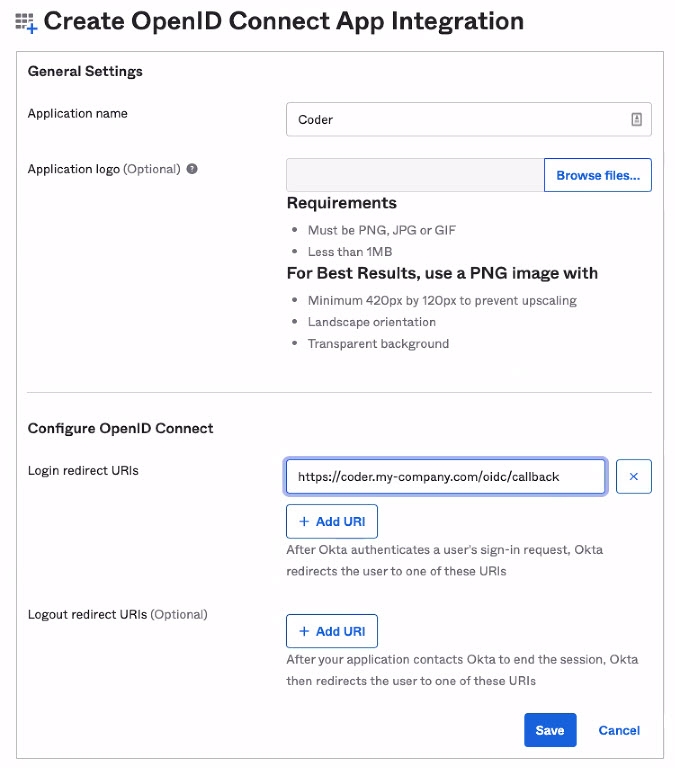
Fill in the Application name (i.e.
Coder), optionally add a logo -
Add the Login redirect URIs for Coder (it will be formatted similar to
https://coder.my-company.com/oidc/callback). -
Click Save to proceed.


When Okta has created your app, you'll be redirected to the General tab, which displays the app information.
Step 2: Gather your Okta app information
Once you've saved your app, you can obtain your:
- Client ID
- Client Secret
- Issuer
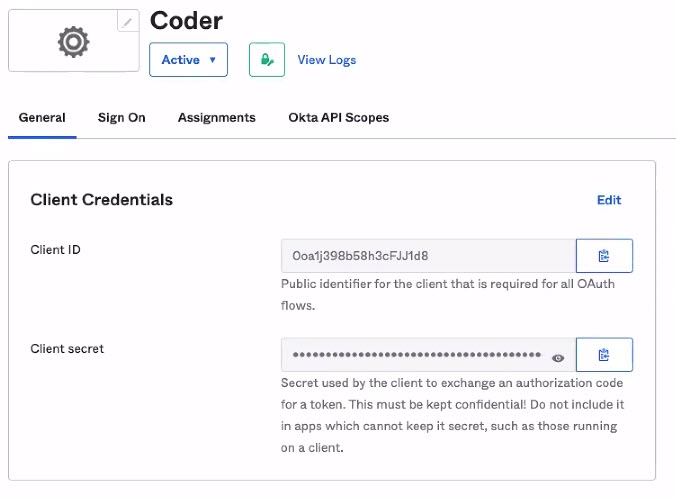
Client ID and Client Secret
On your application's General tab, look for the Client ID under the Client Credentials section. Below this is the Client secret.

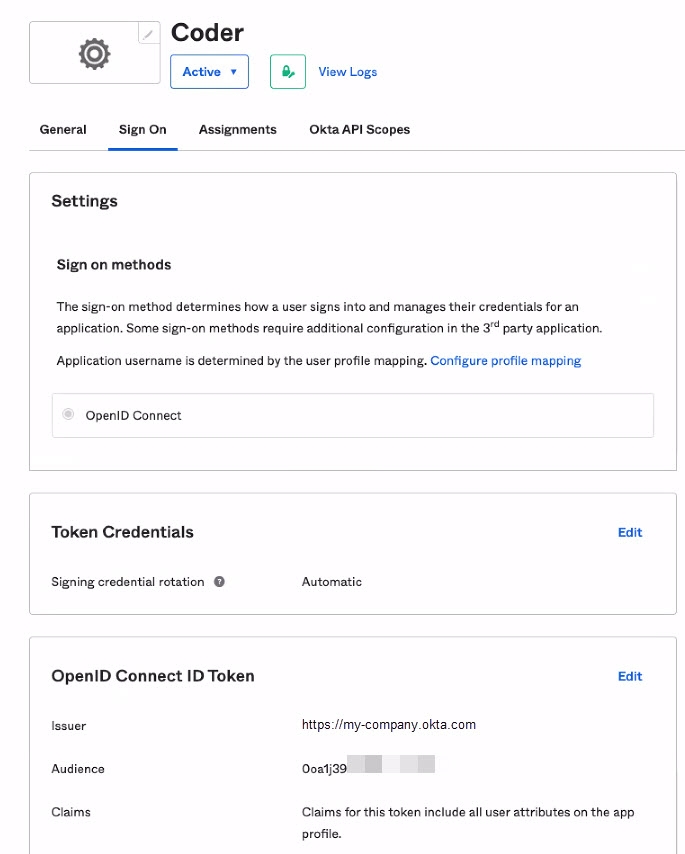
Issuer
On your app's Overview page, click the Sign On tab. Find the OpenID Connect ID Token section, and copy the Issuer.

Step 3: Assign People and/or Groups to Coder
On your app's Overview page, click the Assignments tab.

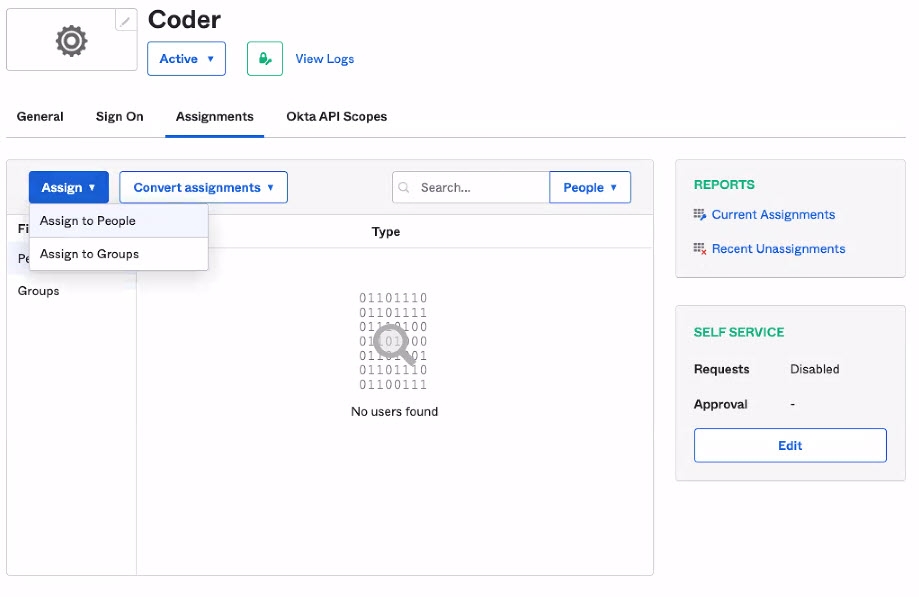
From here, you can assign People and Groups to the application to provide access to Coder.
Step 4: Configure Coder authentication
Once you've saved your Okta values, you can complete the remaining steps using the Coder UI.
- Log in to Coder, and go to Manage > Admin > Authentication.
- In the top-most drop-down box, select OpenID Connect.
- Provide the requested values for Client ID, Client Secret, and Issuer.
When done, click Save Preferences.
At this point, Coder validates your configuration before proceeding. If successful, you can expect Coder to send OIDC login attempts to Okta.