

By day, I’m Joe Previte, a TypeScript engineer at Coder who maintains code-server. By night, I’m “Joe the instructor.” I create educational content for developers like Vim for VS Code and TypeScript Course while also balancing making courses for egghead.io.
I use Coder as a tool in my workflow for creating educational content - I want to give you tips and tricks of how I do this so you can try it too.
Dedicated Development Environment for Teaching
As a software instructor, it’s a pain managing two sets of VS Code and terminal settings. I have one for everyday and one for teaching. The worst thing is finding out I used the wrong settings after recording a 3-hour course. I decided to fix this by using a dedicated development environment for teaching.
What’s Coder?
TL;DR we provision software development environments via Terraform on Linux, macOS, Windows, X86, ARM, and of course, Kubernetes. We turn stuff on and turn it off - no matter the cloud. Thus it enables you, as the developer, to have full control of your development environment and use whichever 3rd party cloud resource you want.
Want to teach on a Windows-based machine? Easy. Modify your template, spin up a new workspace and you’re good to go.
Coder, the platform, is a single golang binary (which is also available as a docker image). Getting up and running is simple. Follow these instructions to get started.
The Setup
At Coder, we dogfood our own products. The engineering team has their own Coder deployment running at dev.coder.com. Each developer has their own workspace based on this template which has everything we might need for writing TypeScript, Node or Go.
I decided to use the same template to create a separate workspace for my course work.
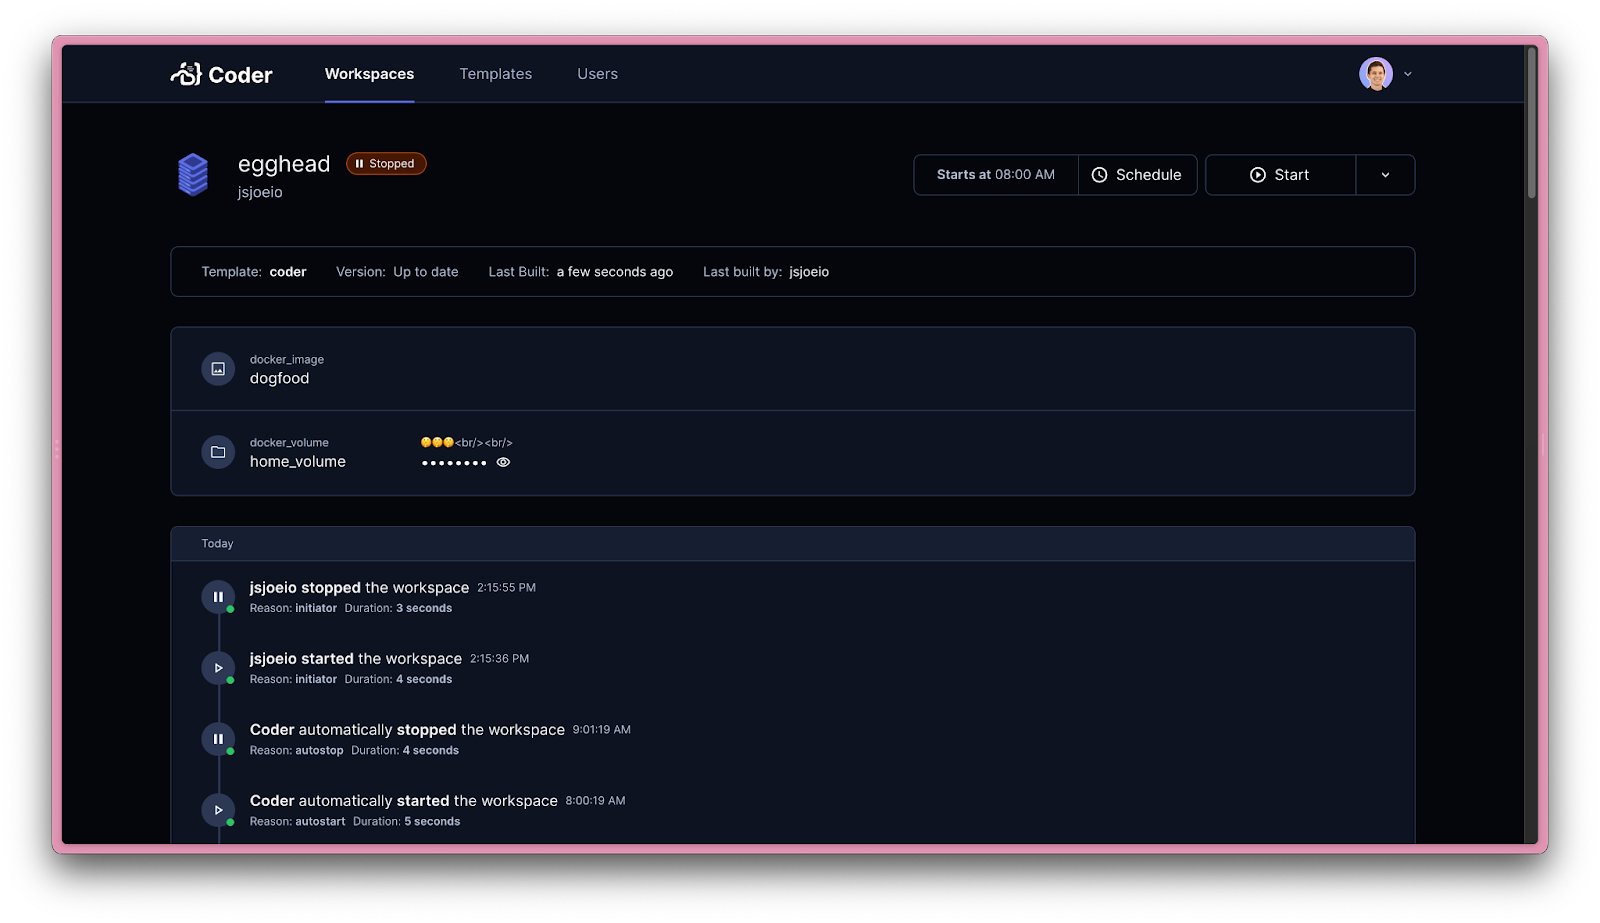
One of my favorite features of Coder is the scheduled auto-on and auto-off features. I usually record a video or two in the morning before work.

With this, my workspace starts up around 8am. It automatically shuts off after an hour if there is no activity. This means cloud resource costs stay low and I won’t ever experience bill shock of leaving stuff on accidentally. It’s a small detail but this automation is one less thing for me to think about so I can focus on my course materials.
Keeping a Distraction-Free IDE
One of the most important things to do as an instructor is making sure the visuals support the learner. I learned this tip from the egghead team - they even published their instructor guide online. This taught me the best way to teach technical content to others.
One of the best things you can do as an instructor is make sure your IDE is distraction-free. The terminal should only show what is needed for the lesson and the IDE should support the teaching materials.
While Coder supports Emacs, Vim, plain ol’ SSH or any IDE, I choose VS Code because that’s my preference. Whichever you use, the theme should use accessible colors. Your font should be legible, even for small screens.
These aren’t the same settings you’d use for everyday coding. Normally, as a video creator, I would have to double-check auto suggestions are turned off. Bump the font-size a lot. Hide all non-essential information in my IDE. With coder, I can use a dedicated workspace with everything pre-configured for screen-recording. Here’s an example of what that looks like:
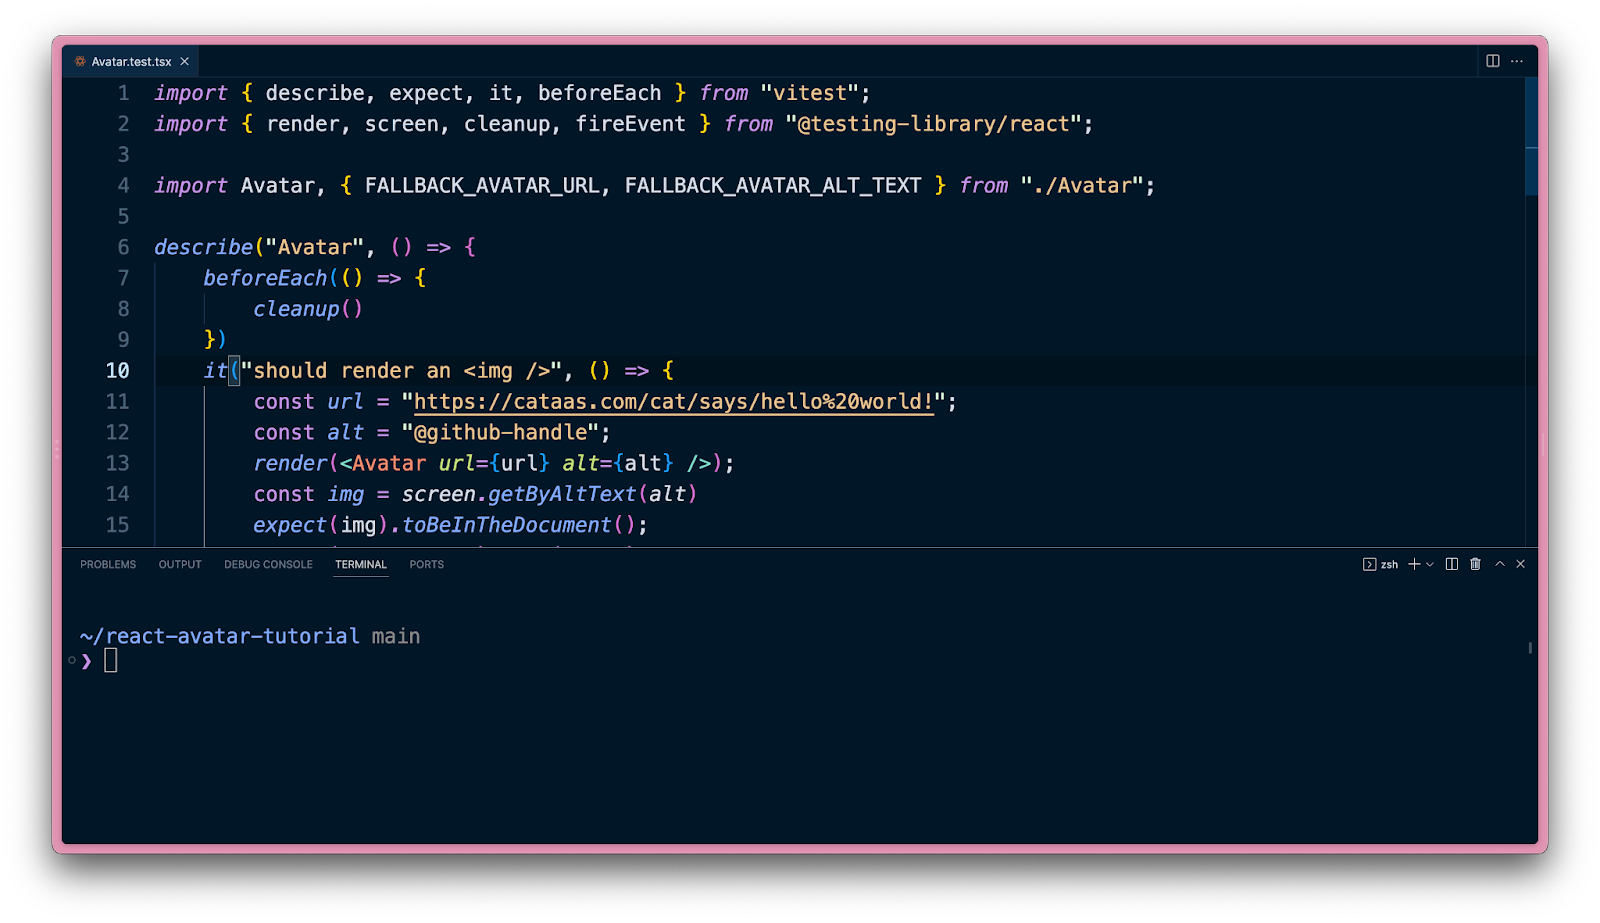
To me, this feels like having a virtual laptop that’s pre-configured for recording. I don’t have to worry, “is my font big enough?” or “Did I hide the noise in the terminal?” None of that because it’s already ready to go.
My Recording Workflow
As mentioned before, I open up my PC and sign-in to my recording profile. Then I open the code-server PWA (which is installed from my Coder workspace) and thanks to auto-start, it’s running and ready to go. I hit “Start recording” in OBS and I get into the flow.
When I’m done recording, I let my Coder workspace shut-off automatically (keeps costs down for the organization) and I open Camtasia to edit my videos. After editing, I publish online and share the course content with my community.
That’s it! It’s a simple flow and it works really well.
Resources
These are great resources for getting started with Coder workspaces:
Lastly, feel free to use me as a resource if you have more questions. You can tweet at me or email me at [email protected] - I’d love to hear from you!
Summary
The ability to spin up or spin down a workspace for me has been amazing. I love that I can have a dedicated “machine” for teaching. I can spend less time tinkering with my development environment and more time focused on what I enjoy most - teaching others. It’s even inspired me to create a dedicated user on my OS now! I highly recommend giving Coder a try for yourself if you’re an instructor. I guarantee you’re going to like it.

Subscribe to our newsletter
Want to stay up to date on all things Coder? Subscribe to our monthly newsletter for the latest articles, workshops, events, and announcements.