Managing templates in Coder

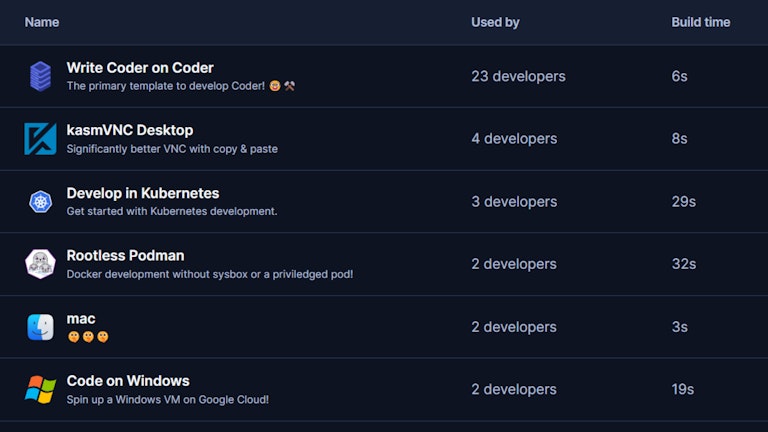
Coder templates are the DNA used to create workspaces. They abstract the complexity of cloud environments, allowing developers to focus on their projects.
Organizing your templates
There are many ways to organize your templates. You can use them to:
Team based templates: A template for each of your teams e.g. a template for your frontend team and a template for your backend team.
Project based templates: A template for each of your projects e.g. a template for your cool-project and a template for your awesome-project.
Image based templates: A single template that is used for all your projects but with a different image for each project.
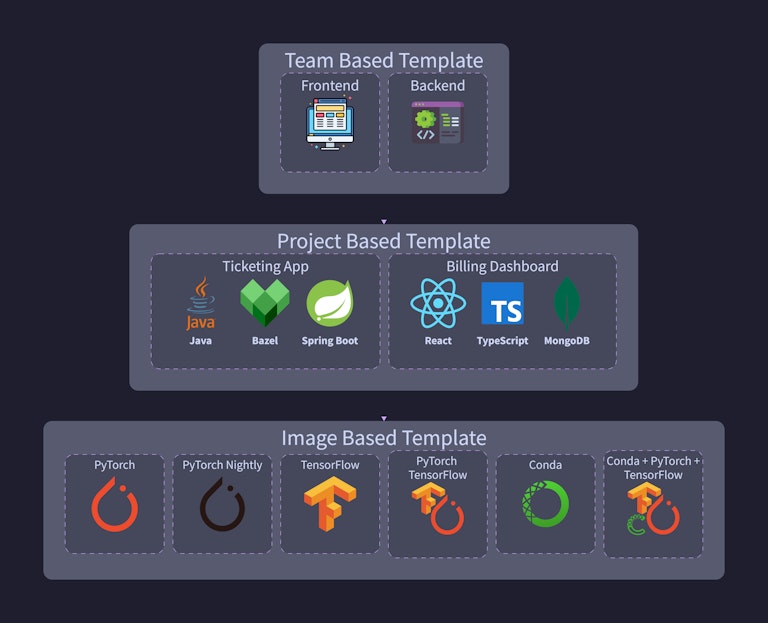
What is the difference between a template and an image?
A template is a collection of settings that are used to create a workspace. An image is a collection of software that is used to create a workspace. A template can use one or more images. For example, you can have a template that uses the ubuntu image and the node image and the user will have the choice of which image to use when creating a workspace. Choices are managed by a terraform variable e.g.
Creating your first template
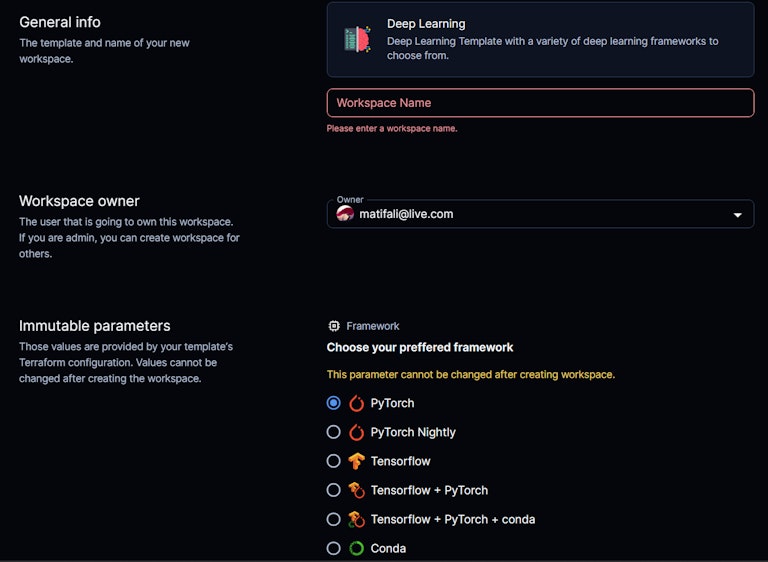
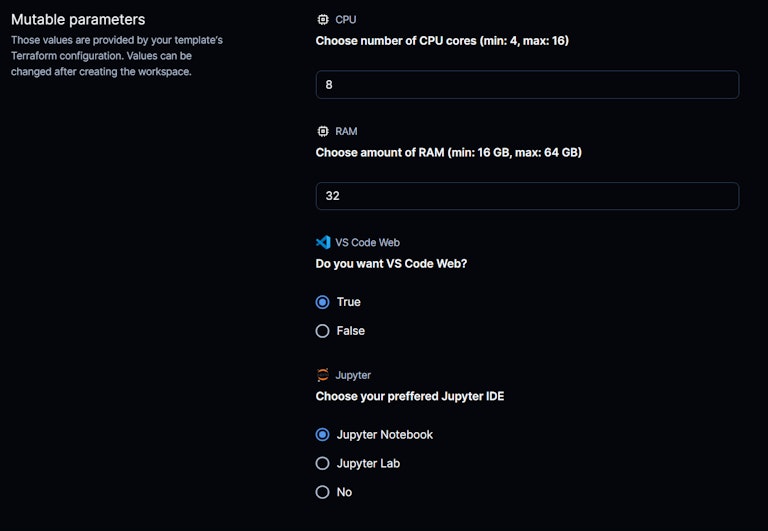
Create a new repository in your GitHub account. This will be the repository that contains your Coder templates.
Create a new directory in your repository called
deeplearning.Create a new file in the
deeplearningdirectory calledmain.tf. This is the terraform file that will be used to create your template.
- Create a rich-parameter variable of the form
data coder_parameter <name>. This will be used to create a rich parameter in the template. For example:
See full list of available parameters here
- For this example, we will use the pre-built DockerDL images.
Note: You can use any image you want. You can use a pre-built image or coder can build an image for you from the Dockerfile in images directory. See
Full example is available here
Next steps
Have questions? Contact us or join us on Discord
Stay tuned for the next post: How to keep your templates up to date.
Subscribe to our newsletter
Want to stay up to date on all things Coder? Subscribe to our monthly newsletter and be the first to know when we release new things!
