This tutorial shows you how to create a Coder development workspace and getting set up to work on a web development project requiring Node.js and React.js. You'll learn how to:
- Connect Coder to your Git provider;
- Create a workspace;
- Add Create React App to your workspace, which will allow you to create a sample single-page application that you can modify;
- Create a dev URL and preview changes to your project;
- Push your changes to a GitHub repo.
Prerequisites
Please install Coder for Docker before proceeding.
Step 1: Log in and connect Coder to your Git provider
In this step, you'll log into Coder and connect and authenticate with your Git provider. This will allow you to do things like pull repositories and push changes.
-
Navigate to the Coder deployment using the URL provided to you during the Coder for Docker installation process, and log in.
-
Click on your avatar in the top-right, and select Account.

-
Provide Coder with your SSH key to connect and authenticate to GitHub.
Go to SSH keys. Copy your public SSH key and provide it to GitHub.

Step 2: Create your workspace
You will now create the workspace where you'll work on your development project.
-
Return to Workspaces using the top navigation bar.
-
Click New workspace to launch the workspace-creation dialog.
-
Provide a Workspace Name.
-
In the Image section, click Packaged (this tab contains Coder-provided images hosted in a Docker registry). Select NodeJS. This will populate the form in the Import tab.
-
Under Workspace providers, leave the default option (which is Docker) selected.
-
Scroll to the bottom, and click Create workspace. The dialog will close, allowing you to see the main workspace page. You can track the workspace build process using the Build log on the right-hand side.

Once your workspace is ready for use, you'll see a chip that says Running next to the name of your workspace.
Step 3: Add a sample project to your workspace
Once you've created your workspace, you can start using Coder after adding a sample project to your workspace.
-
Under Browser applications, click Code Web to open VS Code in your browser.
-
When VS Code launches in your browser, click Open folder.... In the prompt, you'll see
/home/coder. This directory is where you'll clone a sample React app project Git repository. Click OK to proceed.
-
Click the hamburger icon in the top right, and select Terminal > New Terminal to open a new terminal.
-
You're now ready to create a demo app that you can modify:
npx create-react-app my-app
cd my-app
Once done, you can expand the
my-appfolder in the left-have nav bar to see its contents: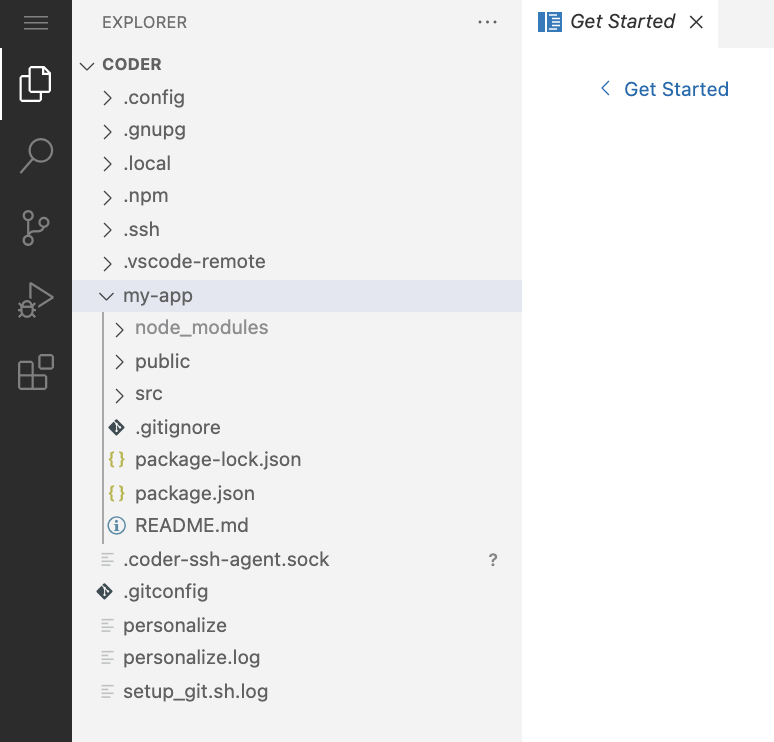
You're now ready to make changes to the application.
Step 4: Preview your app and view changes live
Dev URLs allow you to access the web services you're developing in your workspace. Once you've created a dev URL, Coder listens on the port you specified and renders a browser link you can use to view your application.
-
Return to your workspace overview page, and find the Dev URLs section.
-
Click Add port.
-
Provide a Name for your port, and leave the remaining fields as-is. Click Save.

-
At this point, you can build and run the sample app by returning to your Code Web window and running the following in the terminal:
npm start -
From the workspace overview, launch your dev URL by clicking its name; Coder will open a new browser window and point you to the appropriate URL.

-
You can test preview by making changes to the
src/App.jsfile; every time you save your changes to this file and refresh your browser window, your preview will update.
Step 5: Push your repo to GitHub
The follow steps show you how to push your app to a newly created GitHub repo.
-
Log in to GitHub and navigate to Create a new repository.
-
Provide a repository name and click Create repository.
-
Return to your workspace, run the following in your terminal to add a remote to your GitHub repo, change the primary branch name to
main, and push the contents to your newly created repo:git remote add origin https://github.com/<username>/<repoName>.git git branch -M main git push origin main -
Next, Code Web will display an alert that says the GitHub extension wants to sign in; click Allow to proceed.
-
Within the IDE window (near the top), you'll be prompted to provide your GitHub Personal Access token
]
At this point, the contents of your repo should be pushed to GitHub.