This article walks you through creating a new workspace using a pre-defined image.
1. Import an image
Ensure you've imported an image for your workspace to use.
2. Create a workspace
If this is your first time using Coder, you'll see a New workspace button in the middle of your screen; otherwise, you'll see a list of your existing workspaces. Click the New workspace button to proceed.
To learn more about creating an environment from templates, see Workspace templates.

-
Enter a friendly name for your workspace, and choose an image to use.
-
Set the parameters for your workspace.
-
Click Create workspace to proceed.
Coder redirects you to an overview page for your workspace during the build process. Learn more about the workspace creation parameters.

Your workspace persists in the home directory, updates itself to new versions of the image on which it is built, and runs custom configuration on startup. Learn about the workspace lifecycle.
Cancel workspace builds
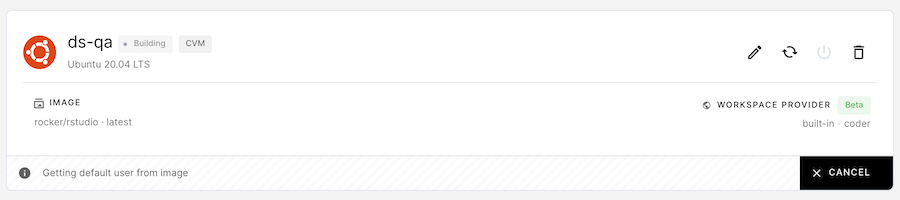
If Coder hasn't finished building or rebuilding your workspace, you have the option of cancelling this process. Cancelling the workspace will stop the workspace and release the resources needed for your workspace.
You can cancel the build process by clicking Cancel at the bottom-right of the workspace status bar.
Workspace status
The workspace overview page displays information regarding the status and performance of your workspace.
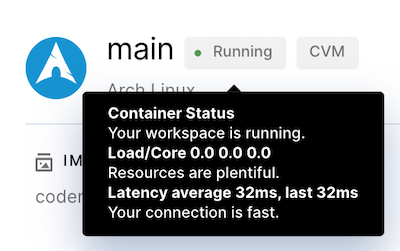
The following workspace statuses are available:
- Running: Your workspace is running
- Off: Your workspace has been shut off either manually or due to inactivity
- Error: An unknown error has occurred
- Building: Your workspace is building
- Turning off: Your workspace is turning off
- Unknown: Your workspace is in an unknown state
- Initializing: The container is initializing
- Deleting: Your workspace is being deleted, and compute resources are being released.
Advanced
Coder provides advanced settings that allow you to customize your workspace.
If your Coder deployment has container-based virtual machines enabled, Coder creates your workspace as a CVM by default (you can opt-out of this setting by unchecking the Run as Container-based Virtual Machine box).
You can also specify the resources Coder should allocate.
By default, Coder allocates resources (CPU Cores, Memory, and Disk Space) based on the parent image.
Coder displays a warning if you choose your resource settings and they're less than the image-recommended default, but you can still create the workspace.
3. Start coding
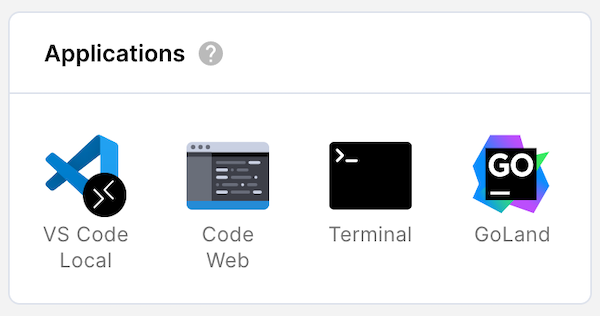
Once you've created a workspace, it's time to hop in. Read more about how to connect your favorite editor or IDE with your new workspace!
Integrate with Git to have your SSH key injected automatically into Workspaces.
Workspace limits
Coder allows each user to create up to 50 workspaces.