Developer (dev) URLs allow you to access the web services you're developing in your workspace.
You must have dev URLs enabled in your installation.
Creating a dev URL
You can create a dev URL from the workspace overview page.
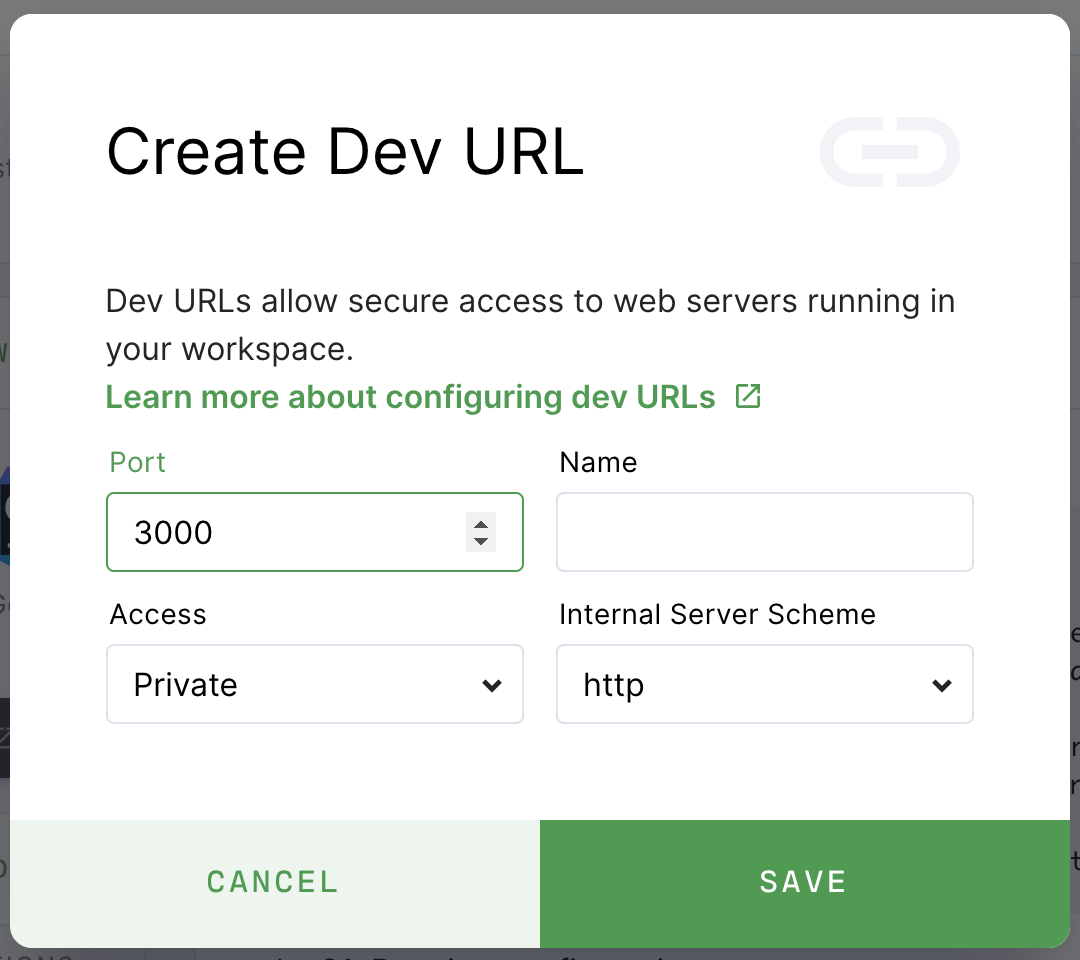
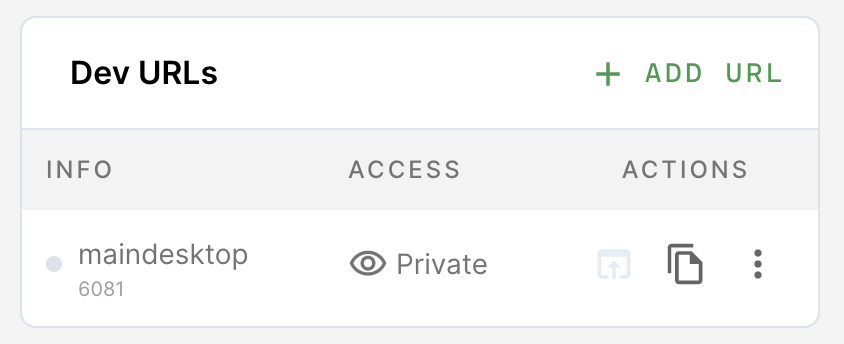
In the Dev URLs section, click Add URL. First, provide the port number you want to be used and a friendly name for the URL (optional). Next, indicate who can access the URL and the internal server scheme (e.g., whether Coder should use HTTP or HTTPS when proxying requests to the internal server).
Access control
You can set the access level for each dev URL:
- Private - Only the owner of the workspace can access the URL
- Organization - Anyone in the same organization as the workspace can access the URL
- Authorized Users - Anyone logged in to your Coder instance can access the URL
- Public - Anyone on the internet can access the URL
Using dev URLs
To access a dev URL, you can click:
- The Open in browser icon to launch a new browser window
- The Copy button to copy the URL for sharing
Direct access
There are two ways for you to construct dev URLs.
If you provided a name for the dev URL when you created it:
<name>-<username>.domain
If you didn't provide a name for the dev URL when you created it:
<port>-<workspace_name>-<username>.domain
For example, let's say that you've created a dev URL for port 8080. Also:
- Username:
user - Domain:
acme.com - Workspace:
my-project
If you didn't name your dev URL, then your URL is
8080-my-project-user.acme.com.
If, however, you named the dev URL reactproject, then your URL is
reactproject-user.acme.com.
If you access a dev URL that hasn't been created, Coder automatically adds it to your dev URL list on the dashboard and sets the access level to Private.
Access via SSH port forwarding
You can also access your server via SSH port forwarding.
