Coder for Docker allows you to deploy Coder to any machine on which Docker runs quickly.
Prerequisites
Coder for Docker works with the following platforms:
-
macOS 10.10+ with Docker Desktop 20.10
Note: If your computer uses an Apple silicon processor, you will need to install Rosetta 2 to emulate the x86_64 instruction set. To install it, run the following command in a terminal window:
softwareupdate --install-rosetta -
Ubuntu Linux 20.04 (Focal Fossa) with Docker Community Edition 20.10
-
Windows 11 with Docker Desktop 20.10.
Note: Coder for Docker requires Windows Subsystem for Linux at this time.
At this time, Coder publishes builds for the x86-64 architecture only and does not support Arm-based processors, such Apple silicon or Amazon Graviton instances.
Installing Coder for Docker
-
Launch Docker Desktop.
-
If you've previously installed Coder, run
sudo rm -rf ~/.coderin the terminal. Note: This command erases your Coder database and settings, so only run this if you'd like a clean install. -
In the terminal, run the following to download the resources you need, include the images, and set up your Coder deployment (if you're using the terminal in Docker Desktop, omit the slashes and run as a single-line command):
docker run --rm -it \
   -p 7080:7080 \
   -v /var/run/docker.sock:/var/run/docker.sock \
   -v ~/.coder:/var/run/coder \
   codercom/coder:1.28.2
When this process is complete, Coder will print the URL you can use to access your deployment, as well as the admin credentials you'll need to log in:
> Welcome to Coder! 👋
> Head to http://localhost:7080 to get started!

> 🙋 Username: admin
> 🔑 Password: 5h...7n
Make a note of these values, because you will need these in the subsequent step.
-
Launch a web browser and navigate to the URL provided by Coder (e.g.,
http://localhost:7080). Log in using the credentials Coder provided. -
At this point, you can create a workspace using one of the Packaged images by clicking on New workspace in the center of the UI.
At this point, you're ready to use your workspace. See our getting started guide for detailed instructions on getting your first workspace up and running.
Usage notes
When running, Docker Desktop displays both your Coder deployment and your workspace.
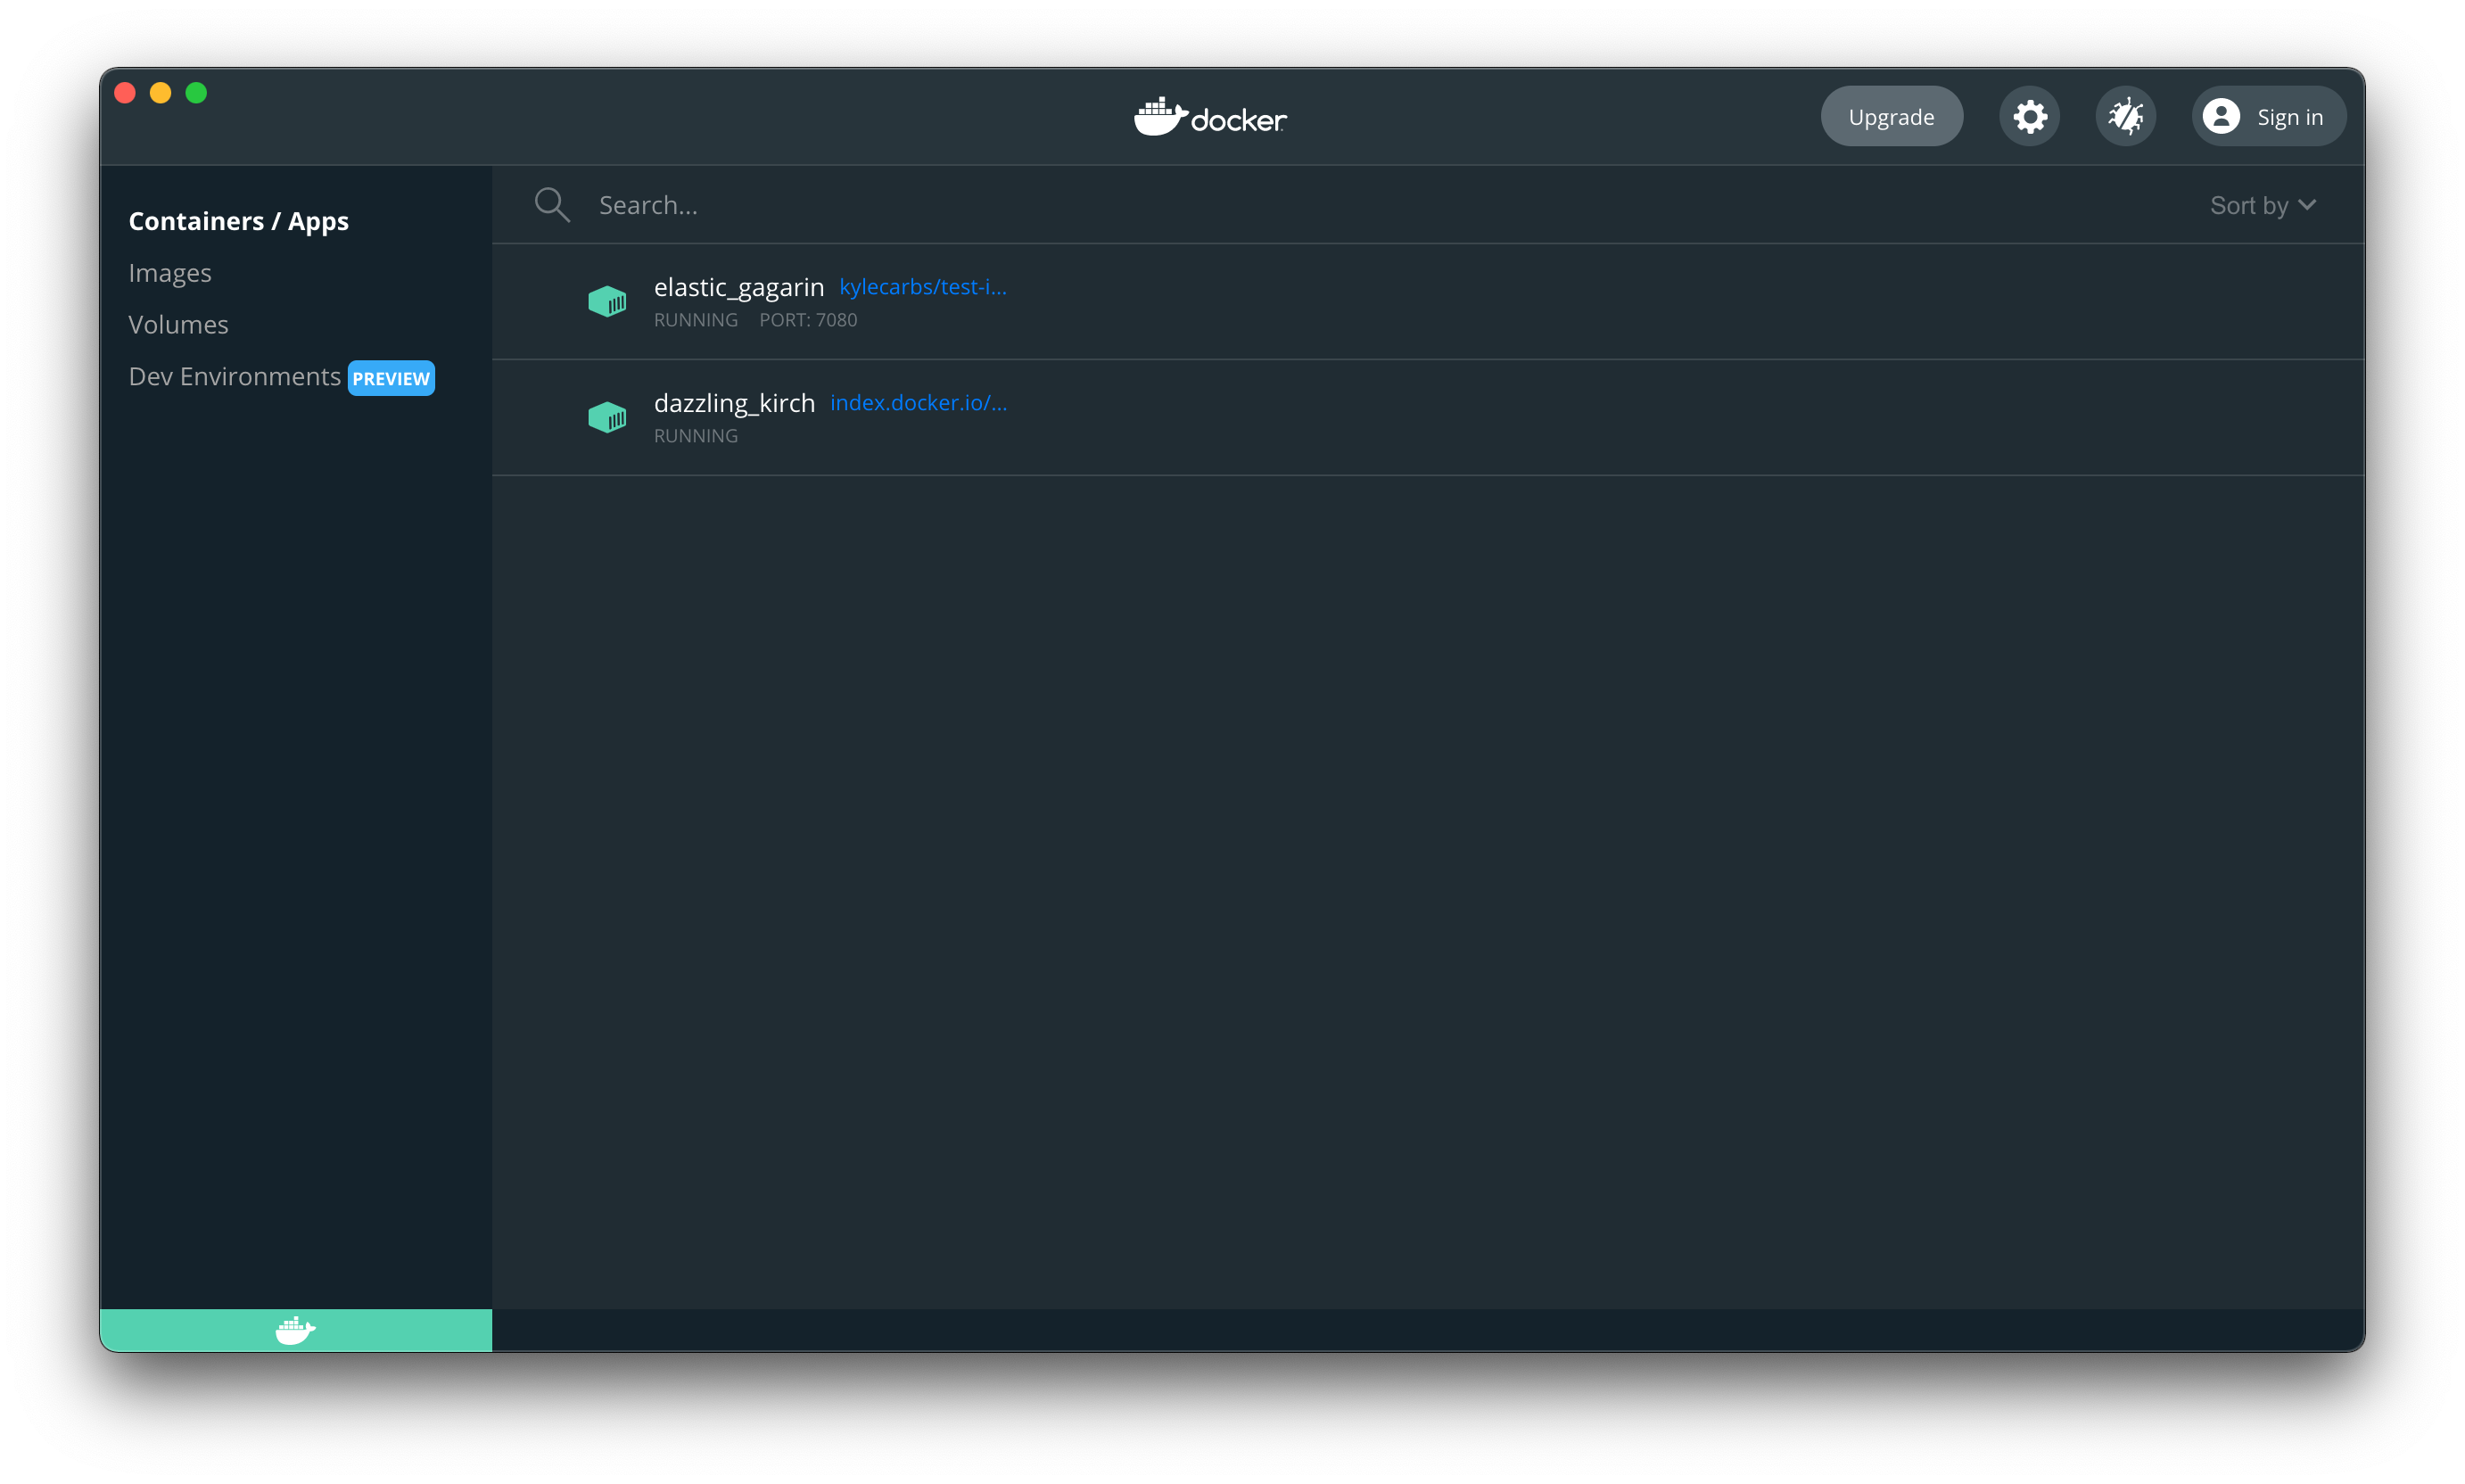
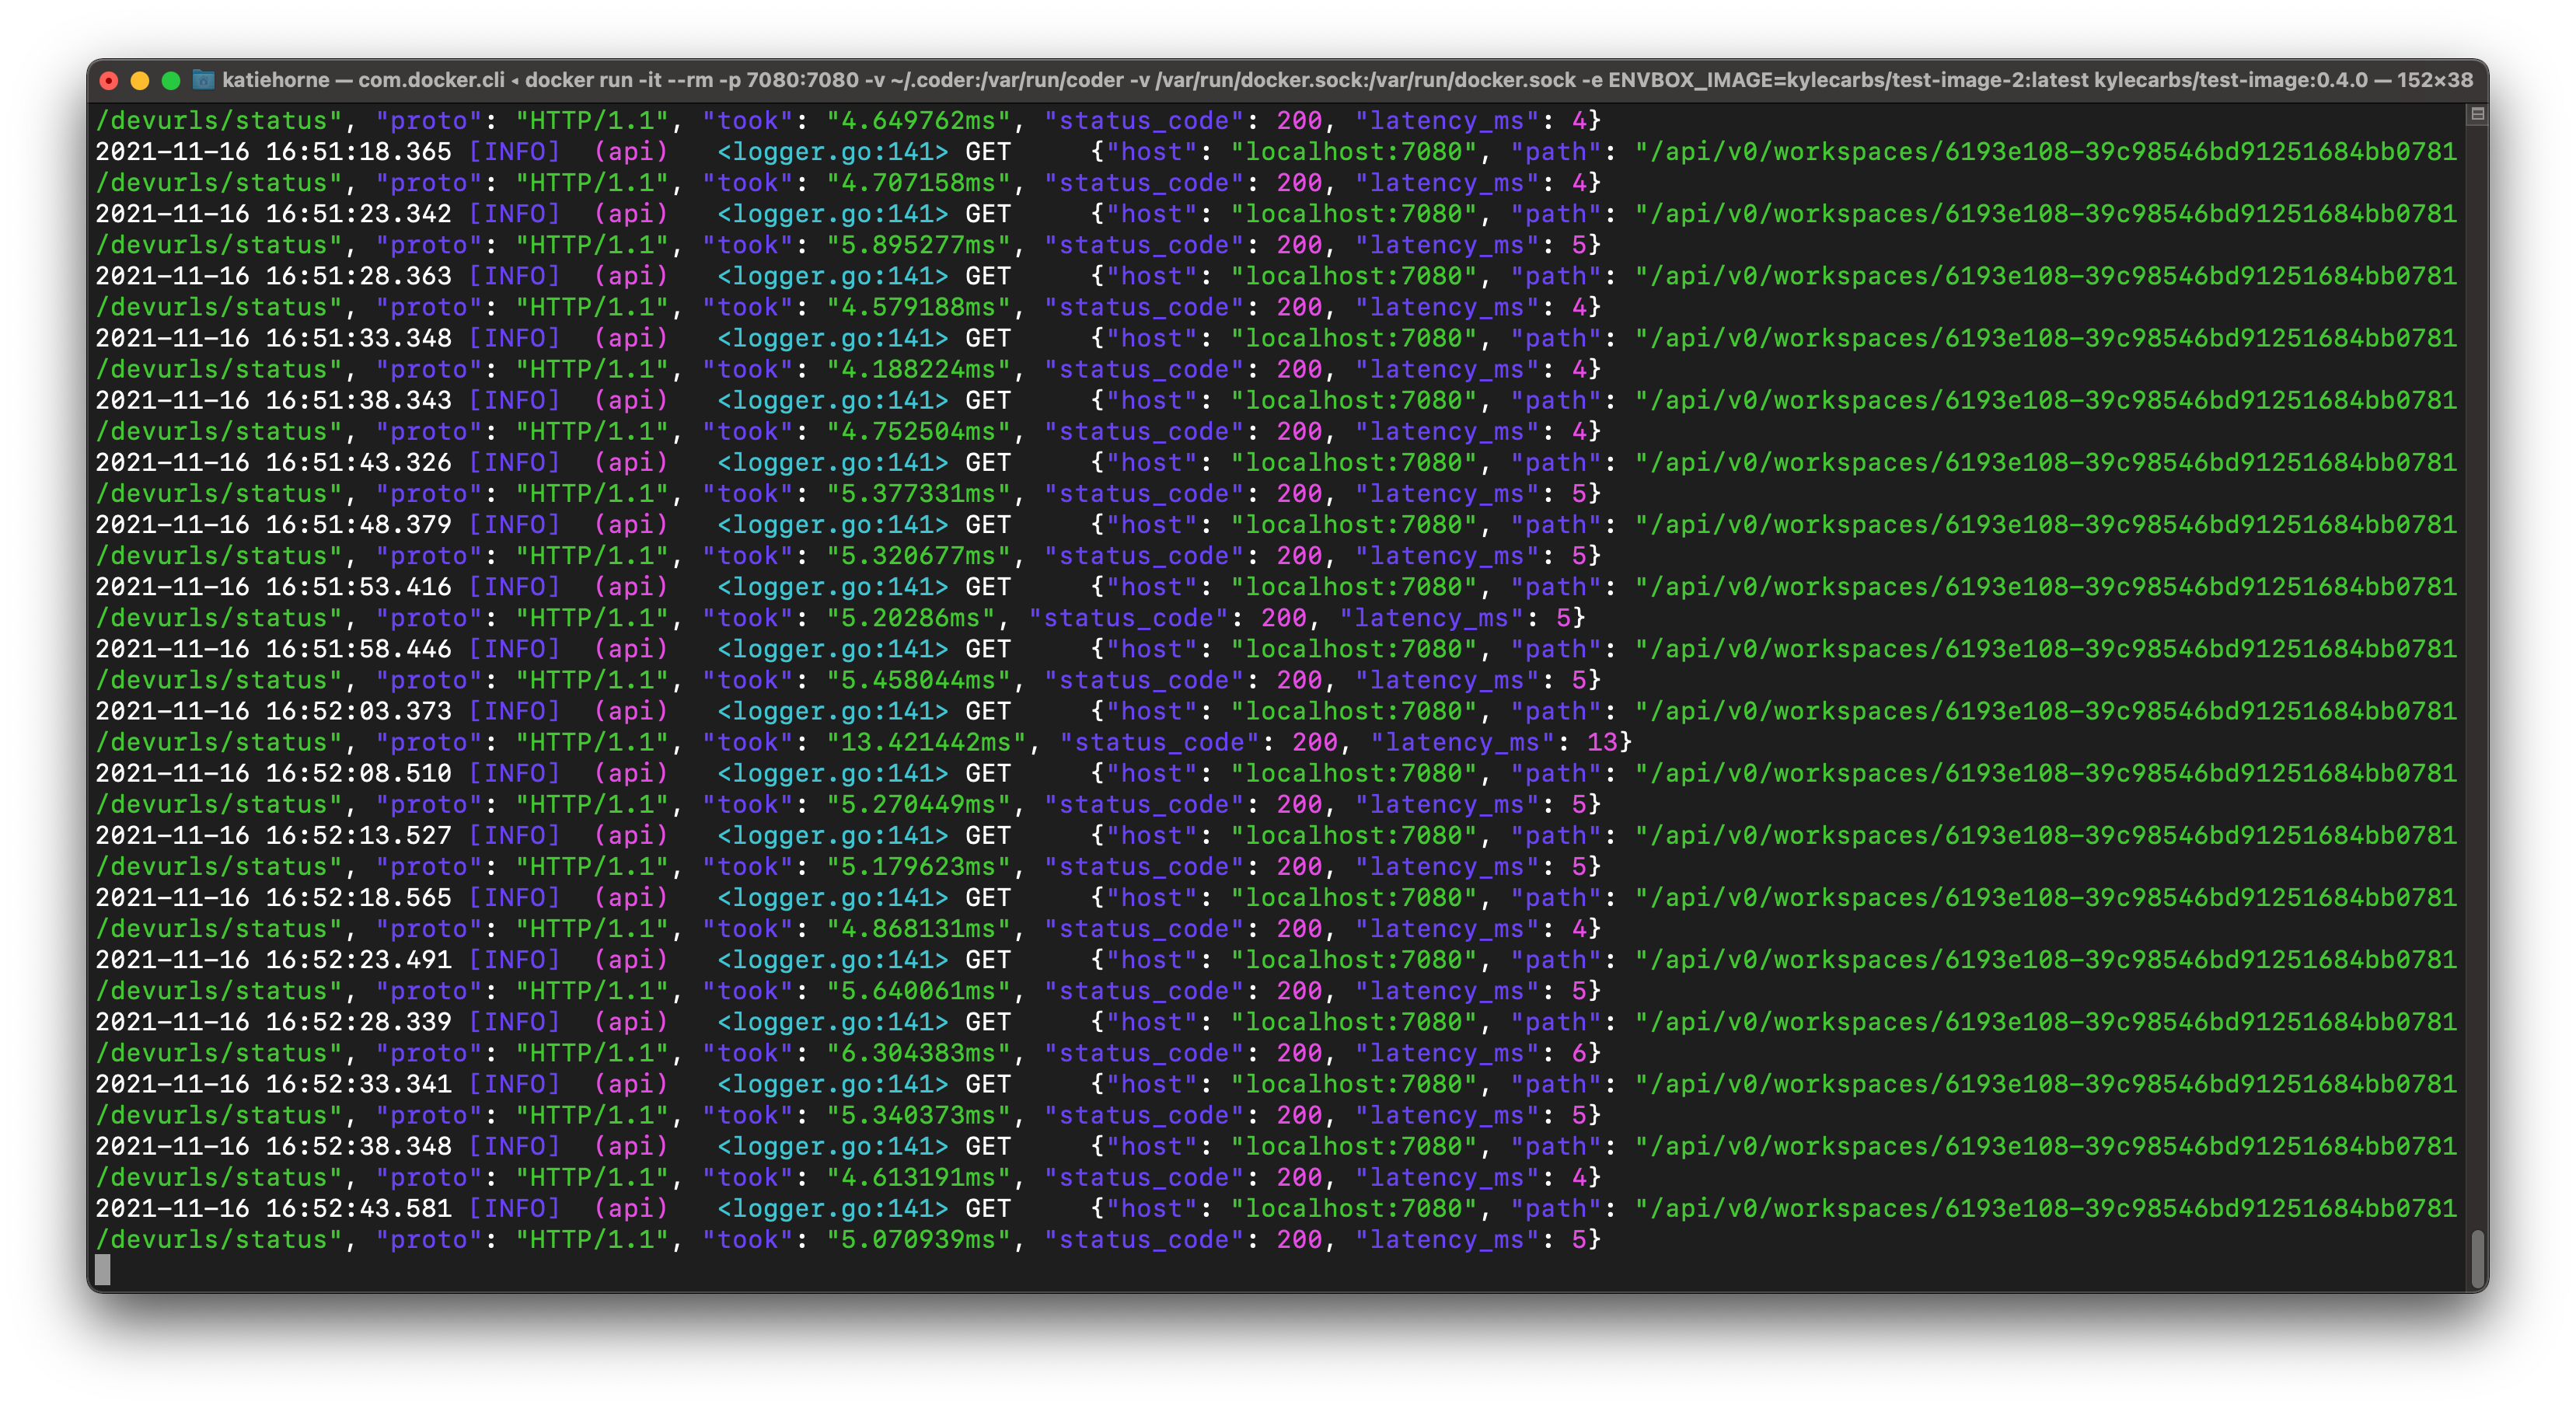
You can also view runtime information (i.e., API calls) in the console where you started your deployment:
Dev URLs
To use a dev URL, set an environment variable when issuing the docker run
command to start your deployment (be sure to replace the placeholder URL):
DEVURL_HOST="*.mycompany.com"
For example:
docker run --rm -it -p 7080:7080 -v /var/run/docker.sock:/var/run/docker.sock -v ~/.coder:/var/run/coder -e DEVURL_HOST="*.mycompany.com" codercom/coder:1.28.2
Use an external PostgreSQL database
If you'd like to use an external database, you must:
-
Disable the embedded database by setting the
DB_EMBEDDEDenvironment variable (see the next code snippet for an example) -
Provide the connection information to the external PostgreSQL database:
docker run --rm -it -p 7080:7080 \
   -v /var/run/docker.sock:/var/run/docker.sock \
   -v ~/.coder:/var/run/coder \
   # Disable using the embedded DB
   -e DB_EMBEDDED="" \
   # Change these values to match those for your database
   -e DB_HOST=127.0.0.1 \
   -e DB_PORT=5432 \
   -e DB_USER=postgres \
   -e DB_PASSWORD="" \
   -e DB_NAME=postgres \
   -e DB_SSL_MODE=disable \
   codercom/coder:1.28.2
Coder supports client TLS certificates using DB_SSL_MODE=verify-full. Ensure
that you mount the certs into the container (and add the flag
-v <local_certs>:/certs). Then, specify the certificate path using environment
variables:
| Flag/environment variable | Description |
|---|---|
-e DB_CERT=/certs/client.crt | The path to the client cert signed by the CA |
-e DB_KEY=/certs/client.key | The path to the client secret |
-e DB_ROOT_CERT=/certs/myCA.crt | The path to the trusted CA cert |
Admin password
If you want to set (or reset) your admin password, use the
-e SUPER_ADMIN_PASSWORD=<password> flag with the docker run command.
Scaling
Coder for Docker is limited by the resources of the machine on which it runs. We recommend using Kubernetes or AWS EC2 providers if you would like automatic multi-machine scaling.
For organizations, we recommend one Docker host per team of 5-10 developers.
Docker Compose
You can also use Docker Compose to run Coder in Docker.
To do so:
-
Create a new directory (we recommend something like
c4d, but you can name it whatever you'd like) -
Within the newly created directory, create a file named
docker-compose.ymlthat includes the following:version: "3.5" services: coder: image: docker.io/codercom/coder:1.28.2 container_name: coderd restart: unless-stopped ports: - 7080:7080/tcp volumes: - /var/run/docker.sock:/var/run/docker.sock - ${HOME}/.coder:/var/run/coder -
In the terminal, navigate into the folder you created and run:
docker-compose up -d
Coder will now run in the background.
For more detailed information on the Docker Compose file, please see Docker's docs.
Coder templates
You can use templates with Coder for Docker to define how Coder builds your workspaces.
To use a standard Coder workspace template for Docker:
- Change the
workspace.typeandworkspace.specstodocker - Remove any Kubernetes-specific
workspace.specs.kubernetes values(e.g.,cpu,memory,gpu)
Your configuration file will look something like the following:
version: 0.2
workspace:
  type: docker
  specs:
    docker:
      image:
        value: index.docker.io/codercom/enterprise-intellij:ubuntu
      container-based-vm:
        value: false
  configure:
    start:
    ...
Ensure that user IPs show up in the audit logs
If you would like users' IP addresses to show up in the audit logs (i.e.,
identify the originating client IP address, regardless of whether they're
connecting through a proxy, load balancer, or other such service), use the
-e "PROXY_TRUSTED_HEADERS=X-Forwarded-For" flag with the docker run command.
Known issues
Currently, Coder for Docker does not support:
- The use of your own TLS certificates. If you'd like to use TLS with Coder for Docker, you'll need to run Coder behind a reverse proxy (e.g., Caddy or NGINX) and terminate TLS at that point. See our guide for information.
- Air-gapped deployments/offline installs
