

Templates
Templates are written in Terraform and define the underlying infrastructure that all Coder workspaces run on.
The template builder is the recommended way to create templates. It guides you through selecting base infrastructure, adding modules, and configuring your template without writing Terraform.
Learn the concepts
While templates are written in standard Terraform, it's important to learn the Coder-specific concepts behind templates. The best way to learn the concepts is by creating a basic template from scratch. If you are unfamiliar with Terraform, see Hashicorp's Tutorials for common cloud providers.
Create a template
The fastest way to get started is with the template builder, which composes a working template from a base infrastructure template and optional registry modules. Starter templates for popular platforms (AWS, Kubernetes, Docker, and others) are available as base templates in the builder, or through the CLI.
Extending templates
It's often necessary to extend the template to make it generally useful to end users. Common modifications are:
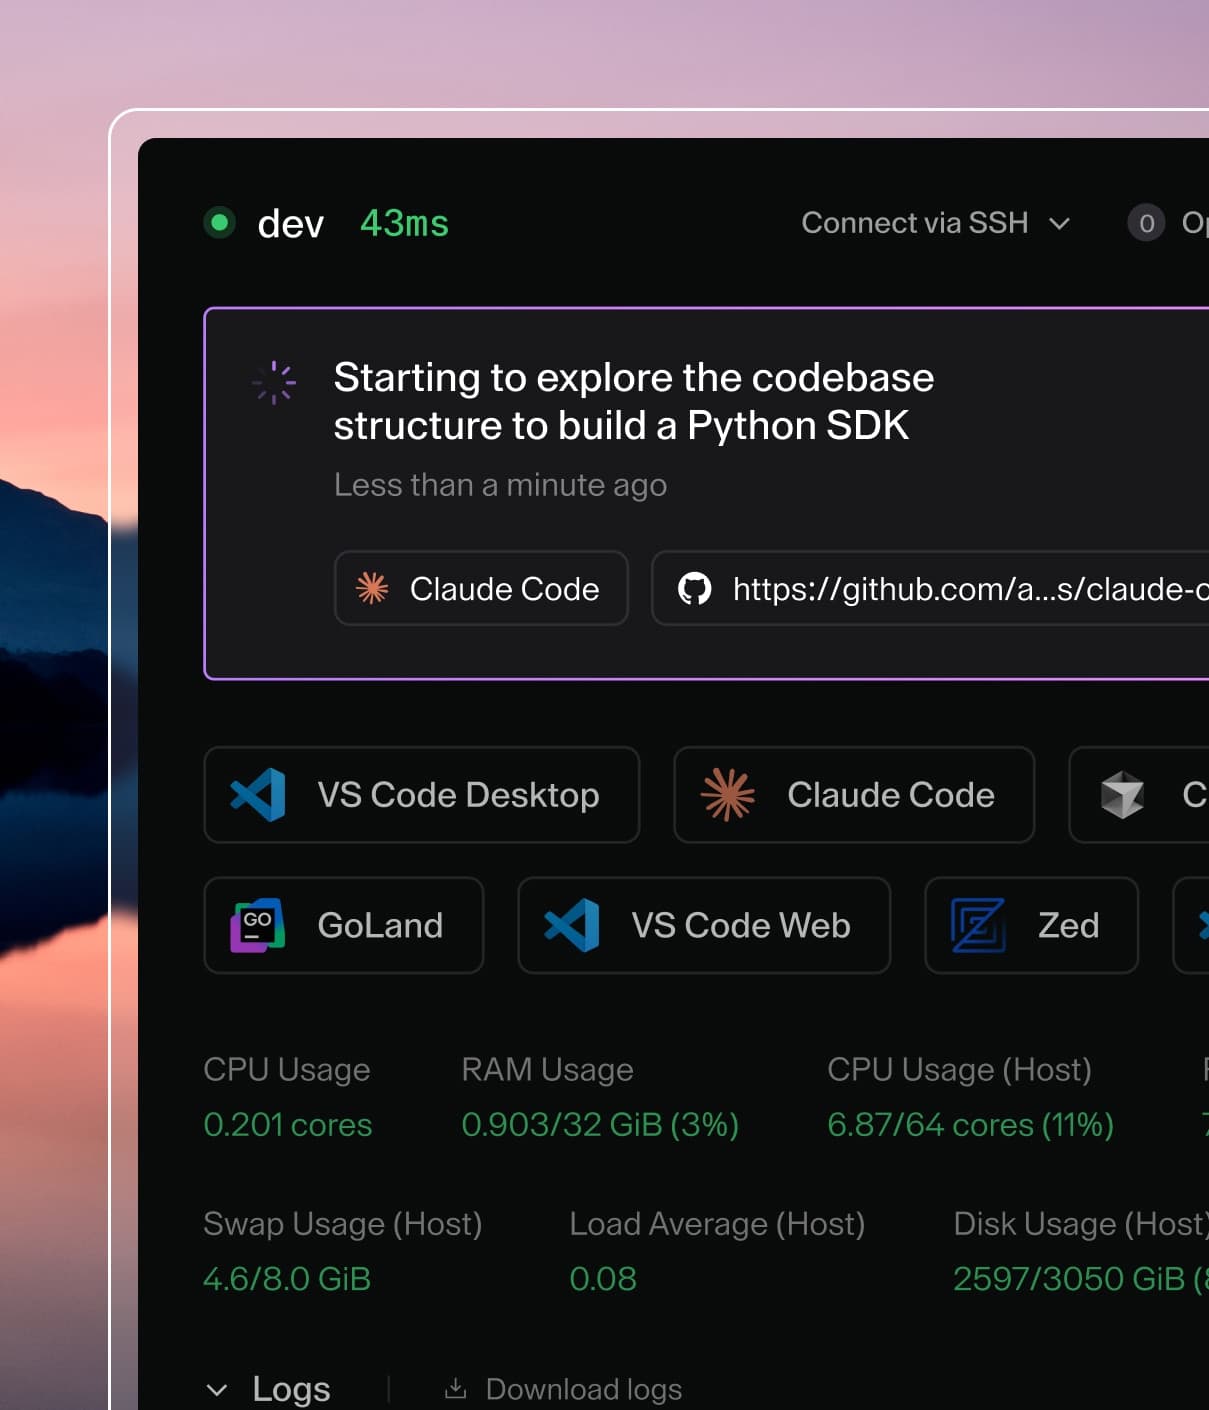
- Your image(s) (e.g. a Docker image with languages and tools installed). Docs: Image management.
- Additional parameters (e.g. disk size, instance type, or region). Docs: Template parameters.
- Additional IDEs (e.g. JetBrains) or features (e.g. dotfiles, RDP). Docs: Adding IDEs and features.
Learn more about the various ways you can extend your templates.
Best Practices
We recommend starting with a universal template that can be used for basic tasks. As your Coder deployment grows, you can create more templates to meet the needs of different teams.
- Image management: Learn how to create and publish images for use within Coder workspaces & templates.
- Dev Containers integration: Enable
native dev containers support using
@devcontainers/cliand Docker. - Envbuilder: Alternative approach for environments without Docker access.
- Template hardening: Configure your template to prevent certain resources from being destroyed (e.g. user disks).
- Manage templates with Ci/Cd pipelines: Learn how to source control your templates and use GitOps to ensure template changes are reviewed and tested.
- Permissions and Policies: Control who may access and modify your template.
- External Workspaces: Learn how to connect your existing infrastructure to Coder workspaces.