
JetBrains Gateway
The following walkthrough details how to connect JetBrains Gateway to Coder.
Creating a new JetBrains Gateway Connection
-
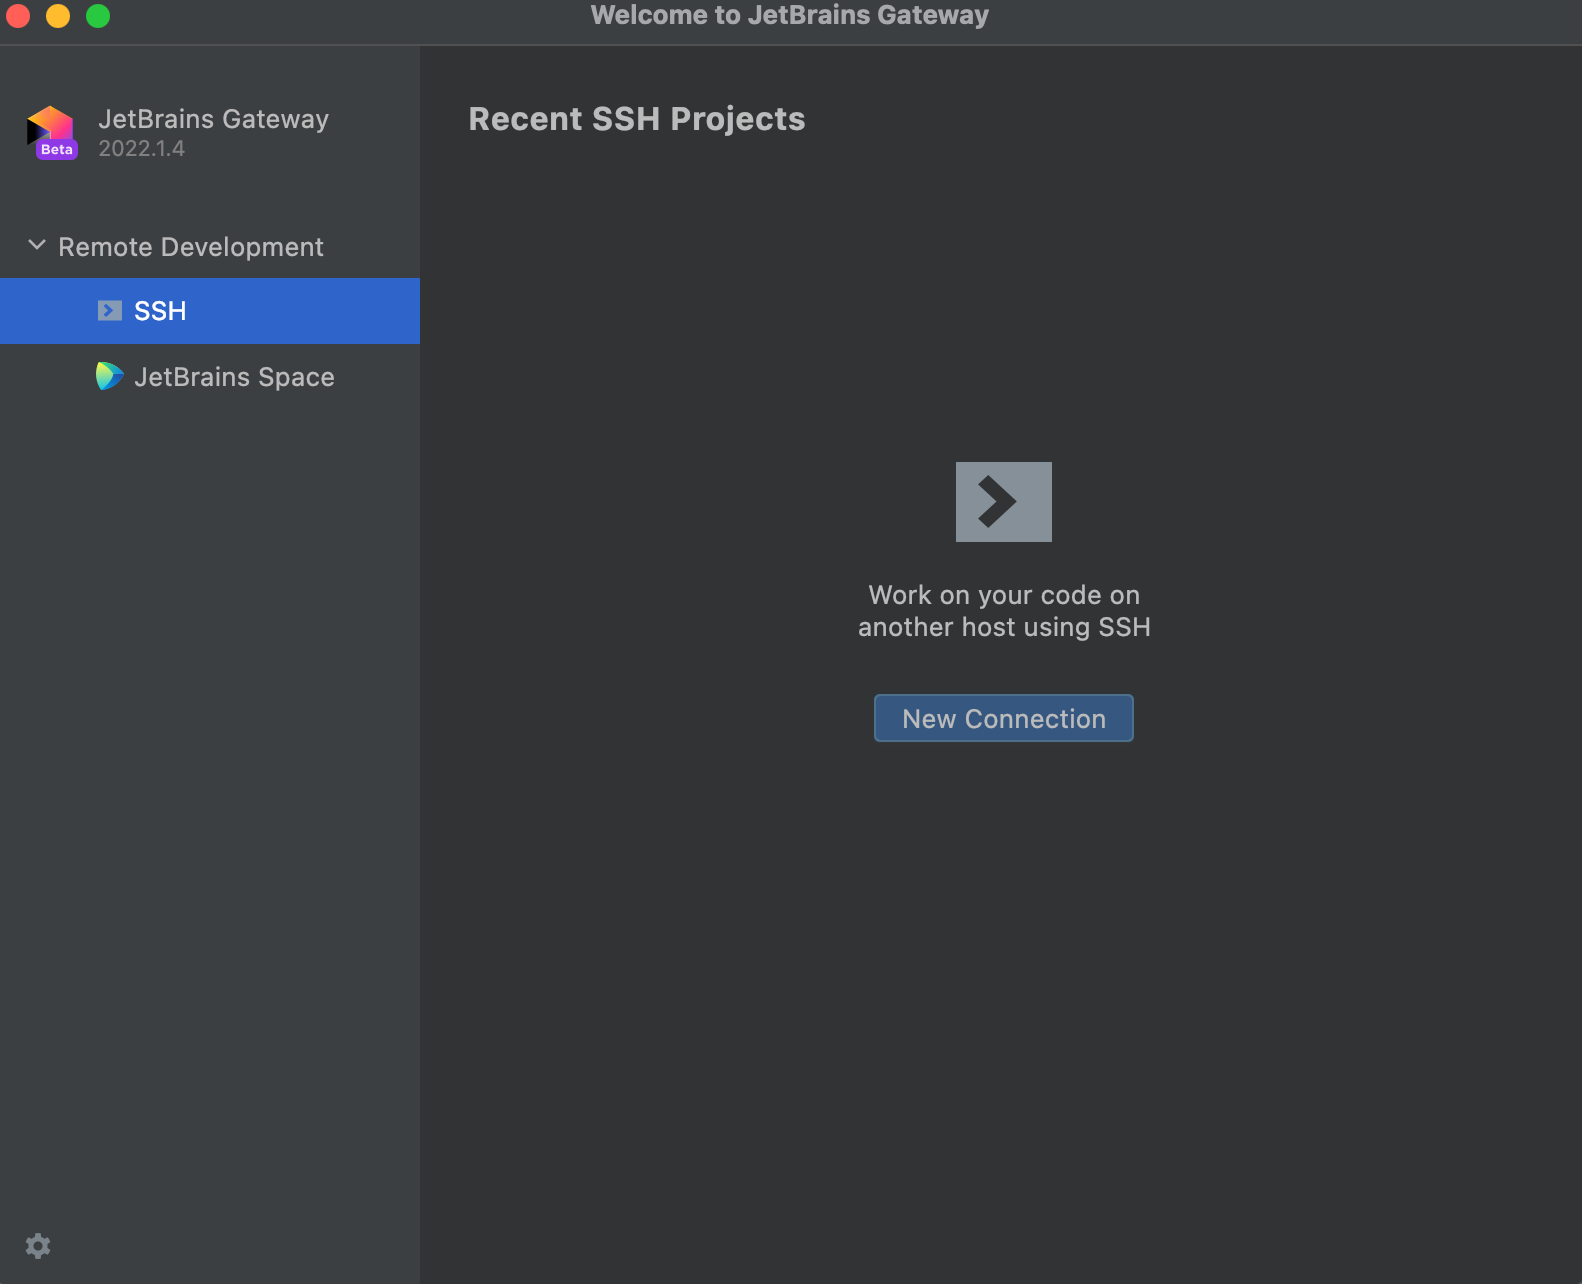
Open Gateway, make sure "SSH" is selected under "Remote Development"
-
Click "New Connection"
-
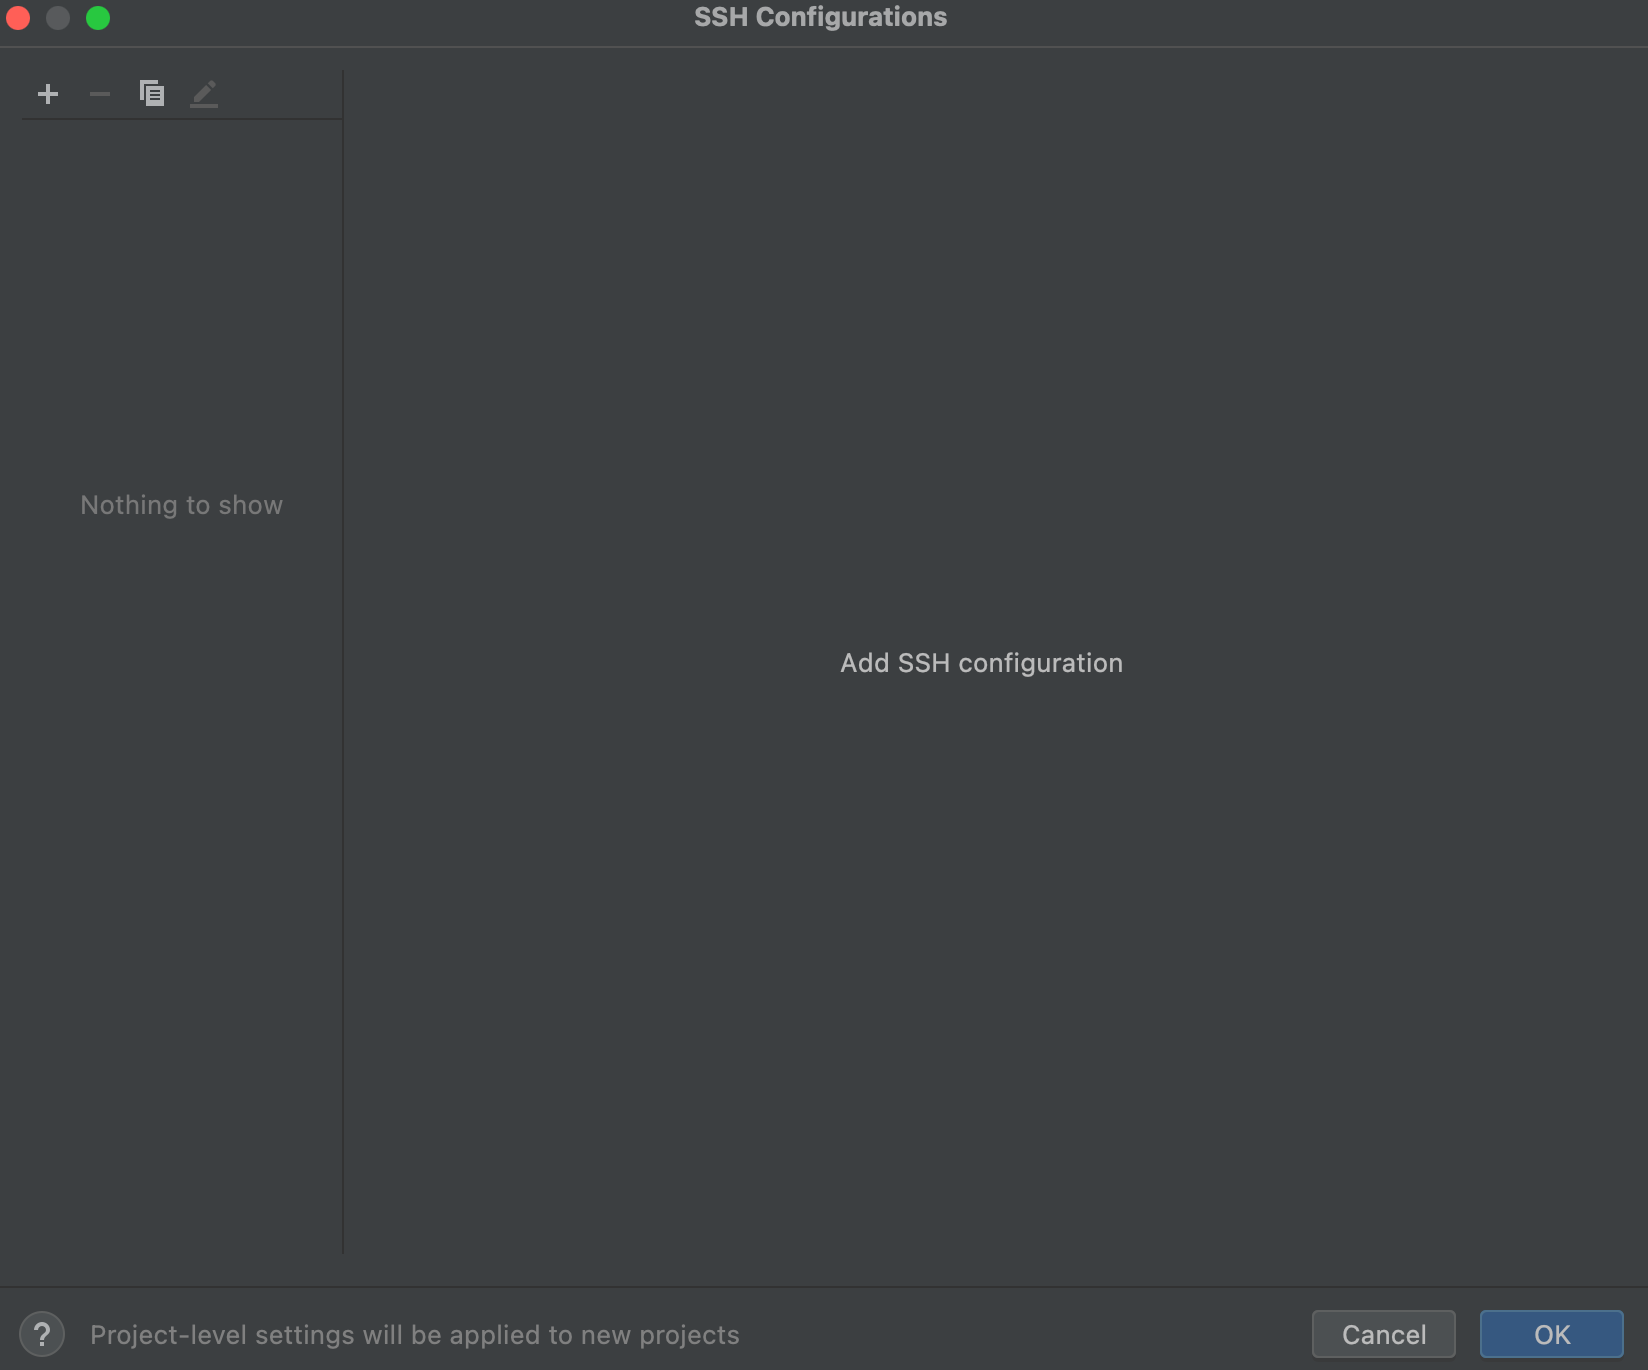
In the resulting dialog, click the gear icon to the right of "Connection:"

-
Hit the "+" button to add a new SSH connection
-
For the Host, enter
coder.<workspace name> -
For the Port, enter
22(this is ignored by Coder) -
For the Username, enter your workspace username
-
For the Authentication Type, select "OpenSSH config and authentication agent"
-
Make sure the checkbox for "Parse config file ~/.ssh/config" is checked.
-
Click "Test Connection" to validate these settings.
-
Click "OK"

-
Select the connection you just added

-
Click "Check Connection and Continue"

-
Select the JetBrains IDE for your project and the project directory. SSH into your server to create a directory or check out code if you haven't already.

Note the JetBrains IDE is remotely installed into
~/. cache/JetBrains/RemoteDev/dist -
Click "Download and Start IDE" to connect.
