Configuring Web IDEs
By default, Coder workspaces allow connections via:
- Web terminal
- SSH (plus any SSH-compatible IDE)
It's common to also let developers to connect via web IDEs.

In Coder, web IDEs are defined as coder_app resources in the template. With our generic model, any web application can be used as a Coder application. For example:
# Give template users the portainer.io web UI
resource "coder_app" "portainer" {
  agent_id      = coder_agent.dev.id
  name          = "portainer"
  icon          = "https://simpleicons.org/icons/portainer.svg"
  url           = "http://localhost:8000"
  relative_path = true
}
code-server

code-server is our supported method of running VS Code in the web browser. A simple way to install code-server in Linux/MacOS workspaces is via the Coder agent in your template:
# edit your template
cd your-template/
vim main.tf
resource "coder_agent" "dev" {
    arch          = "amd64"
    os            = "linux"
    startup_script = <<EOF
    #!/bin/sh
    # install and start code-server
    curl -fsSL https://code-server.dev/install.sh | sh
    code-server --auth none --port 13337
    EOF
}
For advanced use, we recommend installing code-server in your VM snapshot or container image. Here's a Dockerfile which leverages some special code-server features:
FROM codercom/enterprise-base:ubuntu

# install a specific code-server version
RUN curl -fsSL https://code-server.dev/install.sh | sh -s -- --version=4.3.0

# pre-install versions
RUN code-server --install-extension eamodio.gitlens

# directly start code-server with the agent's startup_script (see above),
# or use a proccess manager like supervisord
You'll also need to specify a coder_app resource related to the agent. This is how code-server is displayed on the workspace page.
resource "coder_app" "code-server" {
  agent_id = coder_agent.dev.id
  name     = "code-server"
  url      = "http://localhost:13337/?folder=/home/coder"
  icon     = "/icon/code.svg"
}
If the code-server integrated terminal fails to load, (i.e., xterm fails to load), go to DevTools to ensure xterm is loaded, clear your browser cache and refresh.
VNC Desktop

You may want a full desktop environment to develop with/preview specialized software.
Workspace requirements:
Installation instructions will vary depending on your workspace's operating system, platform, and build system.
Coder-provided VNC clients are on the roadmap (#2106).
As a starting point, see the desktop-container community template. It builds & provisions a Dockerized workspace with the following software:
- Ubuntu 20.04
- TigerVNC server
- noVNC client
- XFCE Desktop
JetBrains Projector
JetBrains Projector is a JetBrains Incubator project which renders JetBrains IDEs in the web browser.

It is common to see latency and performance issues with Projector. We recommend using Jetbrains Gateway whenever possible (also no Template edits required!)
Workspace requirements:
-
JetBrains projector CLI
-
At least 4 CPU cores and 4 GB RAM
-
CLion
-
pyCharm
-
DataGrip
-
IntelliJ IDEA Community
-
IntelliJ IDEA Ultimate
-
PhpStorm
-
pyCharm Community
-
PyCharm Professional
-
Rider
-
Rubymine
-
WebStorm
-
➕ code-server (just in case!)
For advanced users who want to make a custom image, you can install the Projector CLI in the startup_script of the coder_agent resource in a Coder template. Using the Projector CLI, you can use projector ide autoinstall and projector run to download and start a JetBrains IDE in your workspace.

In this example, the version of JetBrains IntelliJ IDE is passed in from a Terraform input variable. You create a JetBrains icon in the workspace using a coder_app resource.
There is a known issue passing query string parameters when opening a JetBrains IDE from an icon in your workspace (#2669). Note the
grepstatement to remove an optional password token from the configuration so a query string parameter is not passed.
variable "jetbrains-ide" {
  description = "JetBrains IntelliJ IDE"
  default     = "IntelliJ IDEA Community Edition 2022.1.3"
  validation {
    condition = contains([
      "IntelliJ IDEA Community Edition 2022.1.3",
      "IntelliJ IDEA Community Edition 2021.3",
      "IntelliJ IDEA Ultimate 2022.1.3",
      "IntelliJ IDEA Ultimate 2021.3"
    ], var.jetbrains-ide)
    # Find all compatible IDEs with the `projector IDE find` command
    error_message = "Invalid JetBrains IDE!"
}
}

resource "coder_agent" "coder" {
  dir = "/home/coder"
  startup_script = <<EOT
#!/bin/bash

# install projector
PROJECTOR_BINARY=/home/coder/.local/bin/projector
if [ -f $PROJECTOR_BINARY ]; then
    echo 'projector has already been installed - check for update'
    /home/coder/.local/bin/projector self-update 2>&1 | tee projector.log
else
    echo 'installing projector'
    pip3 install projector-installer --user 2>&1 | tee projector.log
fi

echo 'access projector license terms'
/home/coder/.local/bin/projector --accept-license 2>&1 | tee -a projector.log

PROJECTOR_CONFIG_PATH=/home/coder/.projector/configs/intellij

if [ -d "$PROJECTOR_CONFIG_PATH" ]; then
    echo 'projector has already been configured and the JetBrains IDE downloaded - skip step' 2>&1 | tee -a projector.log
else
    echo 'autoinstalling IDE and creating projector config folder'
    /home/coder/.local/bin/projector ide autoinstall --config-name "intellij" --ide-name "${var.jetbrains-ide}" --hostname=localhost --port 8997 --use-separate-config --password coder 2>&1 | tee -a projector.log

    # delete the configuration's run.sh input parameters that check password tokens since tokens do not work with coder_app yet passed in the querystring
    grep -iv "HANDSHAKE_TOKEN" $PROJECTOR_CONFIG_PATH/run.sh > temp && mv temp $PROJECTOR_CONFIG_PATH/run.sh 2>&1 | tee -a projector.log
    chmod +x $PROJECTOR_CONFIG_PATH/run.sh 2>&1 | tee -a projector.log

    echo "creation of intellij configuration complete" 2>&1 | tee -a projector.log
fi
# start JetBrains projector-based IDE
/home/coder/.local/bin/projector run intellij &

EOT
}

resource "coder_app" "intellij" {
  agent_id      = coder_agent.coder.id
  name          = "${var.jetbrains-ide}"
  icon          = "/icon/intellij.svg"
  url           = "http://localhost:8997/"
  relative_path = true
}
Pre-built templates:
You can also reference/use to these pre-built templates with JetBrains projector:
-
IntelliJ (Docker, Kubernetes)
-
PyCharm (Docker, Kubernetes
-
GoLand (Docker, Kubernetes)
You need to have a valid
~/.kube/configon your Coder host and a namespace on a Kubernetes cluster to use the Kubernetes pod template examples.

You need to have a valid
~/.kube/configon your Coder host and a namespace on a Kubernetes cluster to use the Kubernetes pod template examples.
Coder OSS currently does not perform a health check(#2662) that any IDE or commands in the
startup_scripthave completed, so wait a minute or so before opening the JetBrains or code-server icons. As a precaution, you can open Terminal and runhtopto see if the processes have completed.
JupyterLab
Configure your agent and coder_app like so to use Jupyter:
data "coder_workspace" "me" {}

## The name of the app must always be equal to the "/apps/<name>"
## string in the base_url. This caveat is unique to Jupyter.

resource "coder_agent" "coder" {
  os   = "linux"
  arch = "amd64"
  dir  = "/home/coder"
  startup_script = <<-EOF
pip3 install jupyterlab
jupyter lab --ServerApp.base_url=/@${data.coder_workspace.me.owner}/${data.coder_workspace.me.name}/apps/jupyter/ --ServerApp.token='' --ip='*'
EOF
}

resource "coder_app" "jupyter" {
  agent_id = coder_agent.coder.id
  url = "http://localhost:8888/@${data.coder_workspace.me.owner}/${data.coder_workspace.me.name}/apps/jupyter"
  icon = "/icon/jupyter.svg"
}

SSH Fallback
Certain Web IDEs don't support URL base path adjustment and thus can't be exposed with
coder_app. In these cases you can use SSH.
RStudio
resource "coder_agent" "coder" {
  os   = "linux"
  arch = "amd64"
  dir = "/home/coder"
  startup_script = <<EOT
#!/bin/bash
# start rstudio
/usr/lib/rstudio-server/bin/rserver --server-daemonize=1 --auth-none=1 &
EOT
}
From your local machine, start port forwarding and then open the IDE on http://localhost:8787.
ssh -L 8787:localhost:8787 coder.<RStudio workspace name>
Check out this RStudio Dockerfile for a starting point to creating a template.

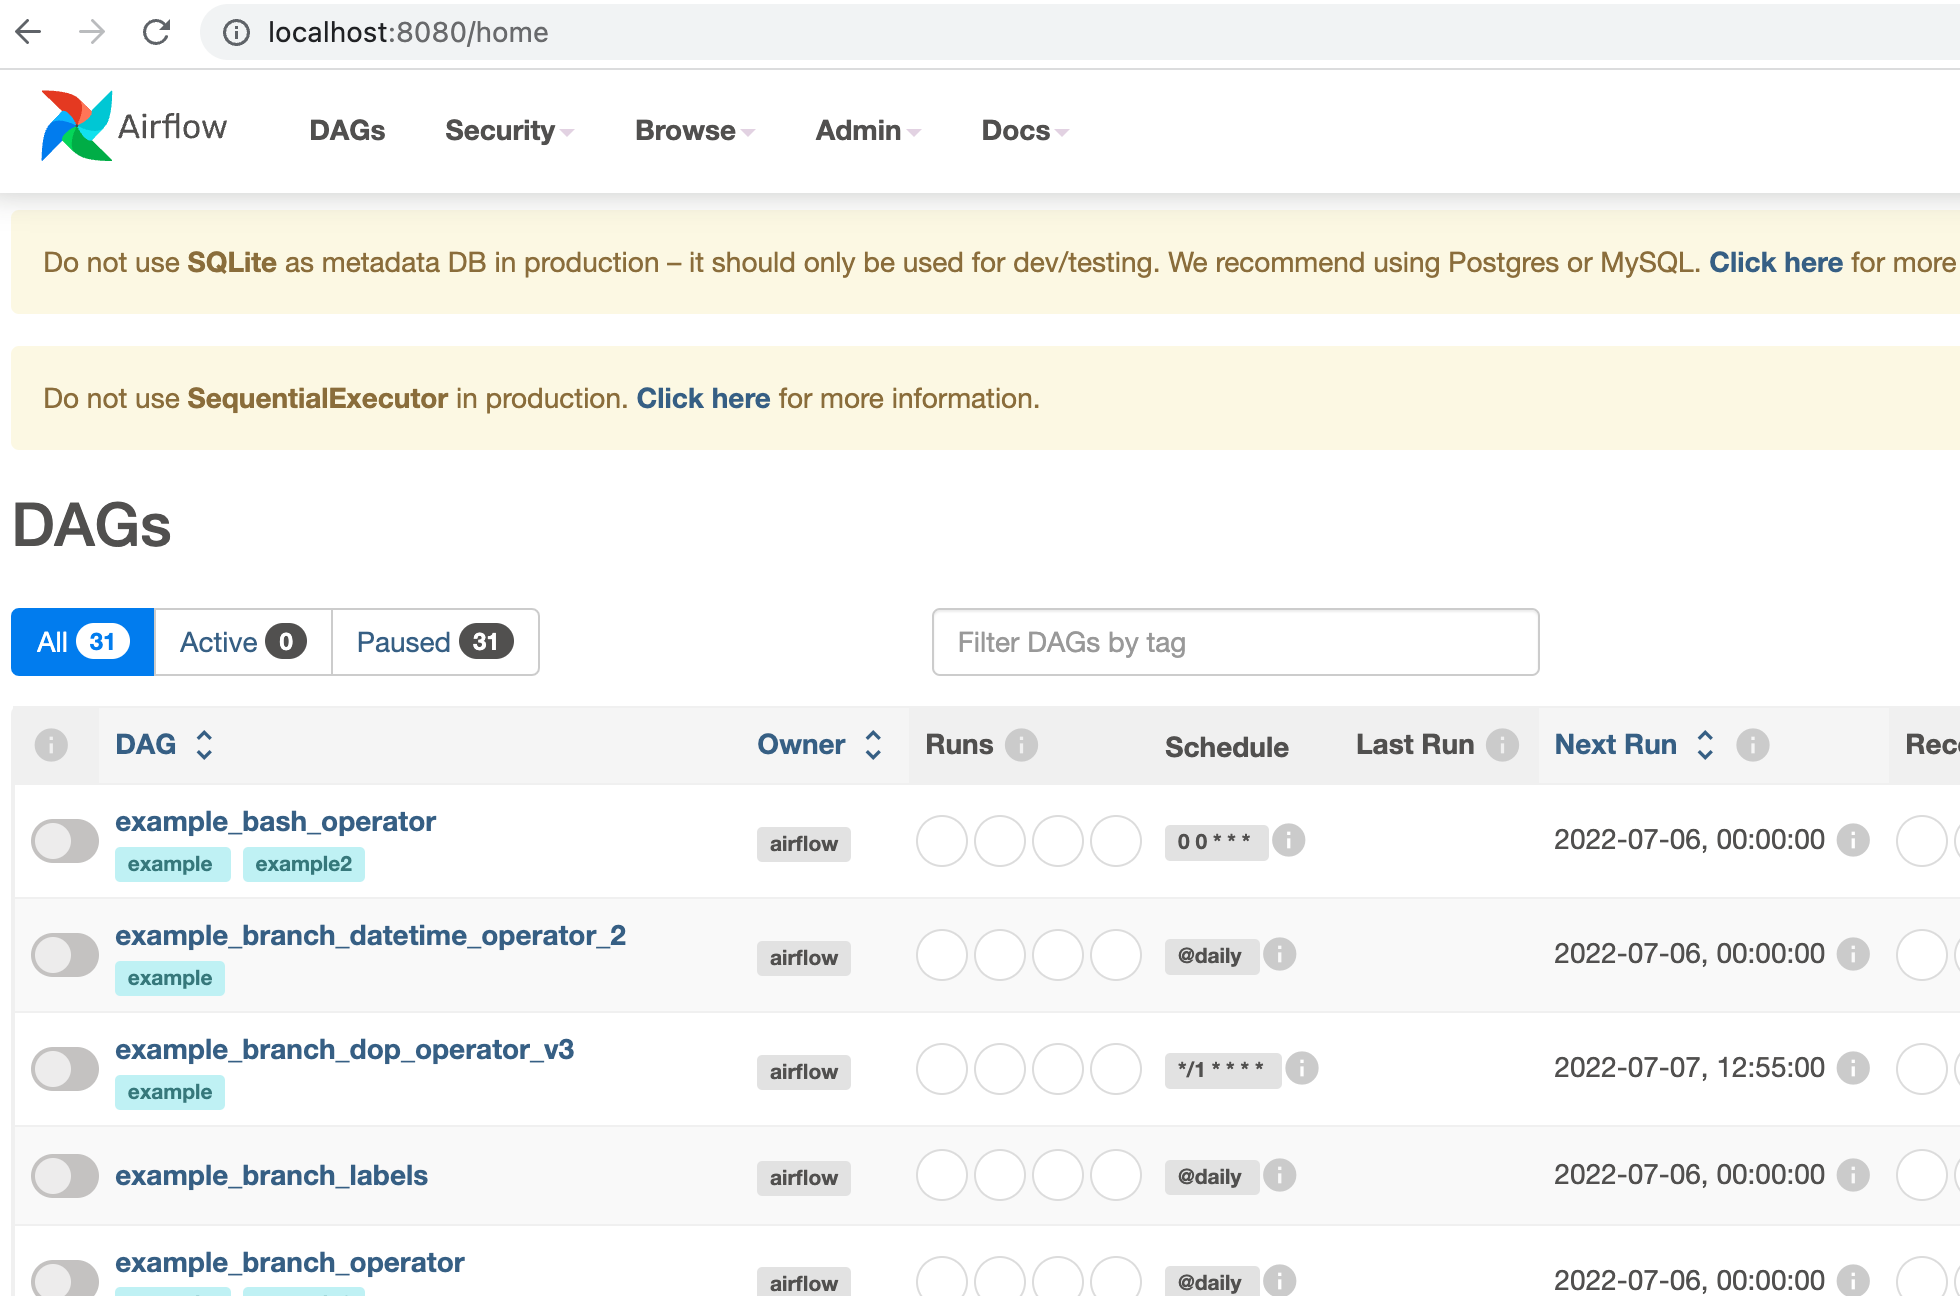
Airflow
resource "coder_agent" "coder" {
  os   = "linux"
  arch = "amd64"
  dir = "/home/coder"
  startup_script = <<EOT
#!/bin/bash
# install and start airflow
pip3 install apache-airflow 2>&1 | tee airflow-install.log
/home/coder/.local/bin/airflow standalone  2>&1 | tee airflow-run.log &
EOT
}
From your local machine, start port forwarding and then open the IDE on http://localhost:8080.
ssh -L 8080:localhost:8080 coder.<Airflow workspace name>


