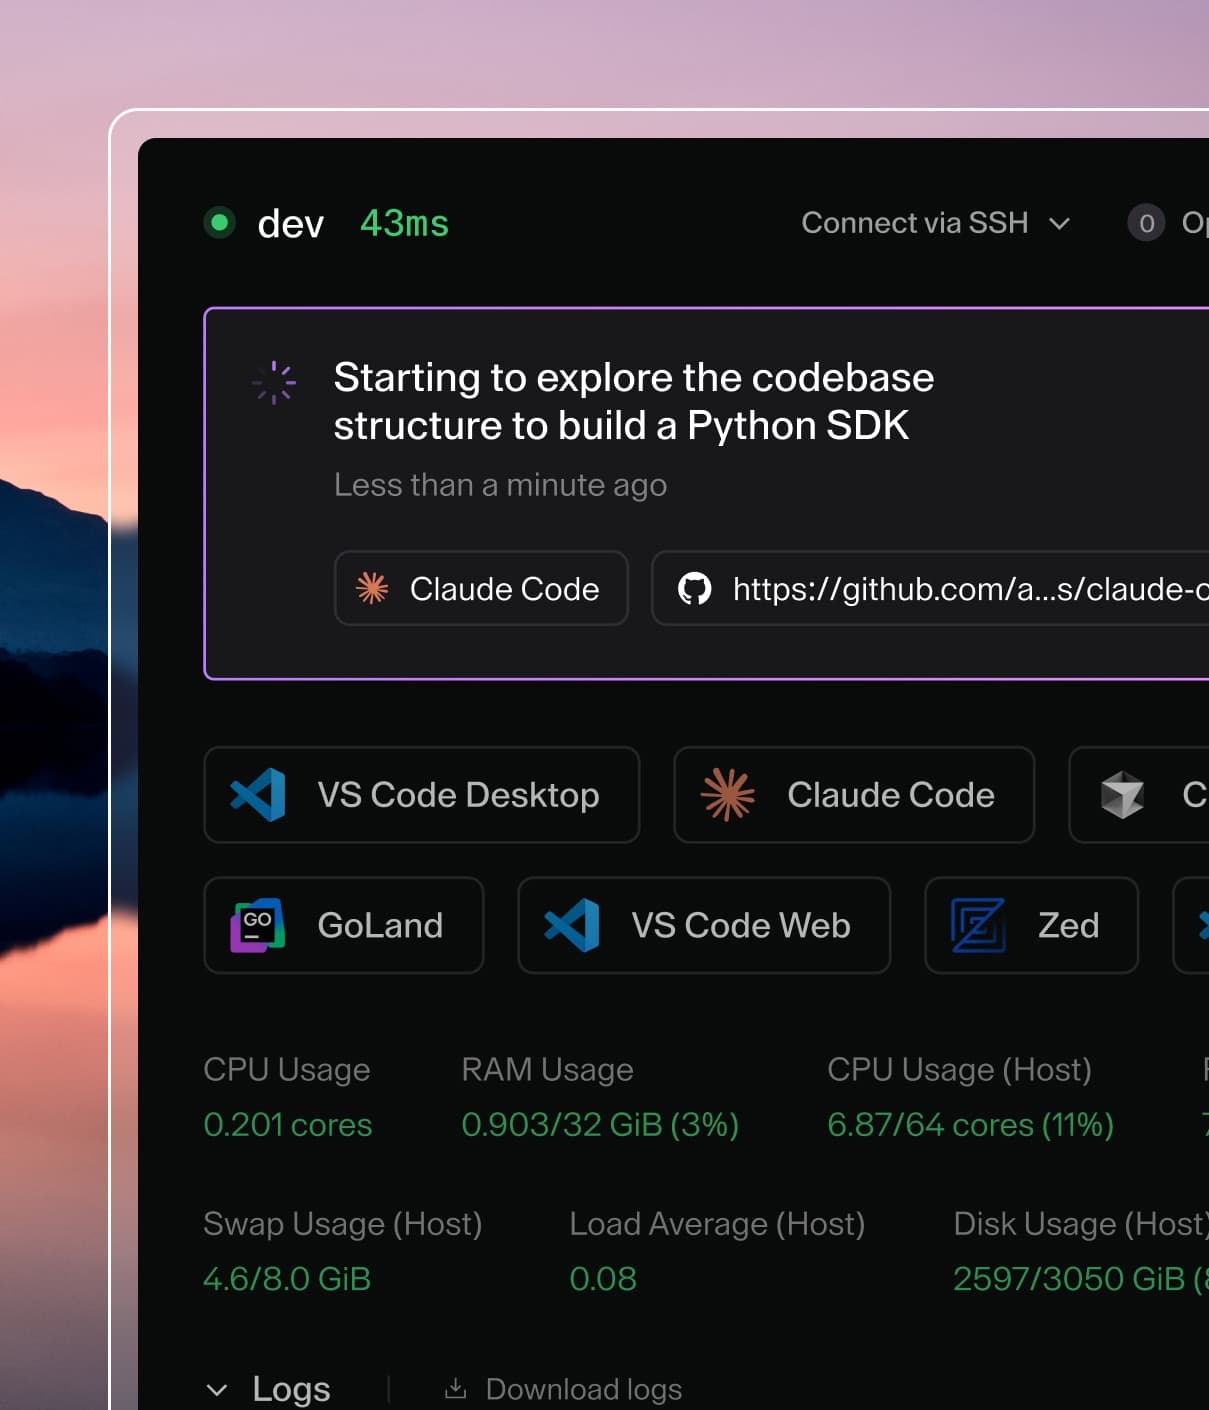
Coder powers secure, scalable development across key industries — automotive, finance, government, and technology — enabling faster builds, tighter compliance, and seamless AI adoption in enterprise-grade cloud environments.
By default, Coder is accessible via password authentication. Coder does not
recommend using password authentication in production, and recommends using an
authentication provider with properly configured multi-factor authentication
(MFA). It is your responsibility to ensure the auth provider enforces MFA
correctly.
The following steps explain how to set up GitHub OAuth or OpenID Connect.
Homepage URL: Set to your Coder deployments
CODER_ACCESS_URL (e.g.
https://coder.domain.com)
User Authorization Callback URL: Set to https://coder.domain.com
Note: If you want to allow multiple coder deployments hosted on subdomains
e.g. coder1.domain.com, coder2.domain.com, to be able to authenticate with the
same GitHub OAuth app, then you can set User Authorization Callback URL to
the https://domain.com
Note the Client ID and Client Secret generated by GitHub. You will use these
values in the next step.
Coder will need permission to access user email addresses. Find the "Account
Permissions" settings for your app and select "read-only" for "Email addresses".
Step 2: Configure Coder with the OAuth credentials
Navigate to your Coder host and run the following command to start up the Coder
server:
coder server --oauth2-github-allow-signups=true --oauth2-github-allowed-orgs="your-org" --oauth2-github-client-id="8d1...e05" --oauth2-github-client-secret="57ebc9...02c24c"
For GitHub Enterprise support, specify the
--oauth2-github-enterprise-base-url flag.
Alternatively, if you are running Coder as a system service, you can achieve the
same result as the command above by adding the following environment variables
to the /etc/coder.d/coder.env file:
We recommend requiring and auditing MFA usage for all users in your GitHub
organizations. This can be enforced from the organization settings page in the
"Authentication security" sidebar tab.
OpenID Connect
The following steps through how to integrate any OpenID Connect provider (Okta,
Active Directory, etc.) to Coder.
Step 1: Set Redirect URI with your OIDC provider
Your OIDC provider will ask you for the following parameter:
Redirect URI: Set to https://coder.domain.com/api/v2/users/oidc/callback
Step 2: Configure Coder with the OpenID Connect credentials
Navigate to your Coder host and run the following command to start up the Coder
server:
coder server --oidc-issuer-url="https://issuer.corp.com" --oidc-email-domain="your-domain-1,your-domain-2" --oidc-client-id="533...des" --oidc-client-secret="G0CSP...7qSM"
If you are running Coder as a system service, you can achieve the same result as
the command above by adding the following environment variables to the
/etc/coder.d/coder.env file:
When a user logs in for the first time via OIDC, Coder will merge both the
claims from the ID token and the claims obtained from hitting the upstream
provider's userinfo endpoint, and use the resulting data as a basis for
creating a new user or looking up an existing user.
To troubleshoot claims, set CODER_VERBOSE=true and follow the logs while
signing in via OIDC as a new user. Coder will log the claim fields returned by
the upstream identity provider in a message containing the string
got oidc claims, as well as the user info returned.
Note: If you need to ensure that Coder only uses information from the ID
token and does not hit the UserInfo endpoint, you can set the configuration
option CODER_OIDC_IGNORE_USERINFO=true.
Email Addresses
By default, Coder will look for the OIDC claim named email and use that value
for the newly created user's email address.
If your upstream identity provider users a different claim, you can set
CODER_OIDC_EMAIL_FIELD to the desired claim.
Note If this field is not present, Coder will attempt to use the claim
field configured for username as an email address. If this field is not a
valid email address, OIDC logins will fail.
Email Address Verification
Coder requires all OIDC email addresses to be verified by default. If the
email_verified claim is present in the token response from the identity
provider, Coder will validate that its value is true. If needed, you can
disable this behavior with the following setting:
CODER_OIDC_IGNORE_EMAIL_VERIFIED=true
Note: This will cause Coder to implicitly treat all OIDC emails as
"verified", regardless of what the upstream identity provider says.
Usernames
When a new user logs in via OIDC, Coder will by default use the value of the
claim field named preferred_username as the the username.
If your upstream identity provider uses a different claim, you can set
CODER_OIDC_USERNAME_FIELD to the desired claim.
Note: If this claim is empty, the email address will be stripped of the
domain, and become the username (e.g. [email protected] becomes example).
To avoid conflicts, Coder may also append a random word to the resulting
username.
OIDC Login Customization
If you'd like to change the OpenID Connect button text and/or icon, you can
configure them like so:
CODER_OIDC_SIGN_IN_TEXT="Sign in with Gitea"
CODER_OIDC_ICON_URL=https://gitea.io/images/gitea.png
To change the icon and text above the OpenID Connect button, see application
name and logo url in appearance settings.
Disable Built-in Authentication
To remove email and password login, set the following environment variable on
your Coder deployment:
Coder supports user provisioning and deprovisioning via SCIM 2.0 with header
authentication. Upon deactivation, users are
suspended and are not deleted.
Configure your SCIM application with an auth key and supply it
the Coder server.
CODER_SCIM_AUTH_HEADER="your-api-key"
TLS
If your OpenID Connect provider requires client TLS certificates for
authentication, you can configure them like so:
If your OpenID Connect provider supports group claims, you can configure Coder
to synchronize groups in your auth provider to groups within Coder. To enable
group sync, ensure that the groups claim is being sent by your OpenID
provider. You might need to request an additional
scope or additional configuration on
the OpenID provider side.
If group sync is enabled, the user's groups will be controlled by the OIDC
provider. This means manual group additions/removals will be overwritten on the
next user login.
There are two ways you can configure group sync:
First, confirm that your OIDC provider is sending claims by logging in with OIDC
and visiting the following URL with an Owner account:
You should see a field in either id_token_claims, user_info_claims or both
followed by a list of the user's OIDC groups in the response. This is the
claim sent by
the OIDC provider. See
Troubleshooting to debug this.
Depending on the OIDC provider, this claim may be named differently. Common
ones include groups, memberOf, and roles.
Next configure the Coder server to read groups from the claim name with the
OIDC group field server flag:
# as an environment variable
CODER_OIDC_GROUP_FIELD=groups
# as a flag
--oidc-group-field groups
On login, users will automatically be assigned to groups that have matching
names in Coder and removed from groups that the user no longer belongs to.
For cases when an OIDC provider only returns group IDs (Azure AD)
or you want to have different group names in Coder than in your OIDC provider,
you can configure mapping between the two with the
OIDC group mapping server
flag.
# as an environment variable
CODER_OIDC_GROUP_MAPPING='{"myOIDCGroupID": "myCoderGroupName"}'
# as a flag
--oidc-group-mapping '{"myOIDCGroupID": "myCoderGroupName"}'
Below is an example mapping in the Coder Helm chart:
From the example above, users that belong to the myOIDCGroupID group in your
OIDC provider will be added to the myCoderGroupName group in Coder.
Group allowlist
You can limit which groups from your identity provider can log in to Coder with
CODER_OIDC_ALLOWED_GROUPS.
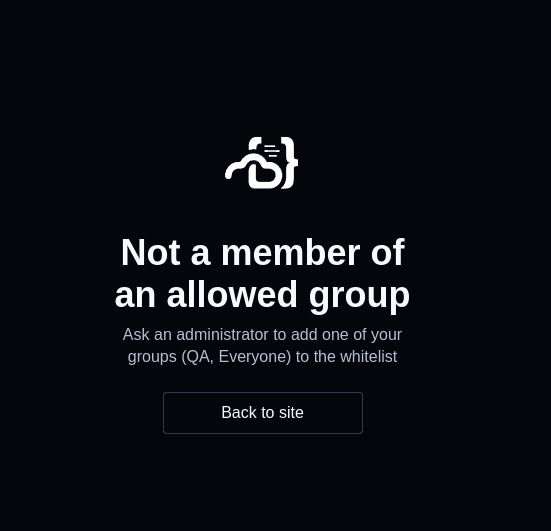
Users who are not in a matching group will see the following error:
You should see a field in either id_token_claims, user_info_claims or both
followed by a list of the user's OIDC roles in the response. This is the
claim sent by
the OIDC provider. See
Troubleshooting to debug this.
Depending on the OIDC provider, this claim may be named differently.
Next configure the Coder server to read groups from the claim name with the
OIDC role field server
flag:
Set the following in your Coder server configuration.
 # Depending on your identity provider configuration, you may need to explicitly request a "roles" scope
CODER_OIDC_SCOPES=openid,profile,email,roles

# The following fields are required for role sync:
CODER_OIDC_USER_ROLE_FIELD=roles
CODER_OIDC_USER_ROLE_MAPPING='{"TemplateAuthor":["template-admin","user-admin"]}'
One role from your identity provider can be mapped to many roles in Coder
(e.g. the example above maps to 2 roles in Coder.)
Note: In a future Coder release, this can be managed via the Coder UI instead
of server flags.
If your OpenID Connect provider supports groups/role claims, you can configure
Coder to synchronize claims in your auth provider to organizations within Coder.
First, confirm that your OIDC provider is sending clainms by logging in with
OIDC and visiting the following URL with an Owner account:
You should see a field in either id_token_claims, user_info_claims or both
followed by a list of the user's OIDC groups in the response. This is the
claim sent by
the OIDC provider. See
Troubleshooting to debug this.
Depending on the OIDC provider, this claim may be named differently. Common
ones include groups, memberOf, and roles.
Next configure the Coder server to read groups from the claim name with the
OIDC organization field
server flag:
# as an environment variable
CODER_OIDC_ORGANIZATION_FIELD=groups
Next, fetch the corresponding organization IDs using the following endpoint:
https://[coder.example.com]/api/v2/organizations
Set the following in your Coder server configuration.
One claim value from your identity provider can be mapped to many
organizations in Coder (e.g. the example above maps to 2 organizations in
Coder.)
By default, all users are assigned to the default (first) organization. You can
disable that with:
CODER_OIDC_ORGANIZATION_ASSIGN_DEFAULT=false
Troubleshooting group/role/organization sync
Some common issues when enabling group/role sync.
General guidelines
If you are running into issues with group/role sync, is best to view your Coder
server logs and enable
verbose mode. To reduce
noise, you can filter for only logs related to group/role sync:
Be sure to restart the server after changing these configuration values. Then,
attempt to log in, preferably with a user who has the Owner role.
The logs for a successful group sync look like this (human-readable):
[debu]  coderd.userauth: got oidc claims  request_id=49e86507-6842-4b0b-94d4-f245e62e49f3  source=id_token  claim_fields="[aio aud email exp groups iat idp iss name nbf oid preferred_username rh sub tid uti ver]"  blank=[]

[debu]  coderd.userauth: got oidc claims  request_id=49e86507-6842-4b0b-94d4-f245e62e49f3  source=userinfo  claim_fields="[email family_name given_name name picture sub]"  blank=[]

[debu]  coderd.userauth: got oidc claims  request_id=49e86507-6842-4b0b-94d4-f245e62e49f3  source=merged  claim_fields="[aio aud email exp family_name given_name groups iat idp iss name nbf oid picture preferred_username rh sub tid uti ver]"  blank=[]

[debu]  coderd: groups returned in oidc claims  request_id=49e86507-6842-4b0b-94d4-f245e62e49f3  [email protected]  username=ben  len=3  groups="[c8048e91-f5c3-47e5-9693-834de84034ad 66ad2cc3-a42f-4574-a281-40d1922e5b65 70b48175-107b-4ad8-b405-4d888a1c466f]"
To view the full claim, the Owner role can visit this endpoint on their Coder
deployment after logging in:
If you want Coder to create groups that do not exist, you can set the following
environment variable. If you enable this, your OIDC provider might be sending
over many unnecessary groups. Use filtering options on the OIDC provider to
limit the groups sent over to prevent creating excess groups.
# as an environment variable
CODER_OIDC_GROUP_AUTO_CREATE=true
# as a flag
--oidc-group-auto-create=true
A basic regex filtering option on the Coder side is available. This is applied
after the group mapping (CODER_OIDC_GROUP_MAPPING), meaning if the group
is remapped, the remapped value is tested in the regex. This is useful if you
want to filter out groups that do not match a certain pattern. For example, if
you want to only allow groups that start with my-group- to be created, you can
set the following environment variable.
# as an environment variable
CODER_OIDC_GROUP_REGEX_FILTER="^my-group-.*$"
# as a flag
--oidc-group-regex-filter="^my-group-.*$"
Invalid Scope
If you see an error like the following, you may have an invalid scope.
The application '<oidc_application>' asked for scope 'groups' that doesn't exist on the resource...
This can happen because the identity provider has a different name for the
scope. For example, Azure AD uses GroupMember.Read.All instead of groups.
You can find the correct scope name in the IDP's documentation. Some IDP's allow
configuring the name of this scope.
The solution is to update the value of CODER_OIDC_SCOPES to the correct value
for the identity provider.
No group claim in the got oidc claims log
Steps to troubleshoot.
Ensure the user is a part of a group in the IDP. If the user has 0 groups, no
groups claim will be sent.
Check if another claim appears to be the correct claim with a different name.
A common name is memberOf instead of groups. If this is present, update
CODER_OIDC_GROUP_FIELD=memberOf.
Make sure the number of groups being sent is under the limit of the IDP. Some
IDPs will return an error, while others will just omit the groups claim. A
common solution is to create a filter on the identity provider that returns
less than the limit for your IDP.
preferred_username: You can use e.g. "Display Name" as required.
email: You can use e.g. the LDAP attribute "E-Mail-Addresses" as
required.
email_verified: Create a custom claim rule:
=> issue(Type = "email_verified", Value = "true")
(Optional) If using Group Sync, send the required groups in the configured
groups claim field. See here for an
example.
Keycloak
The access_type parameter has two possible values: "online" and "offline." By
default, the value is set to "offline". This means that when a user
authenticates using OIDC, the application requests offline access to the user's
resources, including the ability to refresh access tokens without requiring the
user to reauthenticate.
To enable the offline_access scope, which allows for the refresh token
functionality, you need to add it to the list of requested scopes during the
authentication flow. Including the offline_access scope in the requested
scopes ensures that the user is granted the necessary permissions to obtain
refresh tokens.
By combining the {"access_type":"offline"} parameter in the OIDC Auth URL with
the offline_access scope, you can achieve the desired behavior of obtaining
refresh tokens for offline access to the user's resources.