

Backstage
Leverage the official Backstage plugin to use the Coder API when building developer portals.
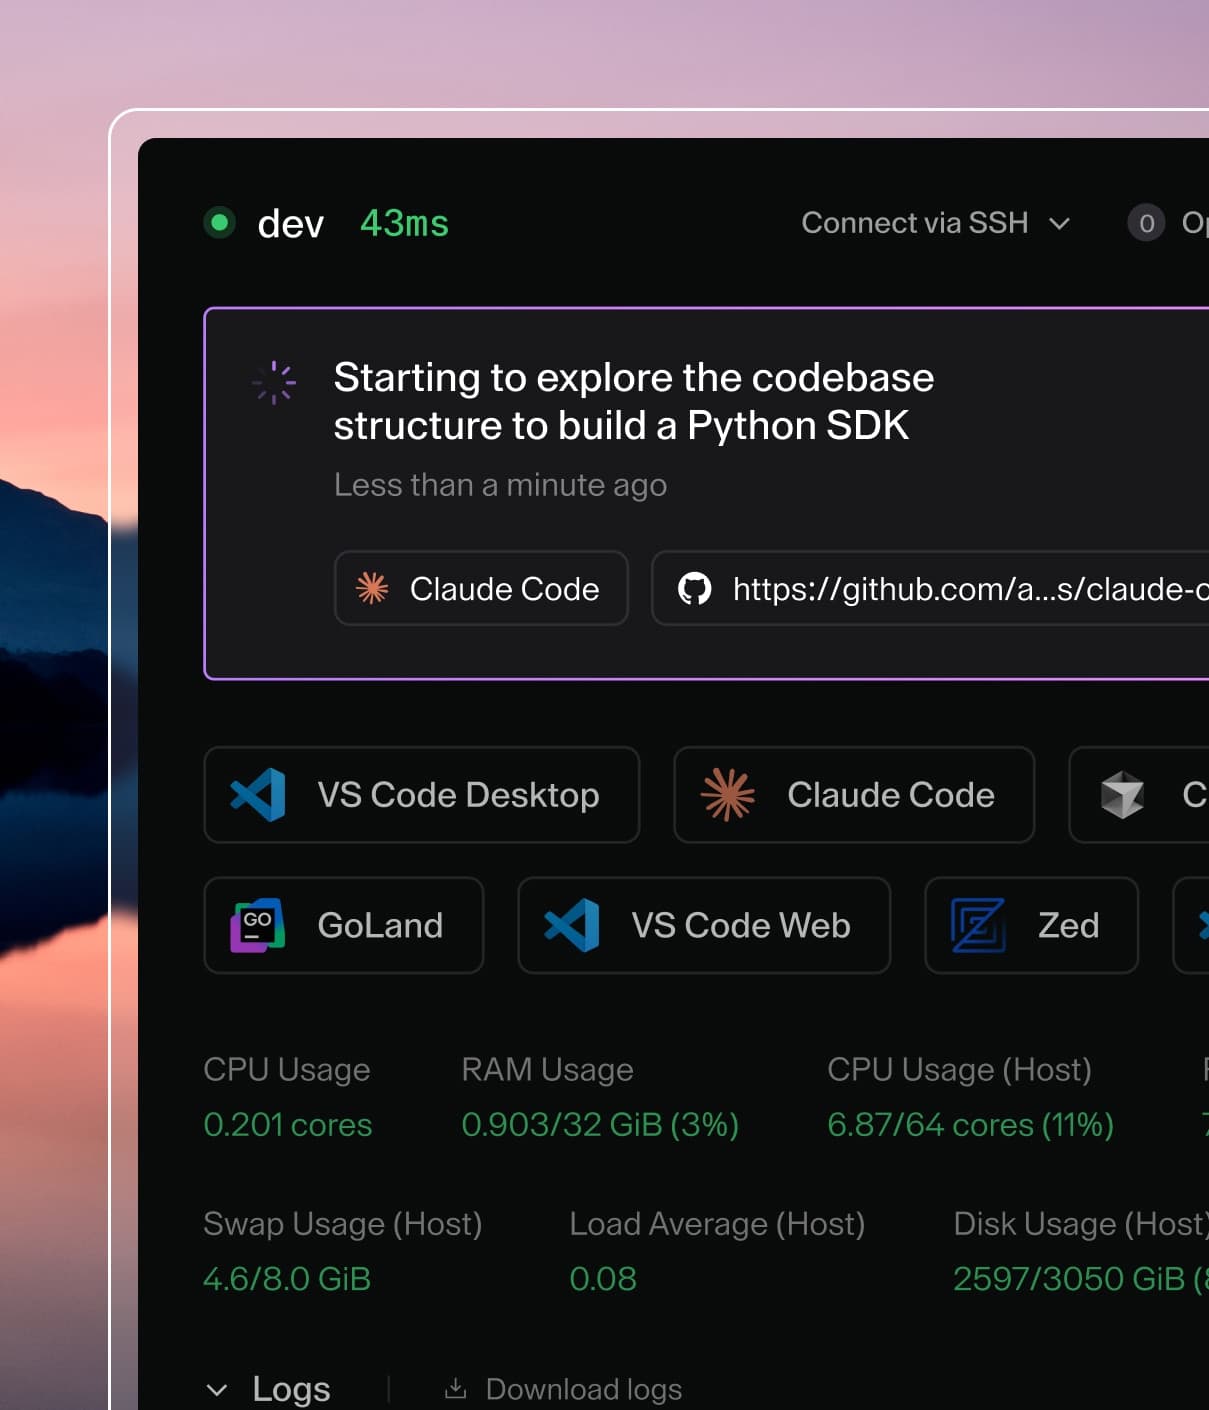
Coder provides AI development infrastructure for customizable workspaces, enabling builders and their AI coding agents to work side by side in secure, consistent environments.
Leverage the official Backstage plugin to use the Coder API when building developer portals.
Start coding in VS Code with one click from your Coder deployment.
Access Coder remote environments from JetBrains IDEs such as IntelliJ and PyCharm.
Build development environments with Dev Containers on Docker, Kubernetes, and OpenShift.
Connect Cursor to your Coder workspaces for AI-assisted remote development.
Access your Coder workspaces from Windsurf with full remote development support.