IntelliJ
This article will walk you through getting started with a Coder workspace and a project that leverages IntelliJ. You'll learn how to:
- Connect Coder to your Git provider;
- Create a workspace;
- Create an IntelliJ project;
- Push your changes to GitHub.
Prerequisites
This guide assumes that you have a Coder deployment available to you and that you have the credentials needed to access the deployment.
Step 1: Log in and connect Coder to your Git provider
You'll log into Coder in this step and connect and authenticate with your Git provider. This will allow you to do things like pull repositories and push changes.
-
Navigate to the Coder deployment using the URL provided to you by your site manager, and log in.
-
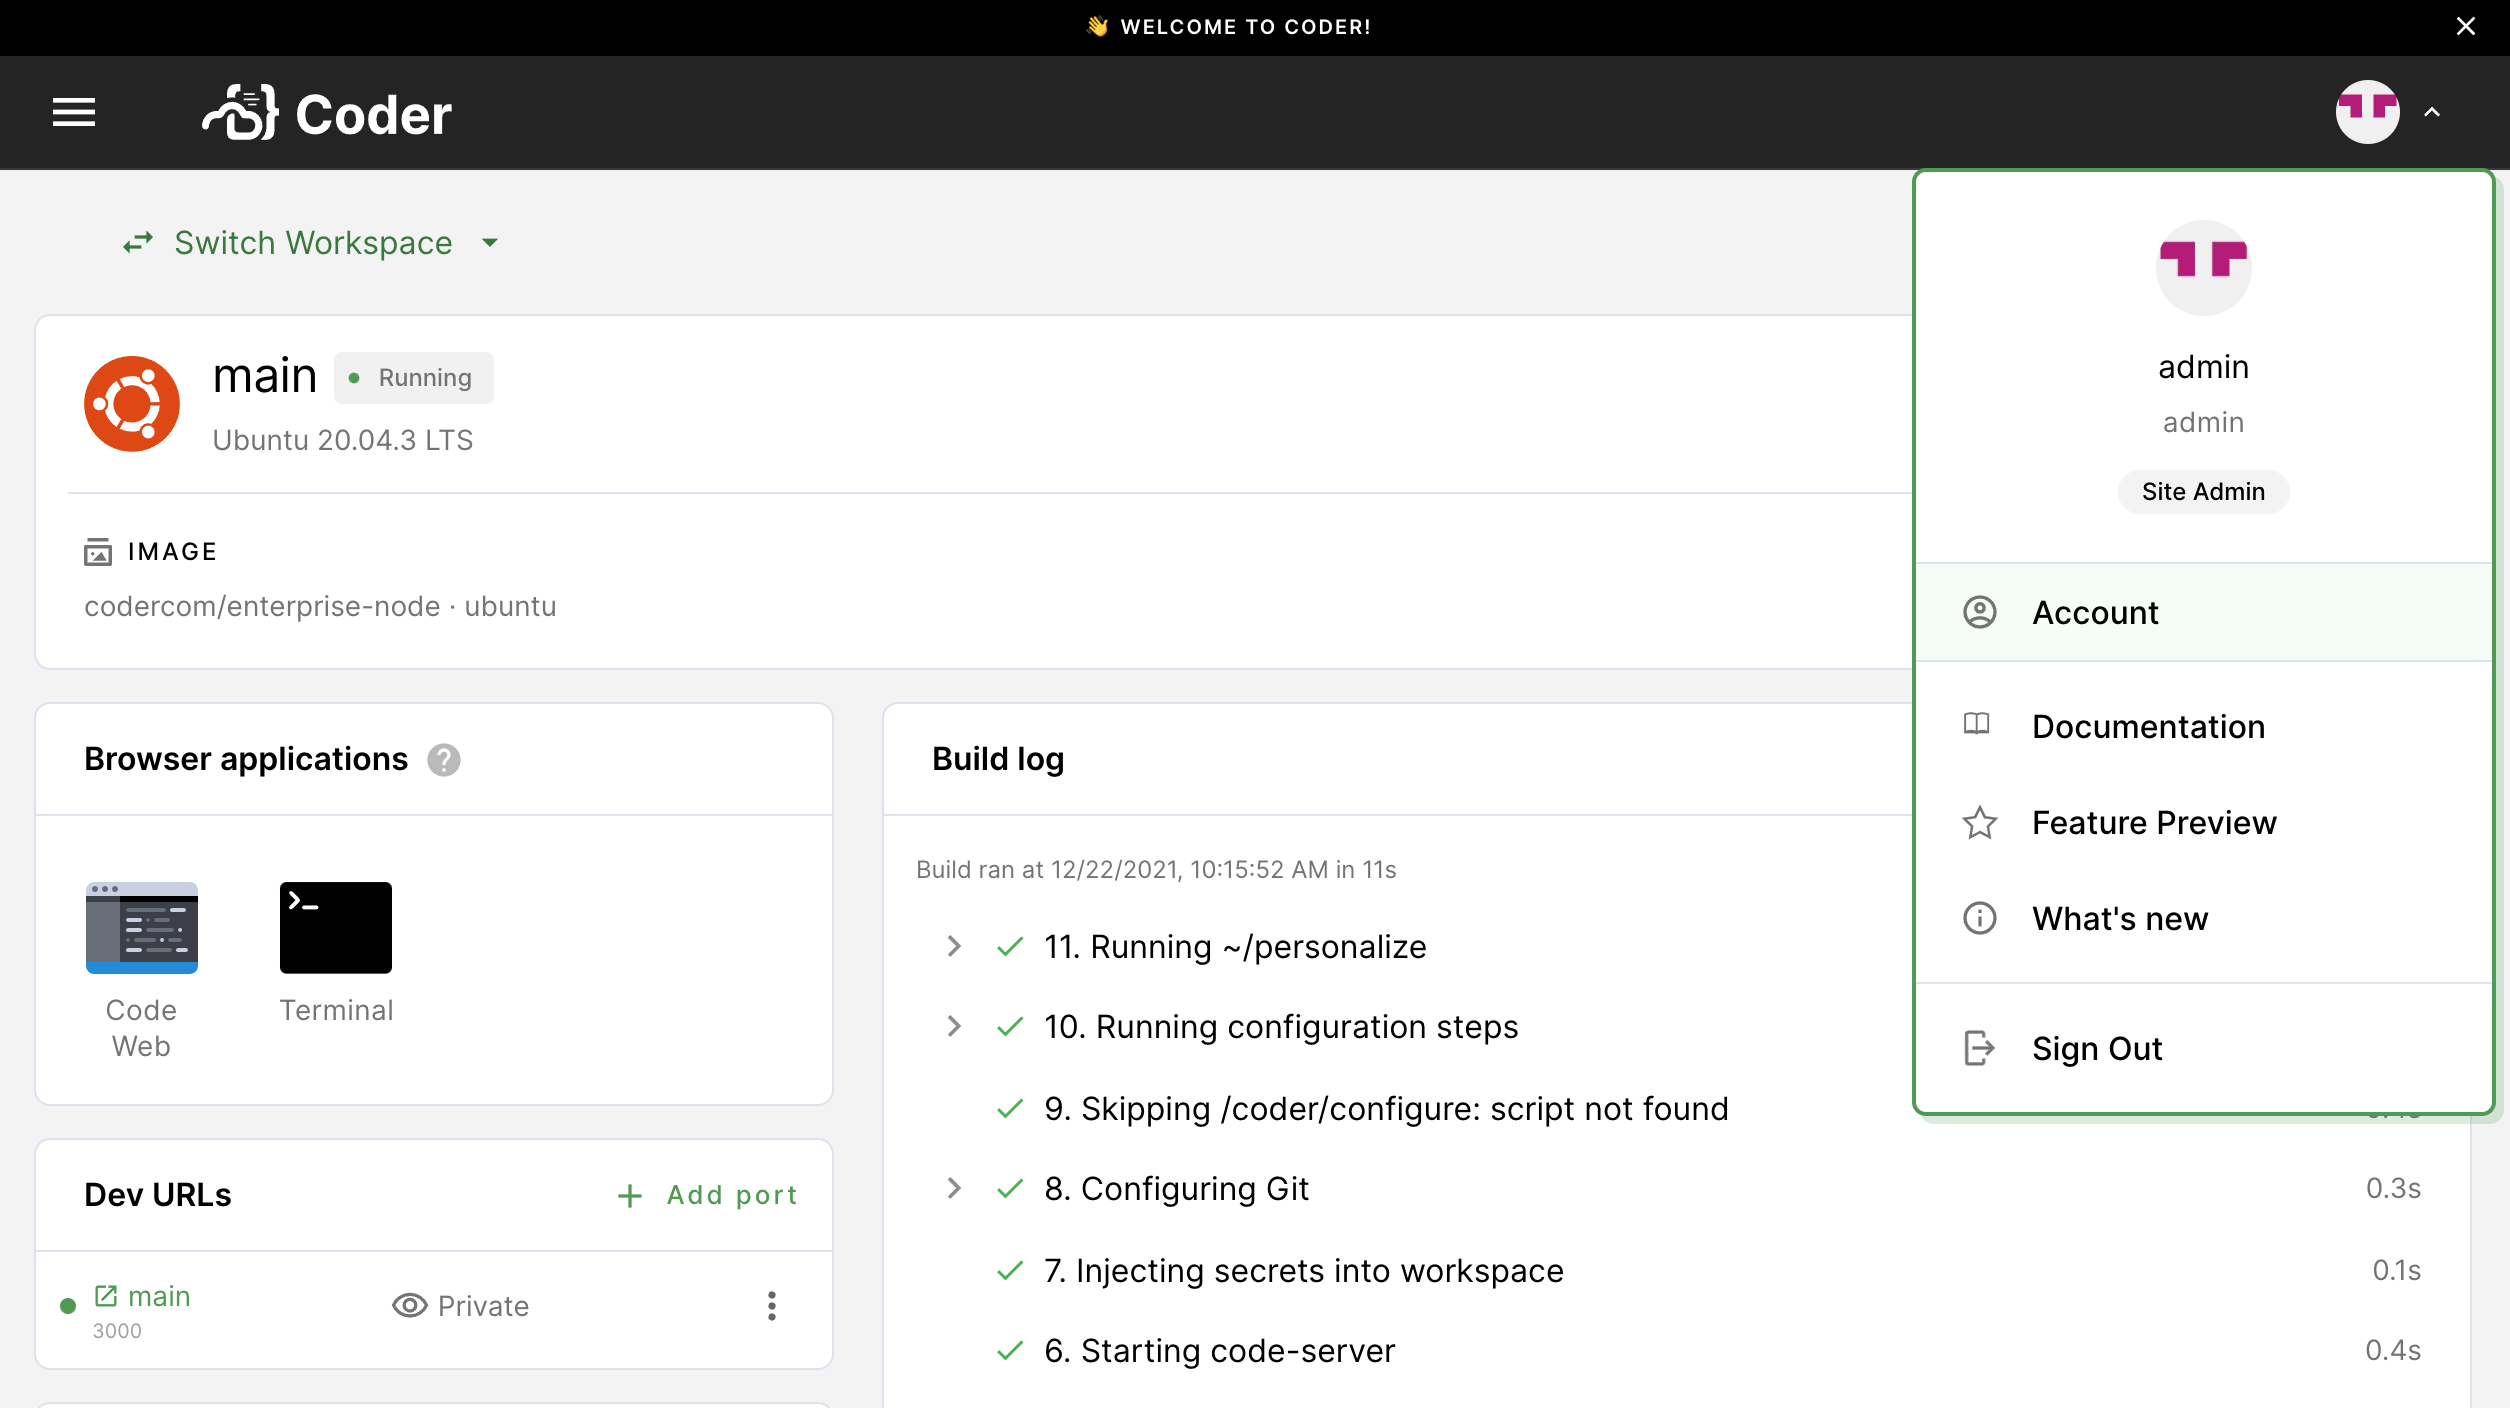
Click on your avatar in the top-right, and select Account.
-
Provide Coder with your SSH key to connect and authenticate to GitHub.
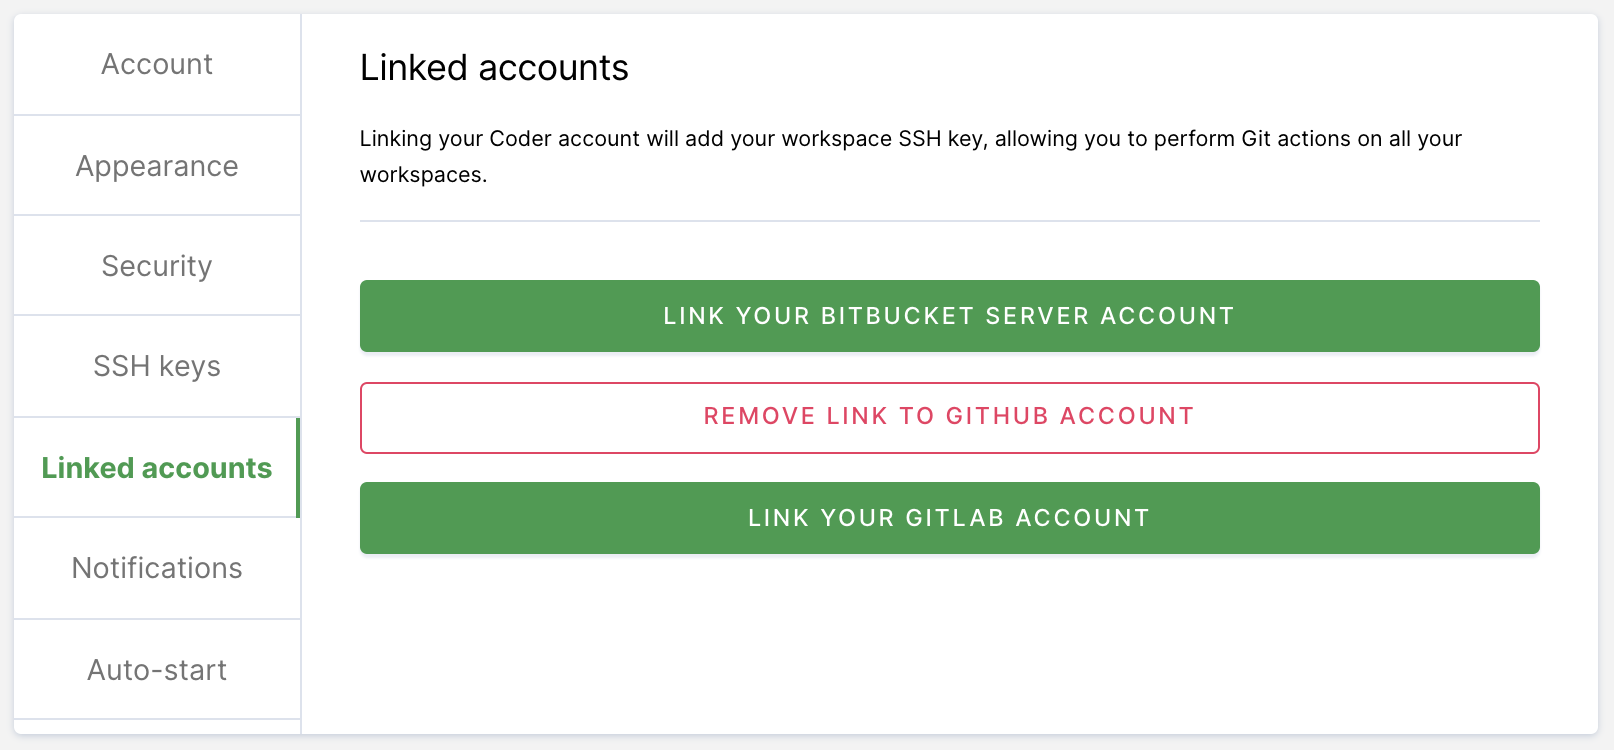
If your site manager has configured OAuth, go to Linked Accounts and follow the on-screen instructions to link your GitHub account.
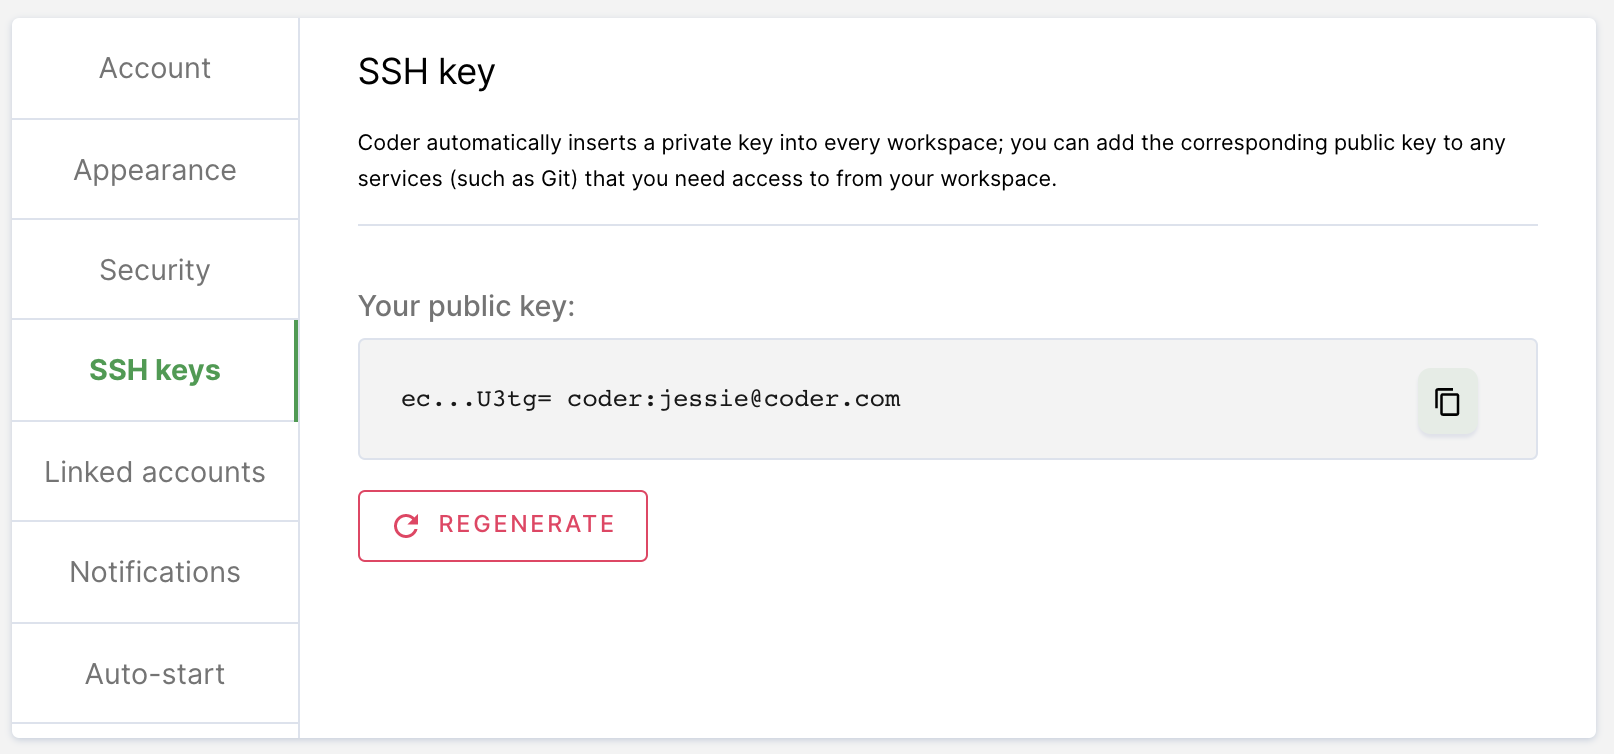
If your site manager has not configured OAuth, go to SSH keys. Copy your public SSH key and provide it to GitHub.
Step 2: Create your workspace
You will now create the workspace to work on your development project.
-
Return to Workspaces using the top navigation bar.
-
Click New workspace to launch the workspace-creation dialog.
-
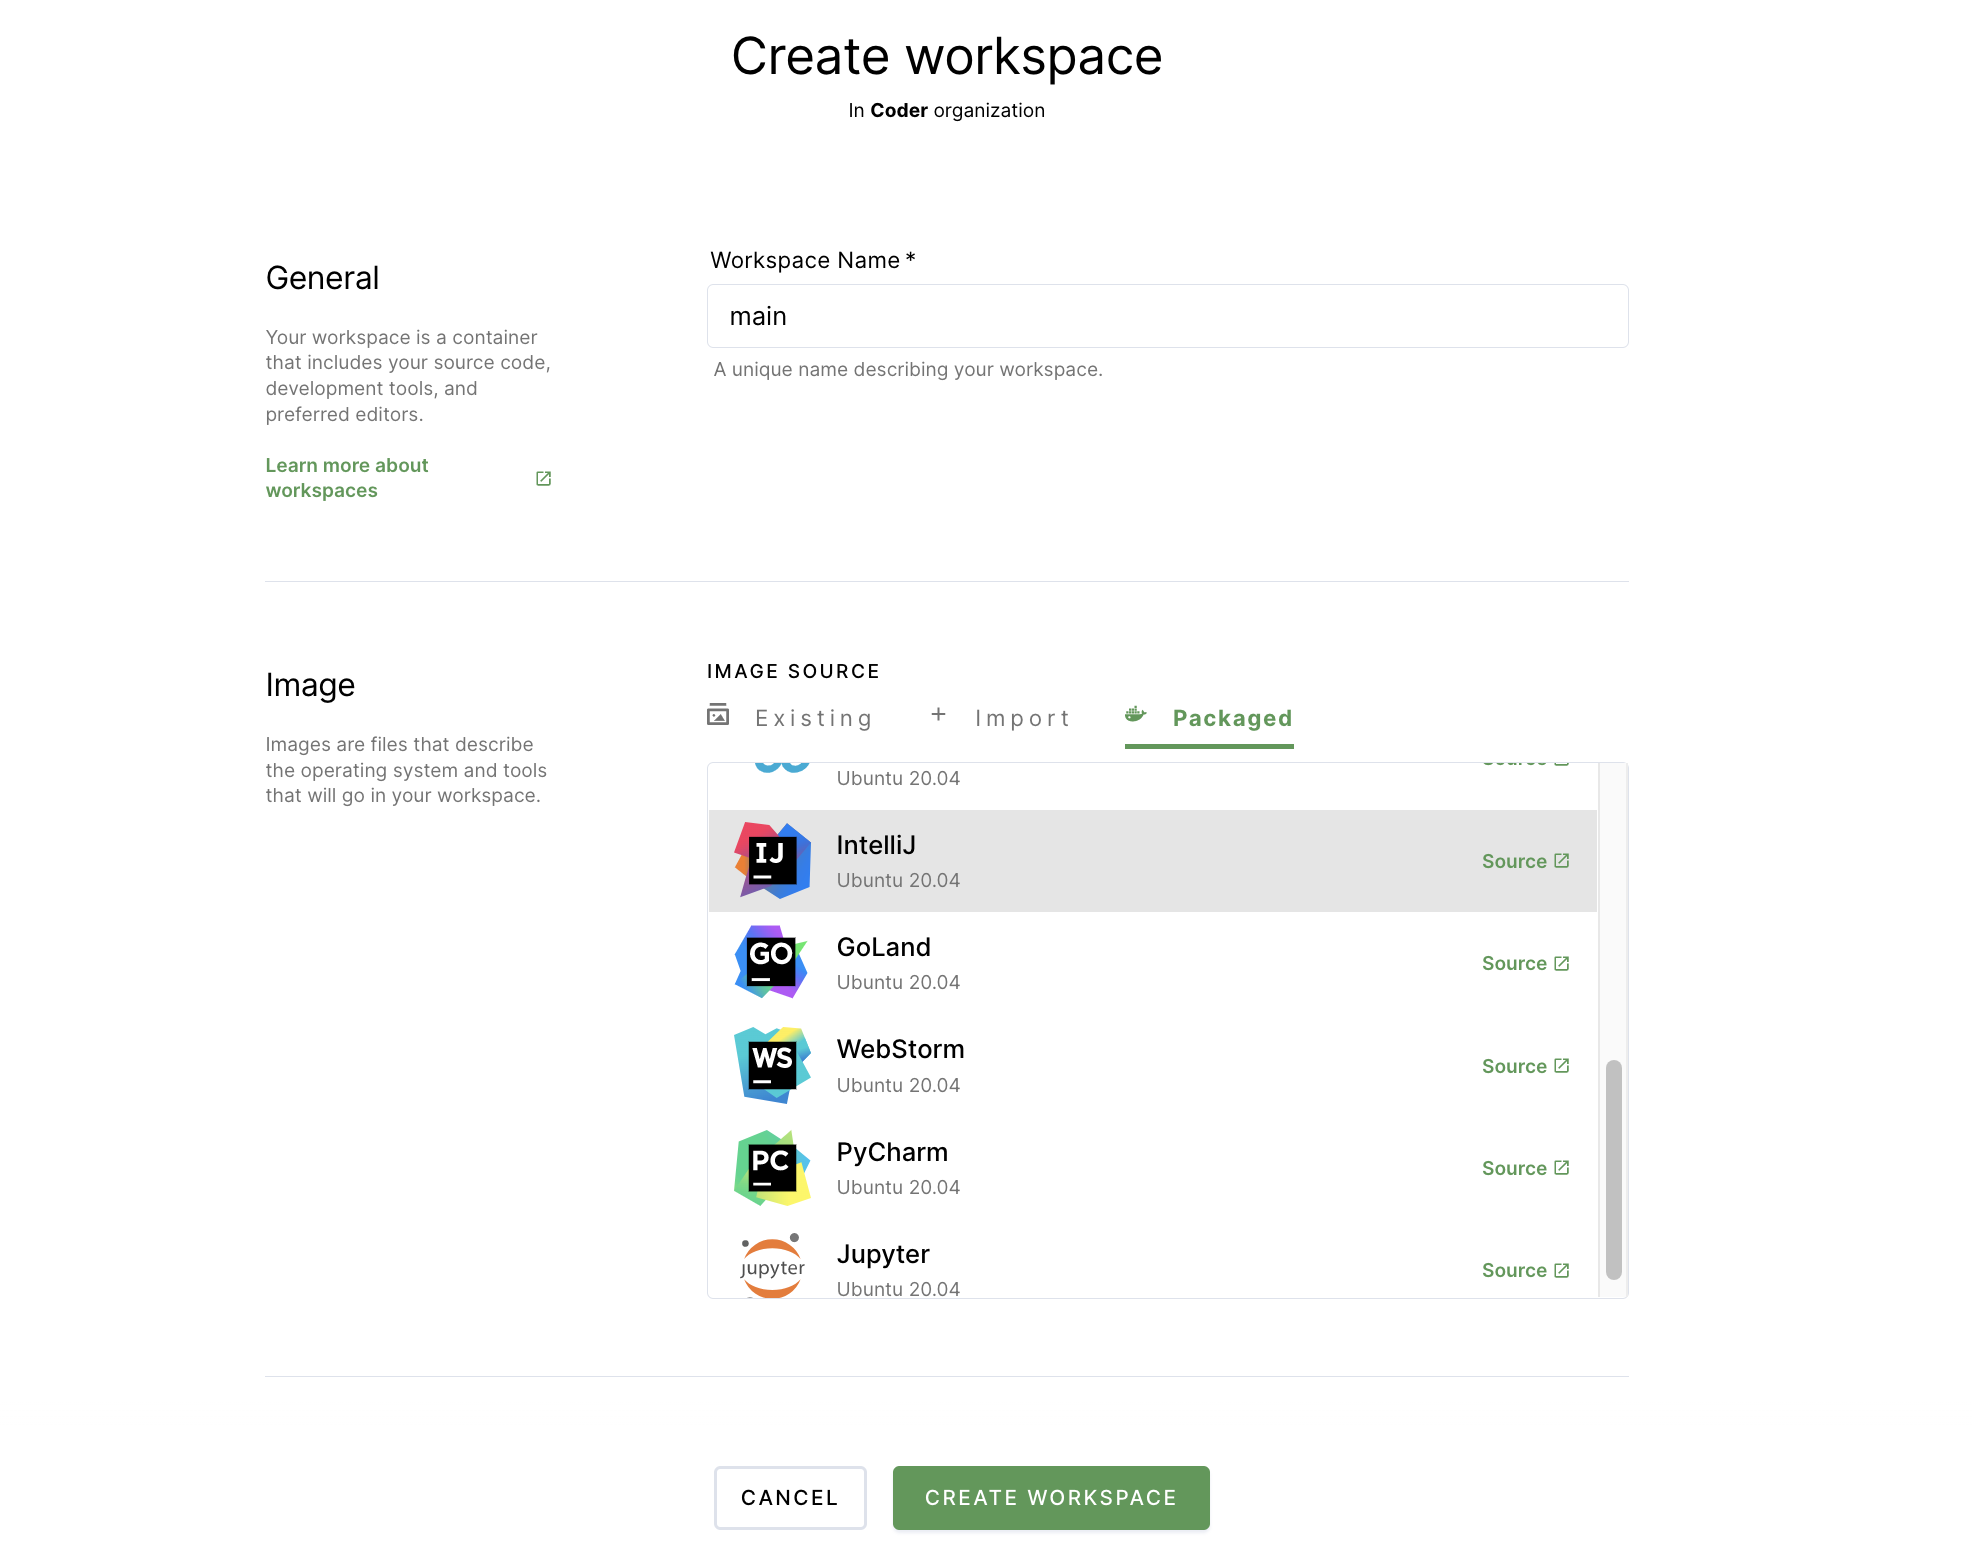
Provide a Workspace Name.
-
In the Image section, click Packaged (this tab contains Coder-provided images hosted in a Docker registry). Select IntelliJ. This will populate the form in the Import tab.
-
Under Workspace providers, leave the default option (which is built-in) selected.
-
Expand the Advanced section. If the Run as a container-based virtual machine option is selected, unselect the box. Leave the CPU, Memory, Disk, and GPU allocations as-is.
-
Scroll to the bottom and click Create workspace. The dialog will close, allowing you to see the main workspace page. You can track the workspace build process using the Build log on the right-hand side.
Once your workspace is ready for use, you'll see a chip that says Running next to the name of your workspace.
Step 3: Create a sample project file in your workspace
Once you've created your workspace, you can start working in Coder. For the purposes of this article, we'll leverage JetBrains' tutorial on how to Create and run your first Java project.
-
Under Browser applications, click IntelliJ IDEA Community to open the IDE in your browser. Follow the prompts to accept the license agreement and determine data sharing permissions.
-
If the welcome screen opens, click New Project. Otherwise, open the main menu, and select File > New Project.
-
Under Project SDK, select Download SDK, leave the pre-filled fields as-is, and click Download.
-
Click Next.
-
Click Next again since you will not be creating a project from a template
-
Name your project
HelloWorld, and click Finish. -
In the Project tool window, right-click the src folder, then select New > Java Class.
-
In the Name field, enter
com.example.helloworld.HelloWorldand click OK. The IDE will create thecom.example.helloworldpackage and theHelloWorldclass. -
Update your code so that it looks like the following:
package com.example.helloworld; public class HelloWorld { public static void main(String[] args) { System.out.println("Hello, world!"); } } -
Click the green triangle to the left of your code. In the pop-up that appears, select Run 'HelloWorld.main()'. IntelliJ will begin compiling your code.
When IntelliJ is done compiling your code, it opens a new pane at the bottom that displays the result of running your code.
Step 5: Push your repo to GitHub
The following steps show you how to push your app to a newly created GitHub repo.
-
Log in to GitHub and navigate to Create a new repository.
-
Provide a repository name and click Create repository.
-
Return to your workspace, and click Terminal at the bottom.
-
Run the following to turn your directory into a Git repository and commit your initial changes:
cd .. git init <nameOfDirectory> cd <nameOfDirectory> git add -A git commit -am "Initial commit" -
Run the following in your terminal to add a remote to your GitHub repo, change the primary branch name to
main, and push the contents to your newly created repo:git remote add origin [email protected]:<username>/<repoName>.git git branch -M main git push origin main
At this point, the contents of your repo should be pushed to GitHub.
