

Docker
Coder with Docker has the following advantages:
- Simple installation (everything is on a single box)
- Workspace images are easily configured
- Workspaces share resources for burst operations
Requirements
- A single MacOS or Linux box
- A running Docker daemon
Instructions
-
You may use
CODER_ACCESS_URL=http://localhost:7080since we're using local Docker workspaces exclusively. The rest of the guide will assume that this is your access URL.coder server -a $CODER_ACCESS_URL -
Run
coder login http://localhost:7080in a new terminal and follow the interactive instructions to create your user. -
Pull the example template:
echo "docker" | coder templates init cd docker # You should see a `main.tf` file in this directory -
Open up
main.tfin your preferred editor to edit the imagesYou can skip this step if you're fine with our default, generic OS images.
Search for the following section in
main.tf:... variable "docker_image" { description = "Which Docker image would you like to use for your workspace?" # The codercom/enterprise-* images are only built for amd64 default = "codercom/enterprise-base:ubuntu" validation { condition = contains(["codercom/enterprise-base:ubuntu", "codercom/enterprise-node:ubuntu", "codercom/enterprise-intellij:ubuntu", "codercom/enterprise-golang:ubuntu"], var.docker_image) error_message = "Invalid Docker image!" } } ...And edit the strings in
condition = contains([...])anddefault = ...with your preferred images. -
Push up the template to Coder with
coder templates create -
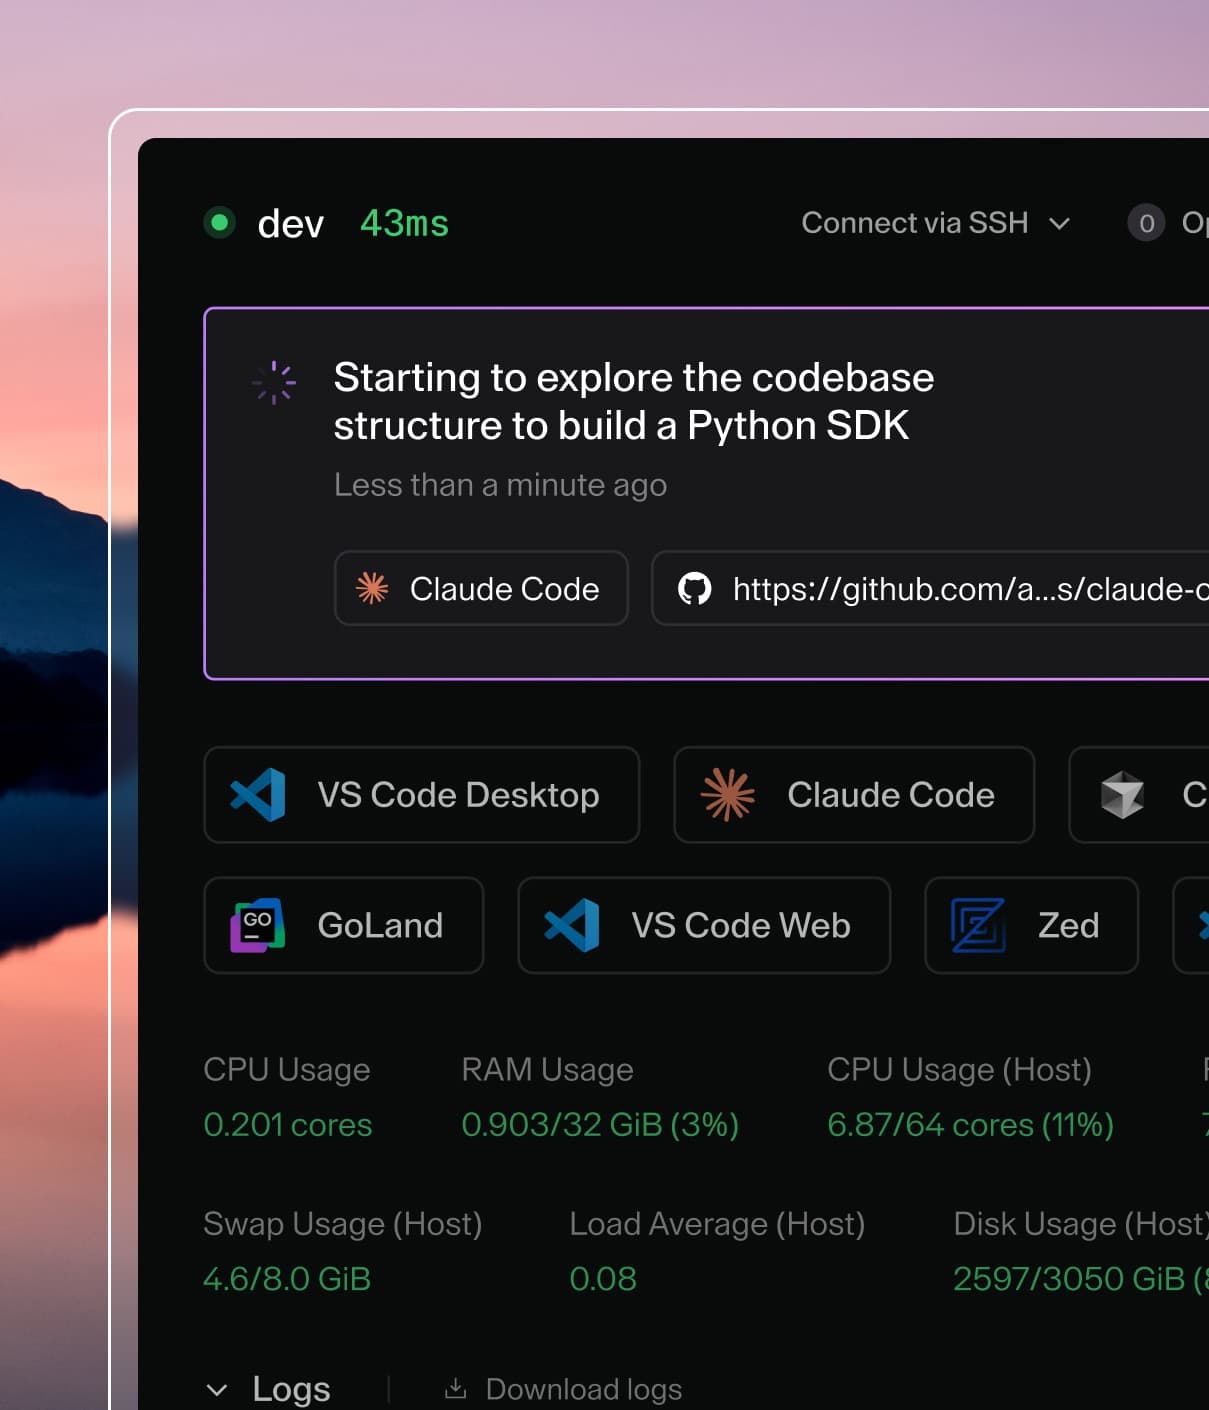
Open the dashboard in your browser (http://localhost:7080) to create your first workspace:

Then navigate to
Templates > docker > Create workspace
Now wait a few moments for the workspace to build... After the first build the image is cached and subsequent builds will take a few seconds.
-
All done!

Open up a web application or SSH in.