Coder powers secure, scalable development across key industries — automotive, finance, government, and technology — enabling faster builds, tighter compliance, and seamless AI adoption in enterprise-grade cloud environments.
This guided tour introduces you to the different parts of a Coder template by
showing you how to create a template from scratch.
You'll write a simple template that provisions a workspace as a Docker container
with Ubuntu.
Before you start
To follow this guide, you'll need:
A computer or cloud computing instance with both
Docker and Coder
installed on it.
When setting up your computer or computing instance, make sure to install
Docker first, then Coder. Otherwise, you'll need to add the coder user to
the docker group.
The URL for your Coder instance. If you're running Coder locally, the default
URL is http://127.0.0.1:3000.
The main part of a Coder template is a Terraformtf
file. A Coder template often has other files to configure the other resources
that the template needs. In this tour you'll also create a Dockerfile.
Coder can provision all Terraform modules, resources, and properties. The Coder
server essentially runs a terraform apply every time a workspace is created,
started, or stopped.
Here's a simplified diagram that shows the main parts of the template we'll
create.
1. Create template files
On your local computer, create a directory for your template and create the
Dockerfile.
mkdir template-tour
cd template-tour
mkdir build
nano build/Dockerfile
You'll enter a simple Dockerfile that starts with the
official Ubuntu image. In the editor, enter
and save the following text in Dockerfile then exit the editor:
Notice that the provider blocks for coder and docker are empty. In a more
practical template, you would add arguments to these blocks to configure the
providers, if needed.
The
coder_workspace
data source provides details about the state of a workspace, such as its name,
owner, and so on. The data source also lets us know when a workspace is being
started or stopped. We'll take advantage of this information in later steps to
do these things:
Set some environment variables based on the workspace owner.
Manage ephemeral and persistent storage.
3. coder_agent
All templates need to create and run a
Coder agent.
This lets developers connect to their workspaces. The coder_agent resource
runs inside the compute aspect of your workspace, typically a VM or container.
In our case, it will run in Docker.
You do not need to have any open ports on the compute aspect, but the agent
needs curl access to the Coder server. Remember that we installed curl in
Dockerfile, earlier.
Because Docker is running locally in the Coder server, there is no need to
authenticate coder_agent. But if your coder_agent were running on a remote
host, your template would need
authentication credentials.
This template's agent also runs a startup script, sets environment variables,
and provides metadata.
The
startup script
installs code-server, a browser-based
VS Code app that runs in the workspace. We'll
give users access to code-server through coder_app, later.
The
env
block sets environments variables for the workspace. We use the data source from
coder_workspace to set the environment variables based on the workspace's
owner. This way, the owner can make git commits immediately without any manual
configuration.
Your template can use metadata to show information to the workspace owner. Coder
displays this metadata in the Coder dashboard. Our template has
metadata blocks
for CPU and RAM usage.
4. coder_app
A
coder_app
resource lets a developer use an app from the workspace's Coder dashboard.
This is commonly used for
web IDEs such as
code-server, RStudio, and JupyterLab.
To install and code-server in the workspace, remember that we installed it in
the startup_script argument in coder_agent. We make it available from a
workspace with a coder_app resource. See
web IDEs for more examples.
Managing the lifecycle of template resources is important. We want to make sure
that workspaces use computing, storage, and other services efficiently.
We want our workspace's home directory to persist after the workspace is stopped
so that a developer can continue their work when they start the workspace again.
We do this in 2 parts:
Our docker_volume resource uses the lifecycle block with the
ignore_changes = all argument to prevent accidental deletions.
To prevent Terraform from destroying persistent Docker volumes in case of a
workspace name change, we use an immutable parameter, like
data.coder_workspace.me.id.
You'll see later that we make sure that our Docker container is ephemeral with
the Terraform
count
meta-argument.
resource "docker_volume" "home_volume" {
  name = "coder-${data.coder_workspace.me.id}-home"
  # Protect the volume from being deleted due to changes in attributes.
  lifecycle {
    ignore_changes = all
  }
}
The Coder CLI tool gives progress information then prompts you to confirm:
> Confirm create? (yes/no) yes

The template-tour template has been created! Developers can provision a workspace with this template using:

   coder create --template="template-tour" [workspace name]
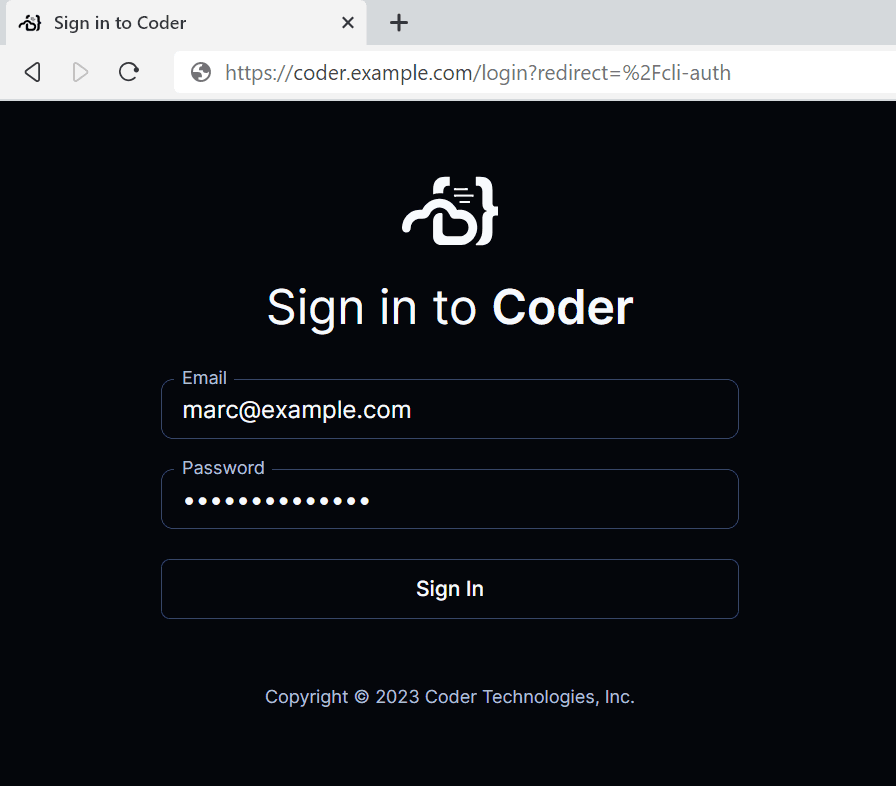
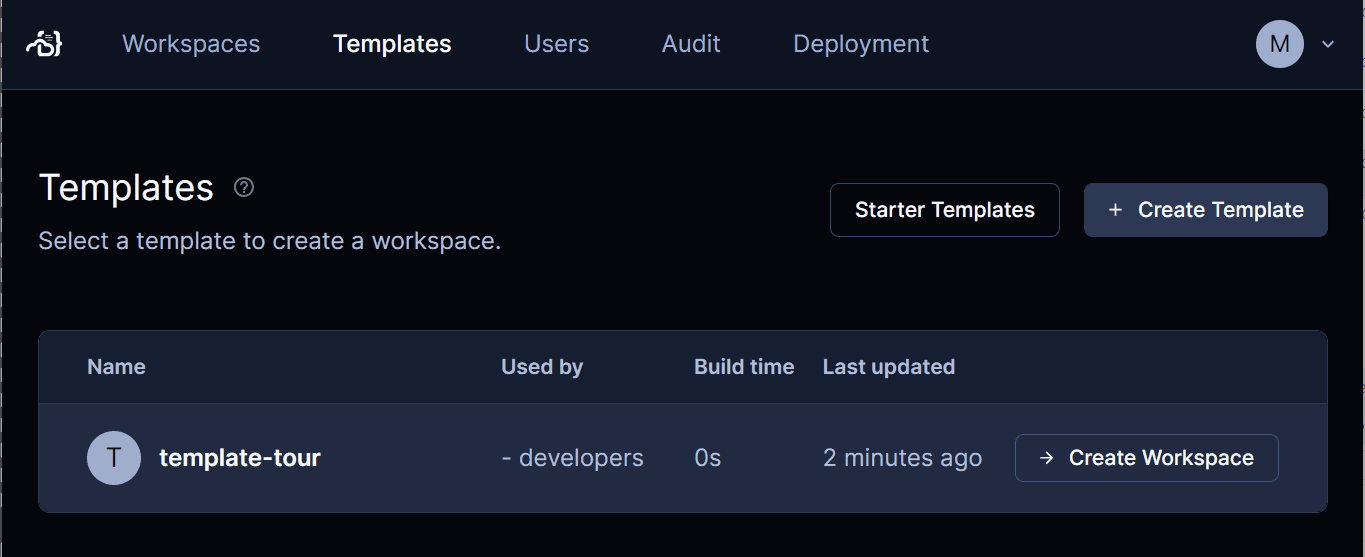
In your web browser, log in to your Coder dashboard, select Templates. Your
template is ready to use for new workspaces.