

Agent Firewall
Agent Firewall is a process-level firewall that restricts and audits what autonomous programs, such as AI agents, can access and use.
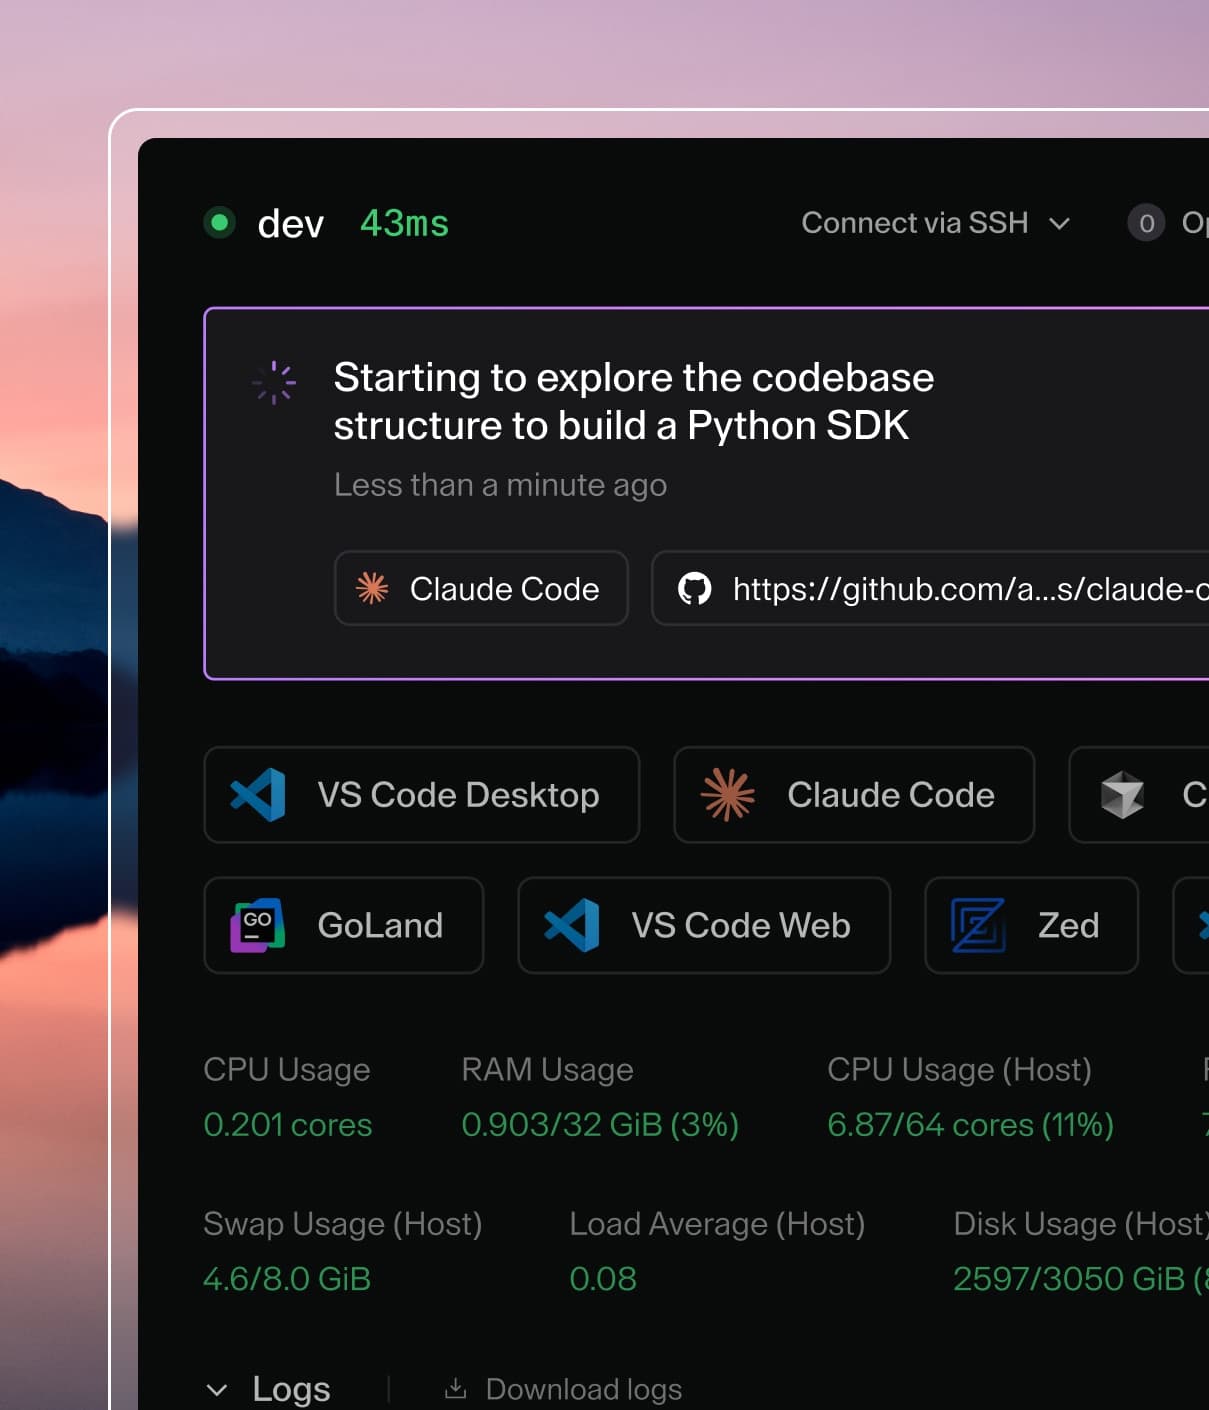
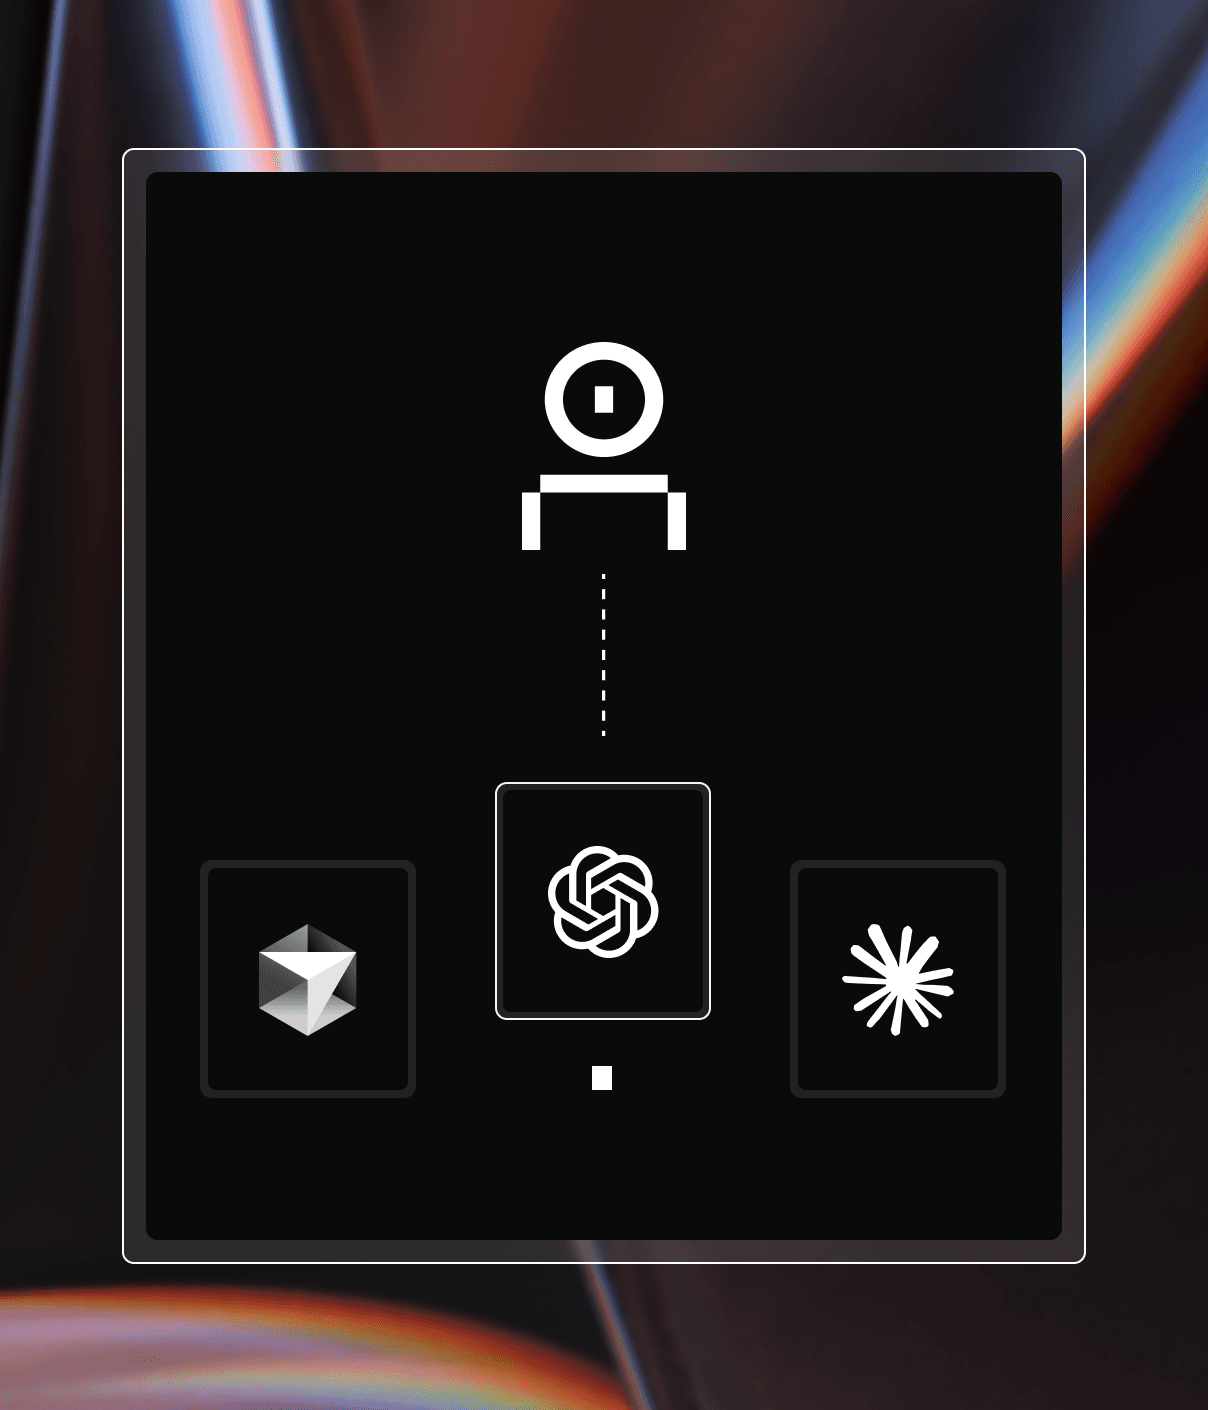
 Example
of Agent Firewall blocking a process.
Example
of Agent Firewall blocking a process.
Note
Agent Firewall requires the AI Governance Add-On. As of Coder v2.32, deployments without the add-on will not be able to access Agent Firewall.
Agent Firewall was previously known as "Agent Boundaries". Some configuration options and internal references still use the old name and will be updated in a future release.
Supported Agents
Agent Firewall supports the securing of any terminal-based agent, including your own custom agents.
Features
Agent Firewall offers network policy enforcement, which blocks domains and HTTP verbs to prevent exfiltration, and writes logs to the workspace.
Agent Firewall also streams audit logs to Coder's control plane for centralized monitoring of HTTP requests.
Getting Started with Agent Firewall
The easiest way to use Agent Firewall is through the agent-firewall module. It can also be ran directly in the terminal by installing the CLI.
Configuration
Note
For information about version requirements and compatibility, see the Version Requirements documentation.
Agent Firewall is configured using a config.yaml file. This allows you to
maintain allow lists and share detailed policies with teammates.
In your Terraform module, install Agent Firewall with minimal configuration:
module "agent-firewall" {
  source   = "registry.coder.com/coder/agent-firewall/coder"
  version  = "0.0.1"
  agent_id = coder_agent.main.id
}
To use a custom policy, pass it inline via agent_firewall_config, below is an example of minimal configuration for Claude Code module:
module "agent-firewall" {
  source   = "registry.coder.com/coder/agent-firewall/coder"
  version  = "0.0.1"
  agent_id = coder_agent.main.id

  agent_firewall_config = <<-YAML
    allowlist:
      - "domain=coder.example.com" # Required - use your Coder deployment domain
      - "domain=api.anthropic.com" # Required - API endpoint for Claude
      - "domain=statsig.anthropic.com" # Required - Feature flags and analytics
      - "domain=claude.ai" # Recommended - WebFetch/WebSearch features
      - "domain=*.sentry.io" # Recommended - Error tracking (helps Anthropic fix bugs)
    jail_type: nsjail
    log_dir: /tmp/boundary_logs
    proxy_port: 8087
    log_level: warn
  YAML
}
For examples of wrapping an agent or process such as Claude Code with Agent Firewall, see the agent-firewall module README.
For a basic recommendation of what to allow for agents, see the Anthropic documentation on default allowed domains. For a comprehensive example of a production Agent Firewall configuration, see the Coder dogfood policy example.
To load the policy from a config.yaml file in your template directory instead,
pass it via agent_firewall_config. The module writes the config to the workspace
and exposes the resolved path via agent_firewall_config_path, so everyone who
launches Agent Firewall manually inside the workspace picks up the same
configuration without extra flags. This is especially convenient for managing
extensive allow lists in version control.
module "agent-firewall" {
  source   = "registry.coder.com/coder/agent-firewall/coder"
  version  = "0.0.1"
  agent_id = coder_agent.main.id

  agent_firewall_config = file("${path.module}/config.yaml")
}
Configuration Parameters
allowlistdefines the URLs that the agent can access, in addition to the default URLs required for the agent to work. Rules use the format"key=value [key=value ...]":domain=github.com- allows the domain and all its subdomainsdomain=*.github.com- allows only subdomains (the specific domain is excluded)method=GET,HEAD domain=api.github.com- allows specific HTTP methods for a domainmethod=POST domain=api.example.com path=/users,/posts- allows specific methods, domain, and pathspath=/api/v1/*,/api/v2/*- allows specific URL paths
jail_typeselects the isolation backend. Valid values:nsjail(default),landjail. See Jail Types for a detailed comparison.log_dirdefines where boundary writes log files.log_leveldefines the verbosity at which requests are logged. Agent Firewall uses the following verbosity levels:WARN: logs only requests that have been blocked by Agent FirewallINFO: logs all requests at a high levelDEBUG: logs all requests in detail
no_user_namespacedisables creation of a user namespace inside the jail. Enable this in restricted environments that disallow user namespaces, such as Bottlerocket nodes in EKS auto-mode. Only applies to thensjailjail type.proxy_portdefines the port used by the HTTP proxy. Default:8080.use_real_dnsuses the host's real DNS resolver inside the jail instead of the built-in dummy DNS server. This allows DNS resolution for non-proxied traffic but permits DNS-based data exfiltration. Default:false.
For detailed information about the rules engine and how to construct allowlist rules, see the rules engine documentation.
You can also run Agent Firewall directly in your workspace and configure it per template. You can do so by installing the binary into the workspace image or at start-up. You can do so with the following command:
curl -fsSL https://raw.githubusercontent.com/coder/boundary/main/install.sh | bash
When running the binary directly, Agent Firewall reads config.yaml from
~/.config/coder_boundary/ automatically.
Jail Types
Agent Firewall supports two different jail types for process isolation, each with different characteristics and requirements:
-
nsjail - Uses Linux namespaces for isolation. This is the default jail type and provides network namespace isolation. See nsjail documentation for detailed information about runtime requirements and Docker configuration.
-
landjail - Uses Landlock V4 for network isolation. This provides network isolation through the Landlock Linux Security Module (LSM) without requiring network namespace capabilities. See landjail documentation for implementation details.
The choice of jail type depends on your security requirements, available Linux capabilities, and runtime environment. Both nsjail and landjail provide network isolation, but they use different underlying mechanisms. nsjail uses Linux namespaces, while landjail uses Landlock V4. Landjail may be preferred in environments where namespace capabilities are limited or unavailable.
Implementation Comparison: Namespaces+iptables vs Landlock V4
| Aspect | Namespace Jail (Namespaces + veth-pair + iptables) | Landlock V4 Jail |
|---|---|---|
| Privileges | Requires CAP_NET_ADMIN | ✅ No special capabilities required |
| Docker seccomp | ❌ Requires seccomp profile modifications or sysbox-runc | ✅ Works without seccomp changes |
| Kernel requirements | Linux 3.8+ (widely available) | ❌ Linux 6.7+ (very new, limited adoption) |
| Bypass resistance | ✅ Strong - transparent interception prevents bypass | ❌ Medium - can bypass by connecting to evil.com:<HTTP_PROXY_PORT> |
| Process isolation | ✅ PID namespace (processes can't see/kill others); implementation in-progress | ❌ No PID namespace (agent can kill other processes) |
| Non-TCP traffic control | ✅ Can block/control UDP via iptables; implementation in-progress | ❌ No control over UDP (data can leak via UDP) |
| Application compatibility | ✅ Works with ANY application (transparent interception) | ❌ Tools without HTTP_PROXY support will be blocked |
Audit Logs
Agent Firewall streams audit logs to the Coder control plane, providing
centralized visibility into HTTP requests made within workspaces—whether from AI
agents or ad-hoc commands run with boundary.
Audit logs are independent of application logs:
- Audit logs record Agent Firewall's policy decisions: whether each HTTP request was allowed or denied based on the allowlist rules. These are always sent to the control plane regardless of Agent Firewall's configured log level.
- Application logs are Agent Firewall's operational logs written locally to
the workspace. These include startup messages, internal errors, and debugging
information controlled by the
log_levelsetting.
For example, if a request to api.example.com is allowed by Agent Firewall
but the remote server returns a 500 error, the audit log records
decision=allow because Agent Firewall permitted the request. The HTTP
response status is not tracked in audit logs.
Note
Requires Coder v2.30+ and Agent Firewall v0.5.2+.
Audit Log Contents
Each Agent Firewall audit log entry includes:
| Field | Description |
|---|---|
decision | Whether the request was allowed (allow) or blocked (deny) |
workspace_id | The UUID of the workspace where the request originated |
workspace_name | The name of the workspace where the request originated |
owner | The owner of the workspace where the request originated |
template_id | The UUID of the template that the workspace was created from |
template_version_id | The UUID of the template version used by the current workspace build |
http_method | The HTTP method used (GET, POST, PUT, DELETE, etc.) |
http_url | The fully qualified URL that was requested |
event_time | Timestamp when boundary processed the request (RFC3339 format) |
matched_rule | The allowlist rule that permitted the request (only present when decision is allow) |
Viewing Audit Logs
Agent Firewall audit logs are emitted as structured log entries from the Coder server. You can collect and analyze these logs using any log aggregation system such as Grafana Loki.
Example of an allowed request (assuming stderr):
2026-01-16 00:11:40.564 [info] coderd.agentrpc: boundary_request owner=joe workspace_name=some-task-c88d agent_name=dev decision=allow workspace_id=f2bd4e9f-7e27-49fc-961e-be4d1c2aa987 http_method=GET http_url=https://coder.example.com event_time=2026-01-16T00:11:39.388607657Z matched_rule=domain=coder.example.com request_id=9f30d667-1fc9-47ba-b9e5-8eac46e0abef trace=478b2b45577307c4fd1bcfc64fad6ffb span=9ece4bc70c311edb