

Working with dev containers
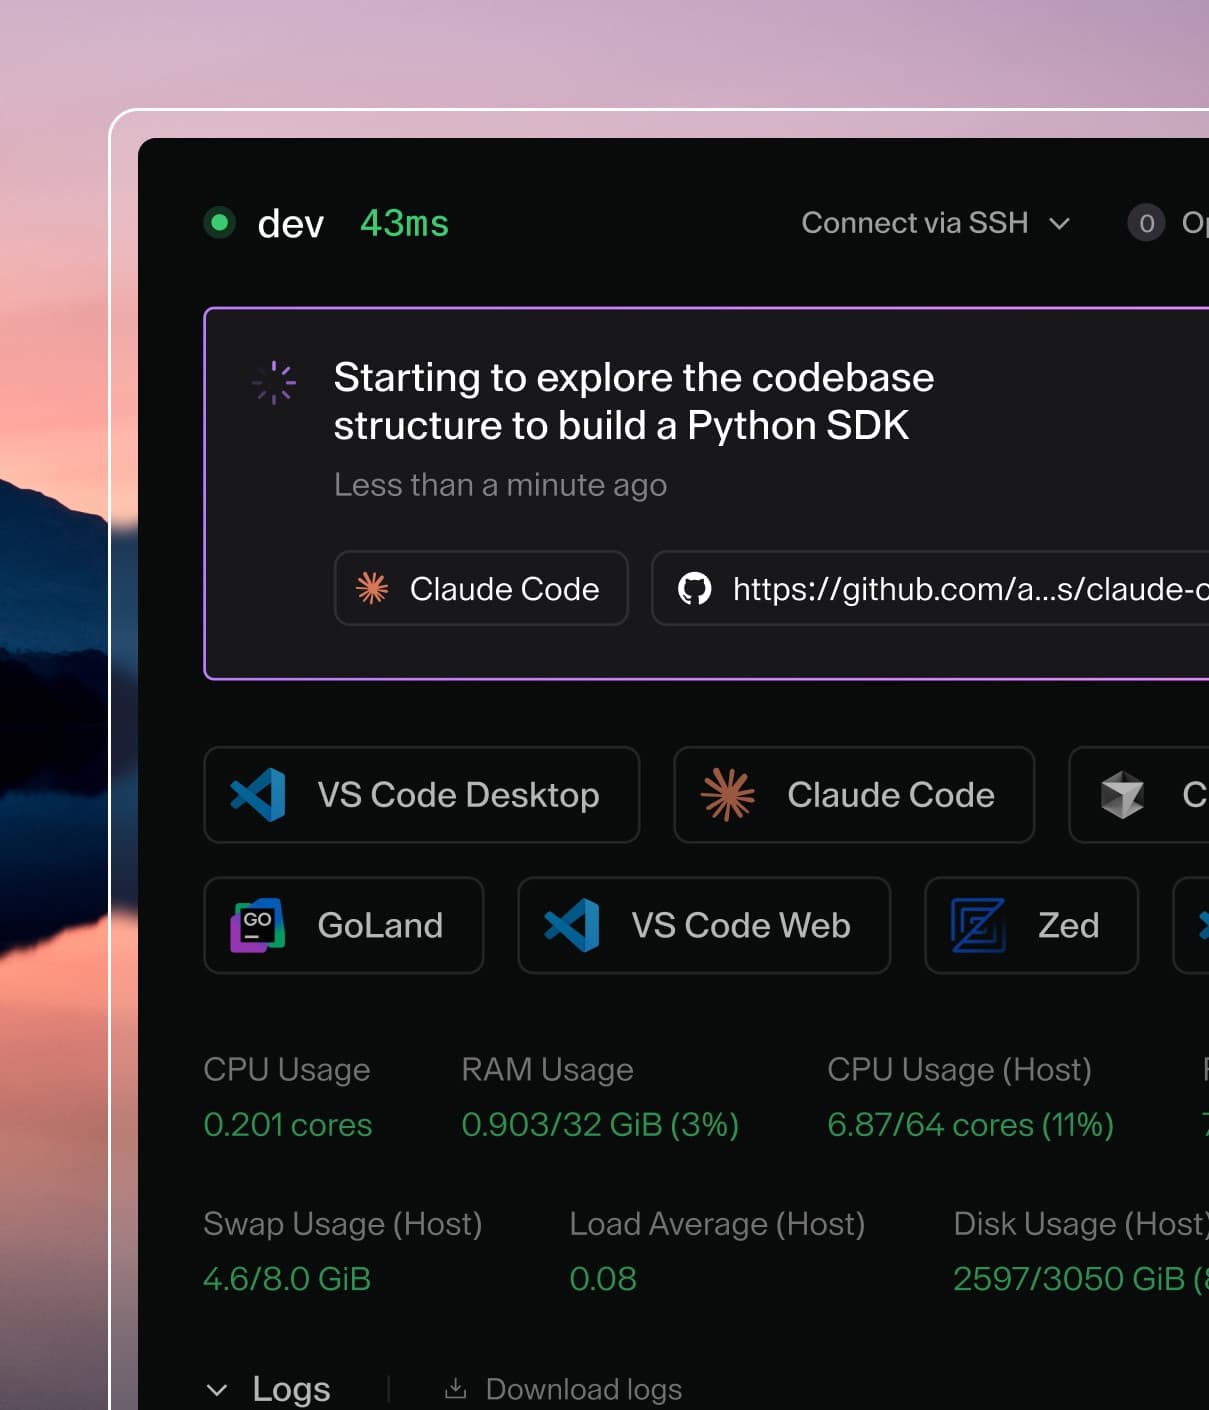
The dev container integration appears in your Coder dashboard, providing a visual representation of the running environment:
 Dev containers appear as sub-agents with their own apps, SSH access, and port forwarding
SSH access
Each dev container has its own agent name, derived from the workspace folder
(e.g., /home/coder/my-project becomes my-project). You can find agent names
in your workspace dashboard, or see
Agent naming for details on how names are generated.
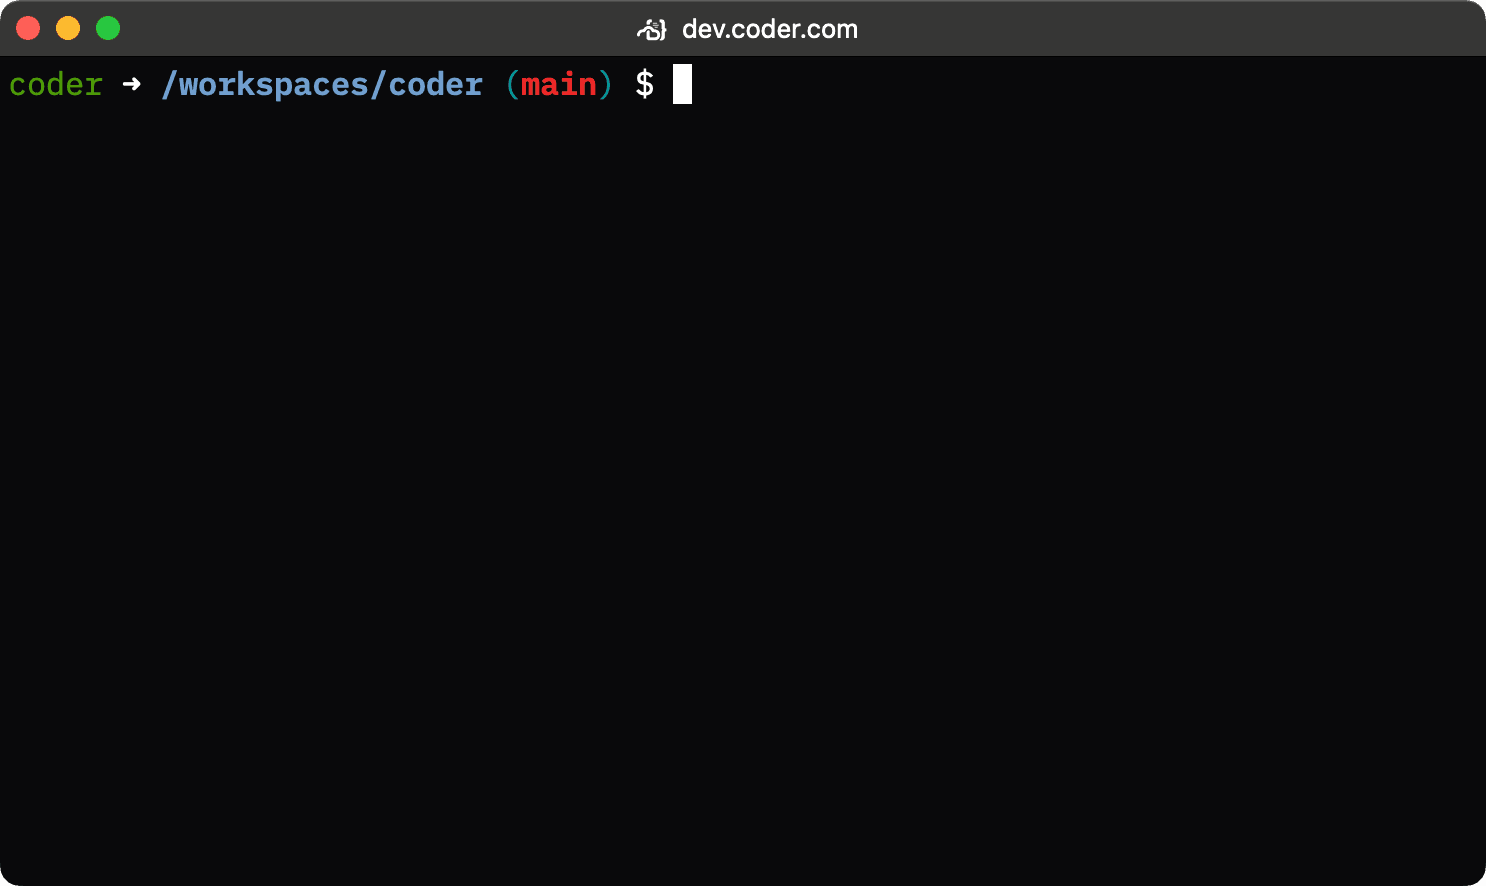
Using the Coder CLI
The simplest way to SSH into a dev container is using coder ssh with the
workspace and agent name:
coder ssh <workspace>.<agent>
For example, to connect to a dev container with agent name my-project in
workspace my-workspace:
coder ssh my-workspace.my-project
To SSH into the main workspace agent instead of the dev container:
coder ssh my-workspace
Using OpenSSH (config-ssh)
You can also use standard OpenSSH tools after generating SSH config entries with
coder config-ssh:
coder config-ssh
This creates a wildcard SSH host entry that matches all your workspaces and their agents, including dev container sub-agents. You can then connect using:
ssh my-project.my-workspace.me.coder
The default hostname suffix is .coder. If your organization uses a different
suffix, adjust the hostname accordingly. The suffix can be configured via
coder config-ssh --hostname-suffix or
by your deployment administrator.
This method works with any SSH client, IDE remote extensions, rsync, scp,
and other tools that use SSH.
Web terminal access
Once your workspace and dev container are running, you can use the web terminal in the Coder interface to execute commands directly inside the dev container.
IDE integration (VS Code)
You can open your dev container directly in VS Code by:
-
Selecting Open in VS Code Desktop from the dev container agent in the Coder web interface.
-
Using the Coder CLI:
coder open vscode <workspace>.<agent>For example:
coder open vscode my-workspace.my-project
VS Code will automatically detect the dev container environment and connect appropriately.
While optimized for VS Code, other IDEs with dev container support may also work.
Port forwarding
Since dev containers run as sub-agents, you can forward ports directly to them using standard Coder port forwarding:
coder port-forward <workspace>.<agent> --tcp 8080
For example, to forward port 8080 from a dev container with agent name
my-project:
coder port-forward my-workspace.my-project --tcp 8080
This forwards port 8080 on your local machine directly to port 8080 in the dev container. Coder also automatically detects ports opened inside the container.
Exposing ports on the parent workspace
If you need to expose dev container ports through the parent workspace agent
(rather than the sub-agent), you can use the
appPort
property in your devcontainer.json:
{
  "appPort": ["8080:8080", "4000:3000"]
}
This maps container ports to the parent workspace, which can then be forwarded using the main workspace agent.
Dev container features
You can use standard dev container features
in your devcontainer.json file. Coder also maintains a
repository of features to
enhance your development experience.
For example, the code-server feature from the Coder features repository:
{
  "features": {
    "ghcr.io/coder/devcontainer-features/code-server:1": {
      "port": 13337,
      "host": "0.0.0.0"
    }
  }
}
Rebuilding dev containers
When you modify your devcontainer.json, you need to rebuild the container for
changes to take effect. Coder detects changes and shows an Outdated status
next to the dev container.
 The Outdated indicator appears when changes to devcontainer.json are detected
Click Rebuild to recreate your dev container with the updated configuration.