Coder powers secure, scalable development across key industries — automotive, finance, government, and technology — enabling faster builds, tighter compliance, and seamless AI adoption in enterprise-grade cloud environments.
This guide is designed to get you up and running with a Coder proof-of-concept
VM on AWS EC2 using a Coder-provided AMI.
If you are familiar with EC2 however, you can use our
install script to run Coder on any popular Linux distribution.
Requirements
This guide assumes your AWS account has AmazonEC2FullAccess permissions.
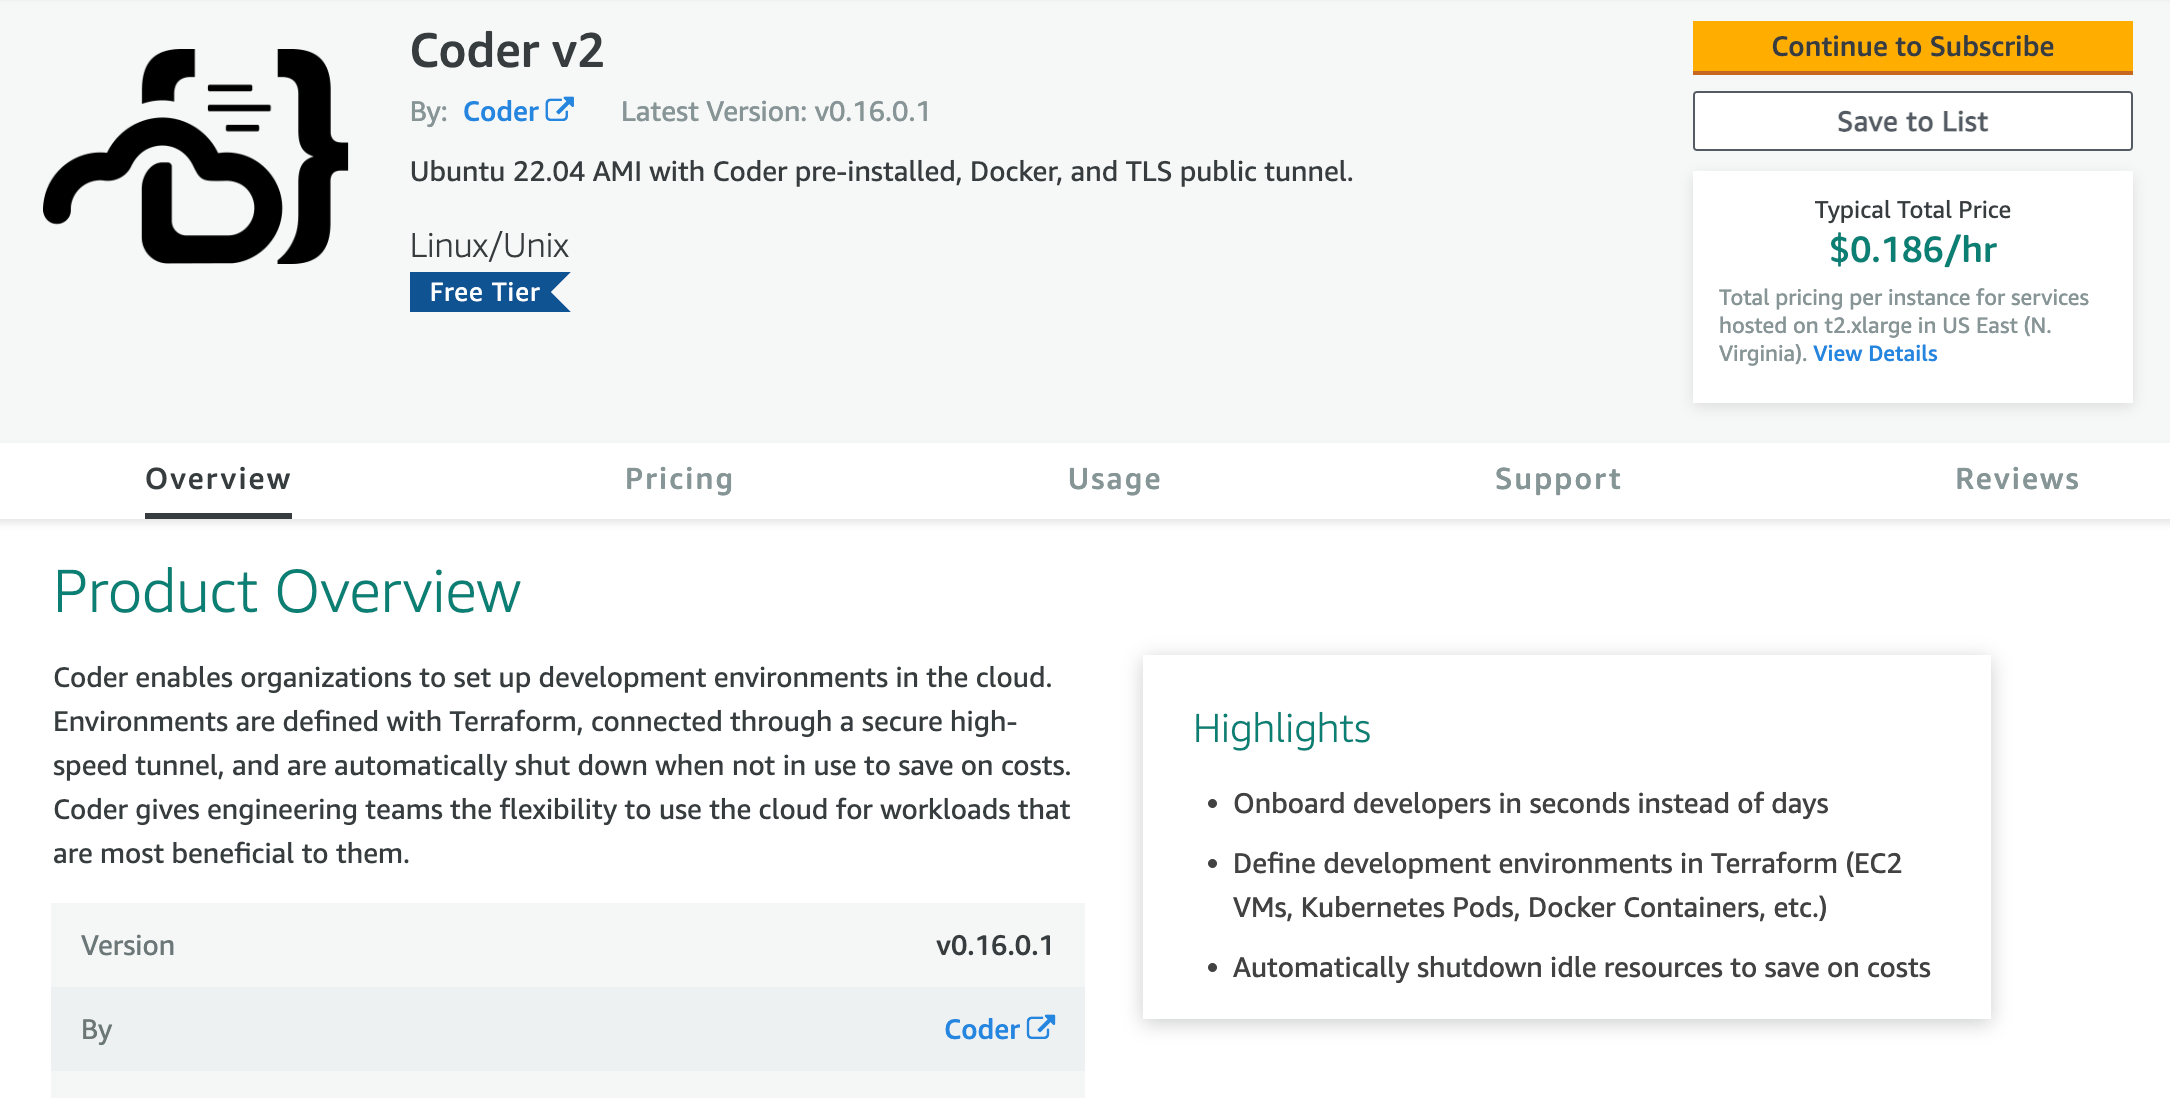
Launch a Coder instance from the from AWS Marketplace
We publish an Ubuntu 22.04 AMI with Coder and Docker pre-installed. Search for
Coder in the EC2 "Launch an Instance" screen or
launch directly from the marketplace.
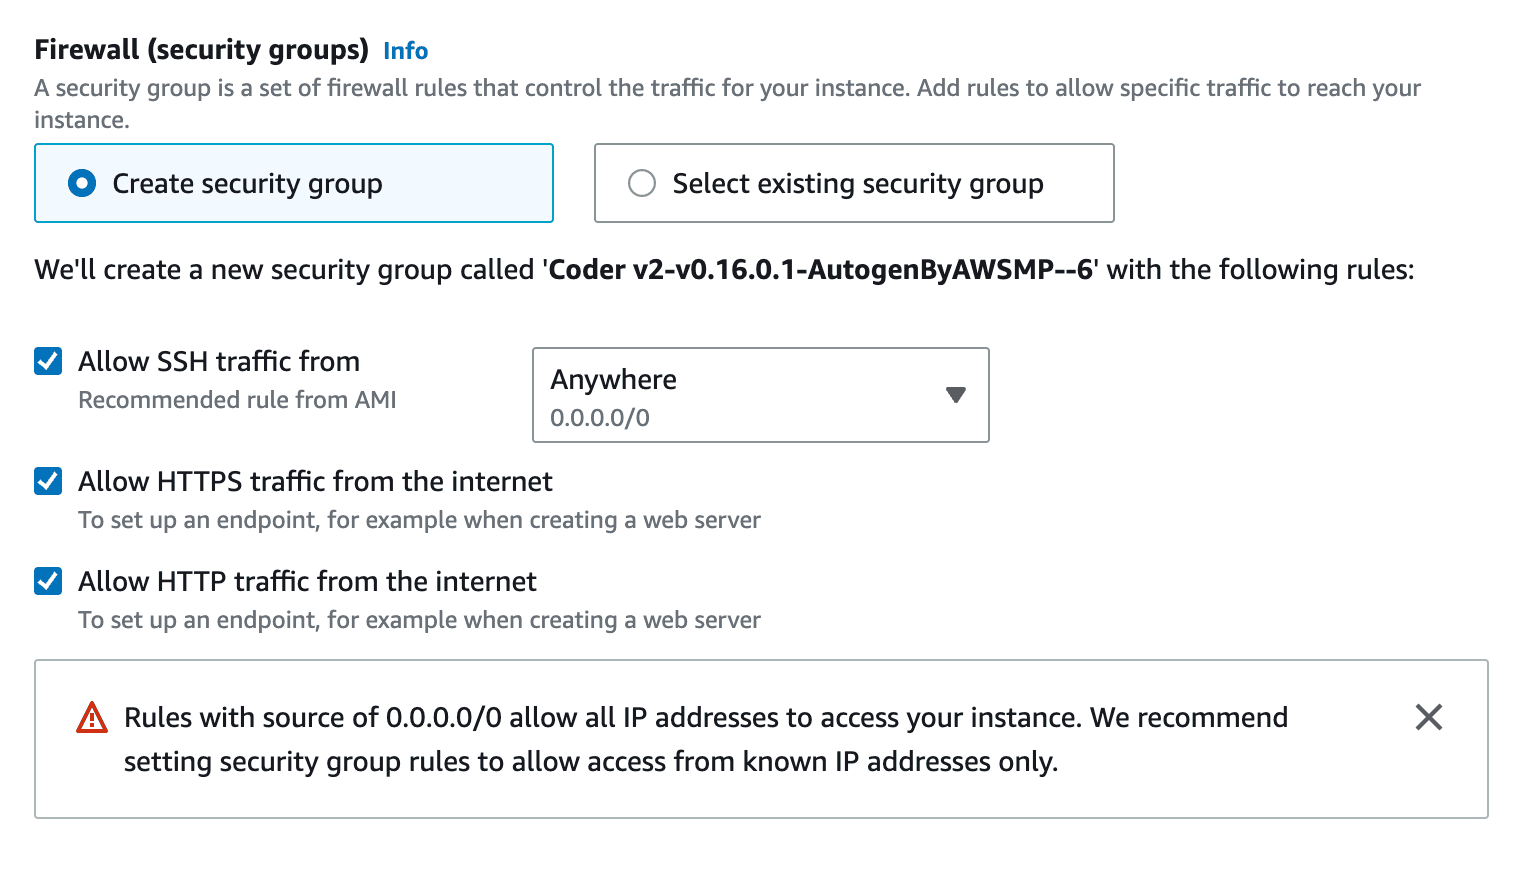
Be sure to keep the default firewall (SecurityGroup) options checked so you can
connect over HTTP, HTTPS, and SSH.
We recommend keeping the default instance type (t2.xlarge, 4 cores and 16 GB
memory) if you plan on provisioning Docker containers as workspaces on this EC2
instance. Keep in mind this platforms is intended for proof-of-concept
deployments and you should adjust your infrastructure when preparing for
production use. See: Scaling Coder
Be sure to add a keypair so that you can connect over SSH to further
configure Coder.
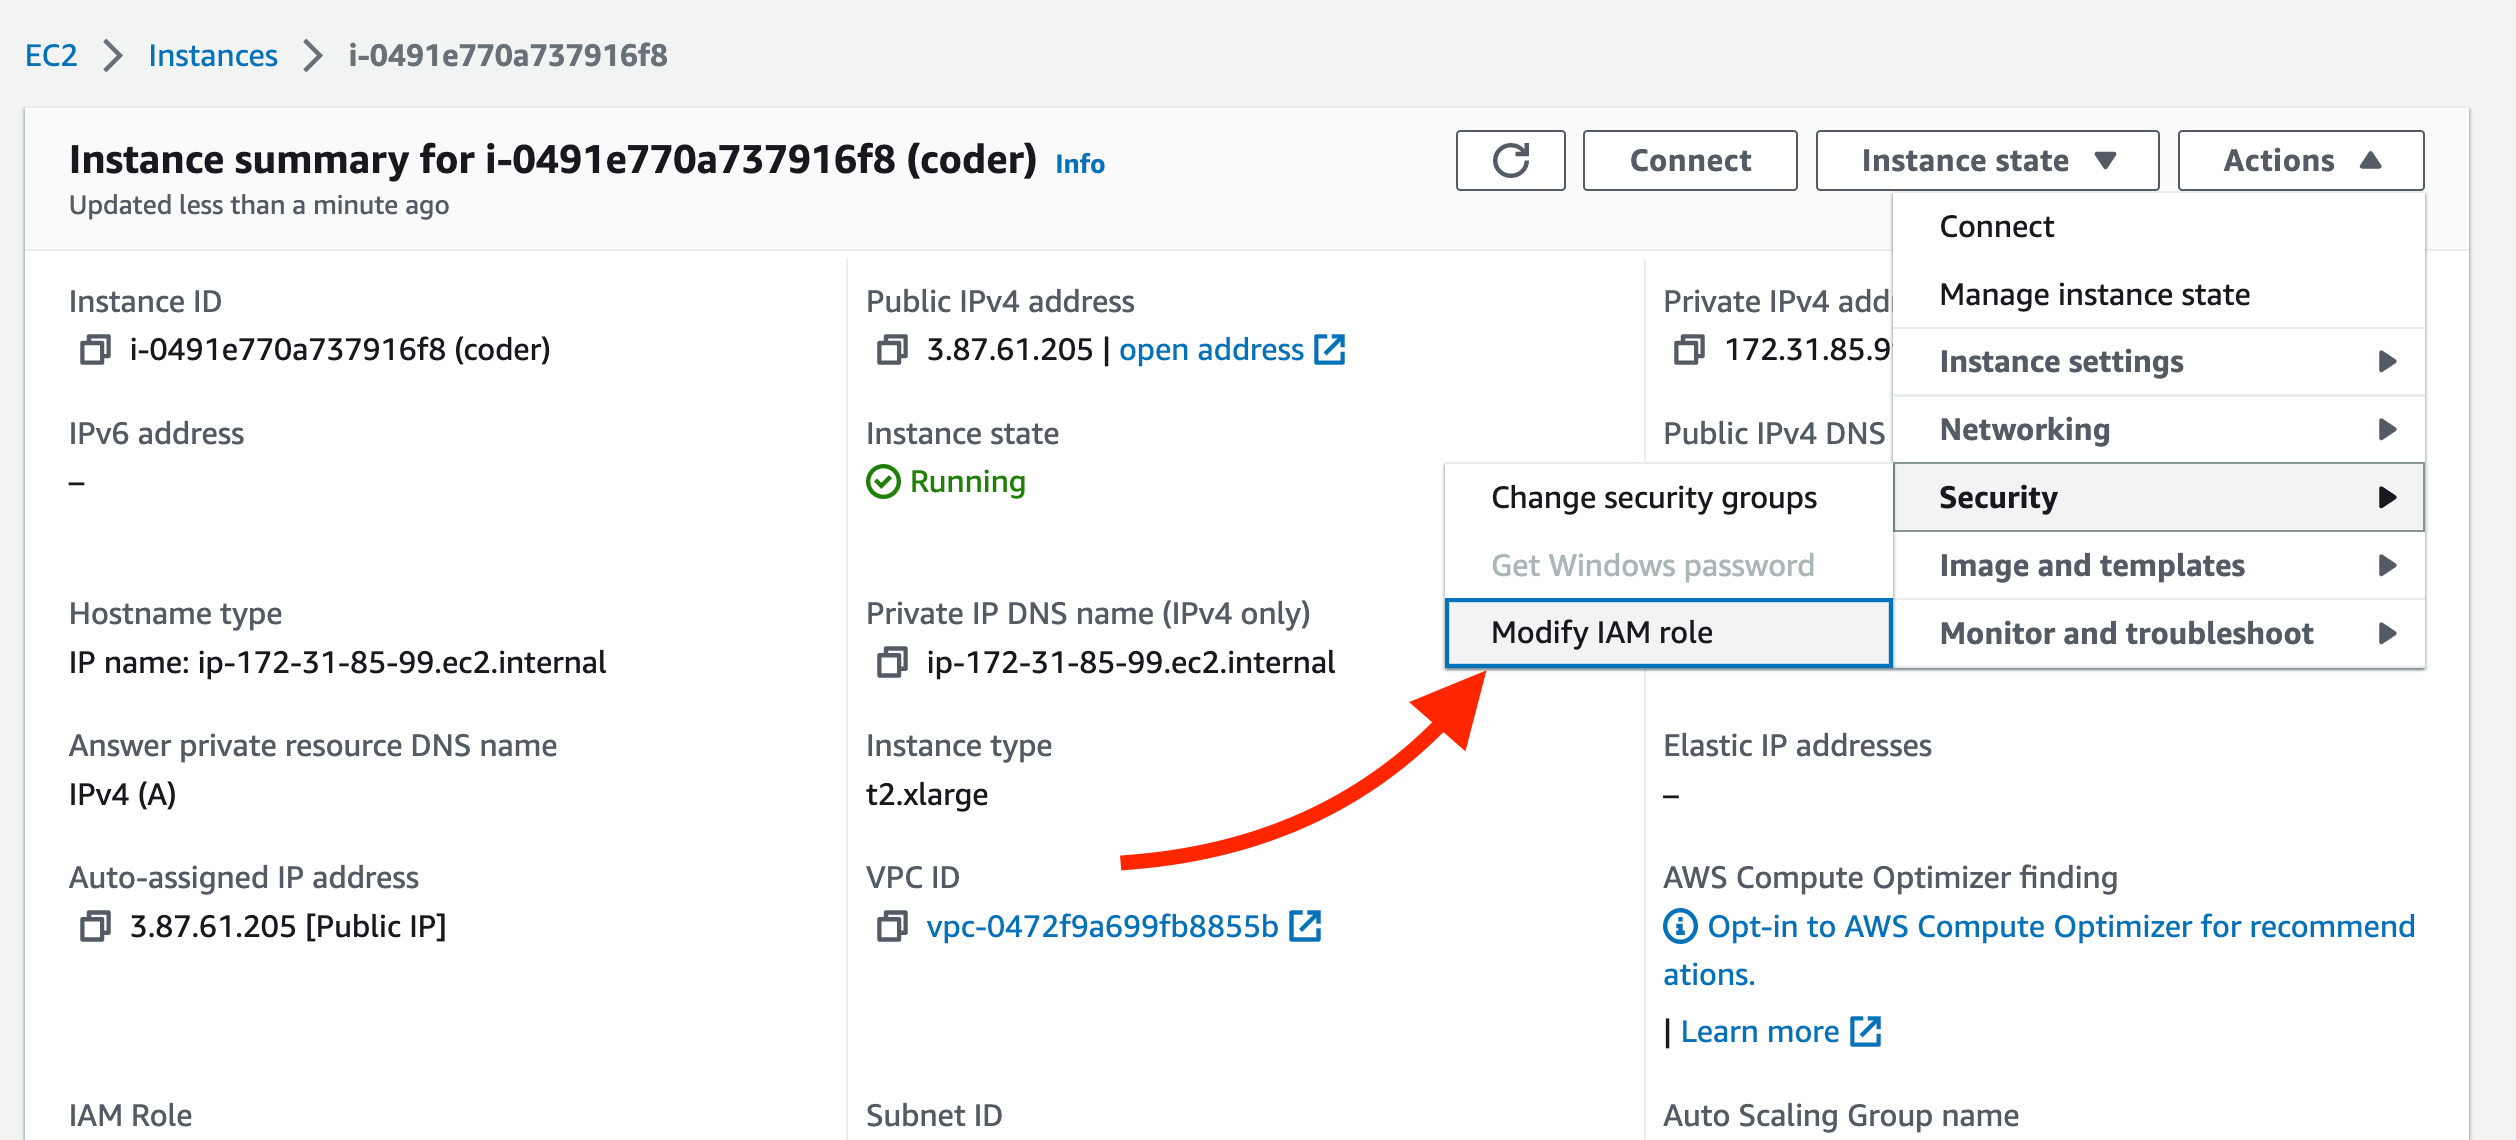
After launching the instance, wait 30 seconds and navigate to the public IPv4
address. You should be redirected to a public tunnel URL.
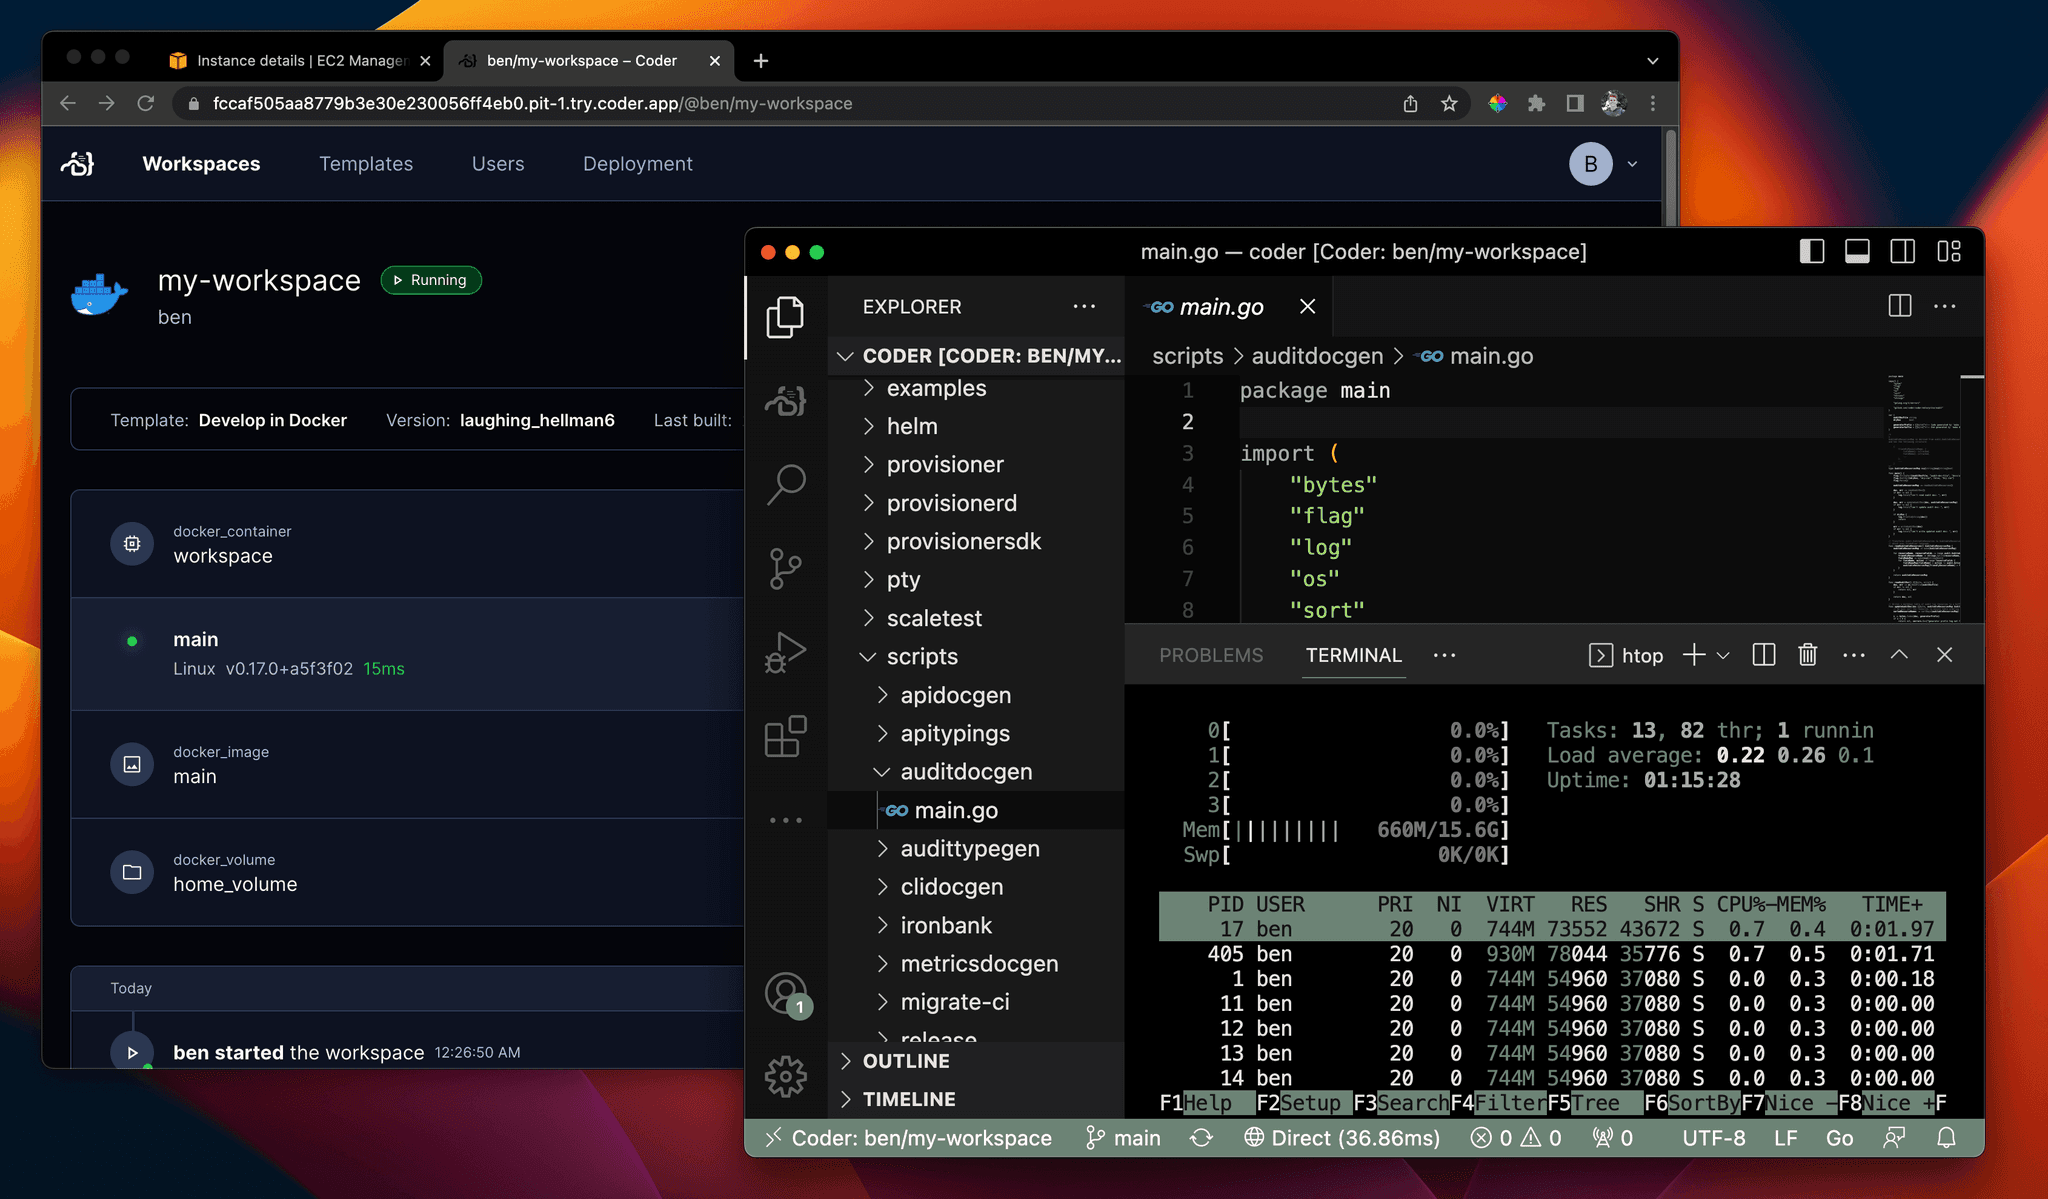
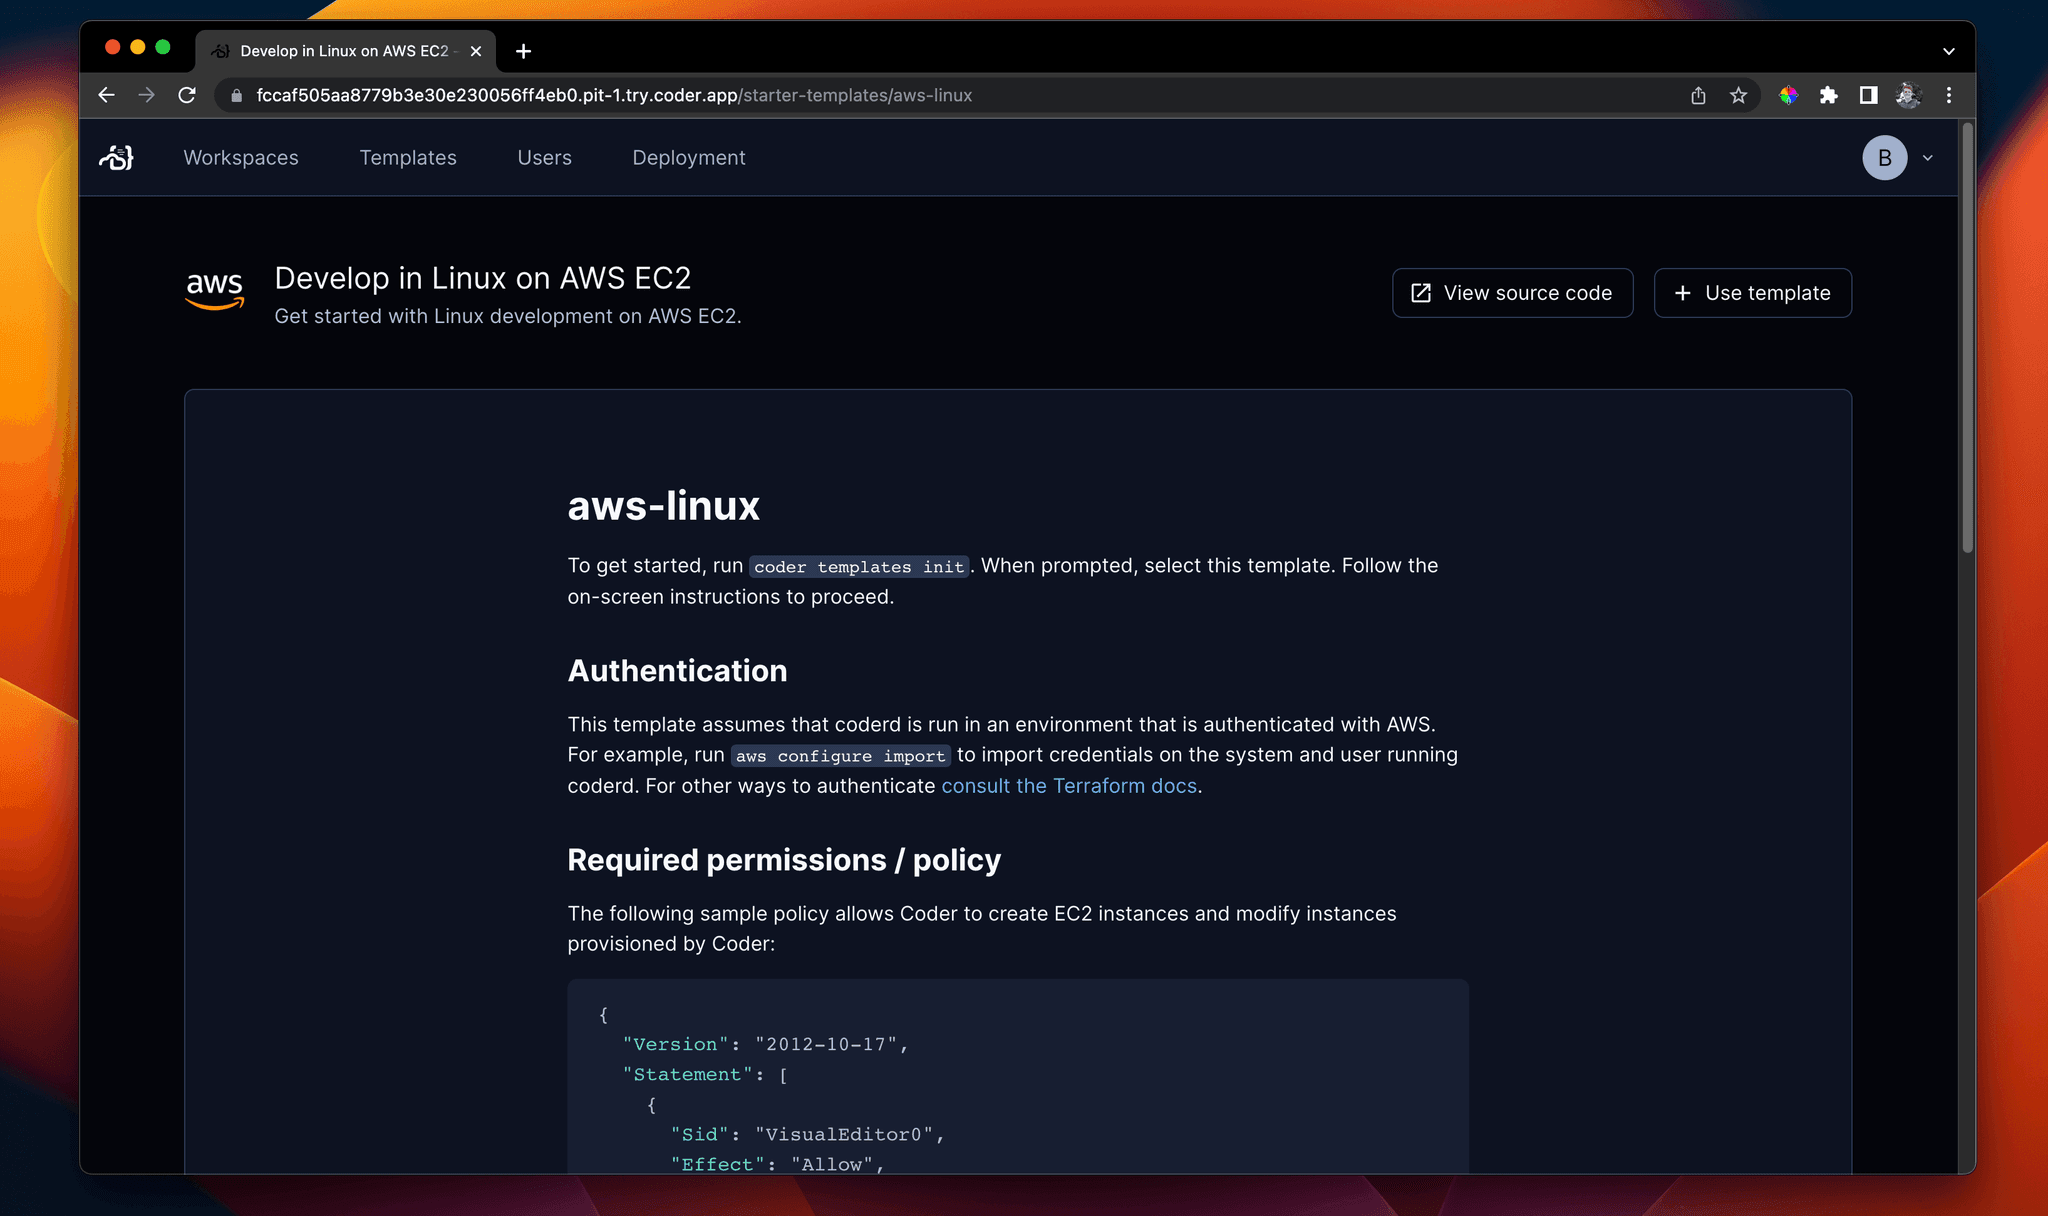
That's all! Use the UI to create your first user, template, and workspace. We
recommend starting with a Docker template since the instance has Docker
pre-installed.
Configuring Coder server
Coder is primarily configured by server-side flags and environment variables.
Given you created or added key-pairs when launching the instance, you can
configure your Coder deployment by logging in via
SSH or using the console: