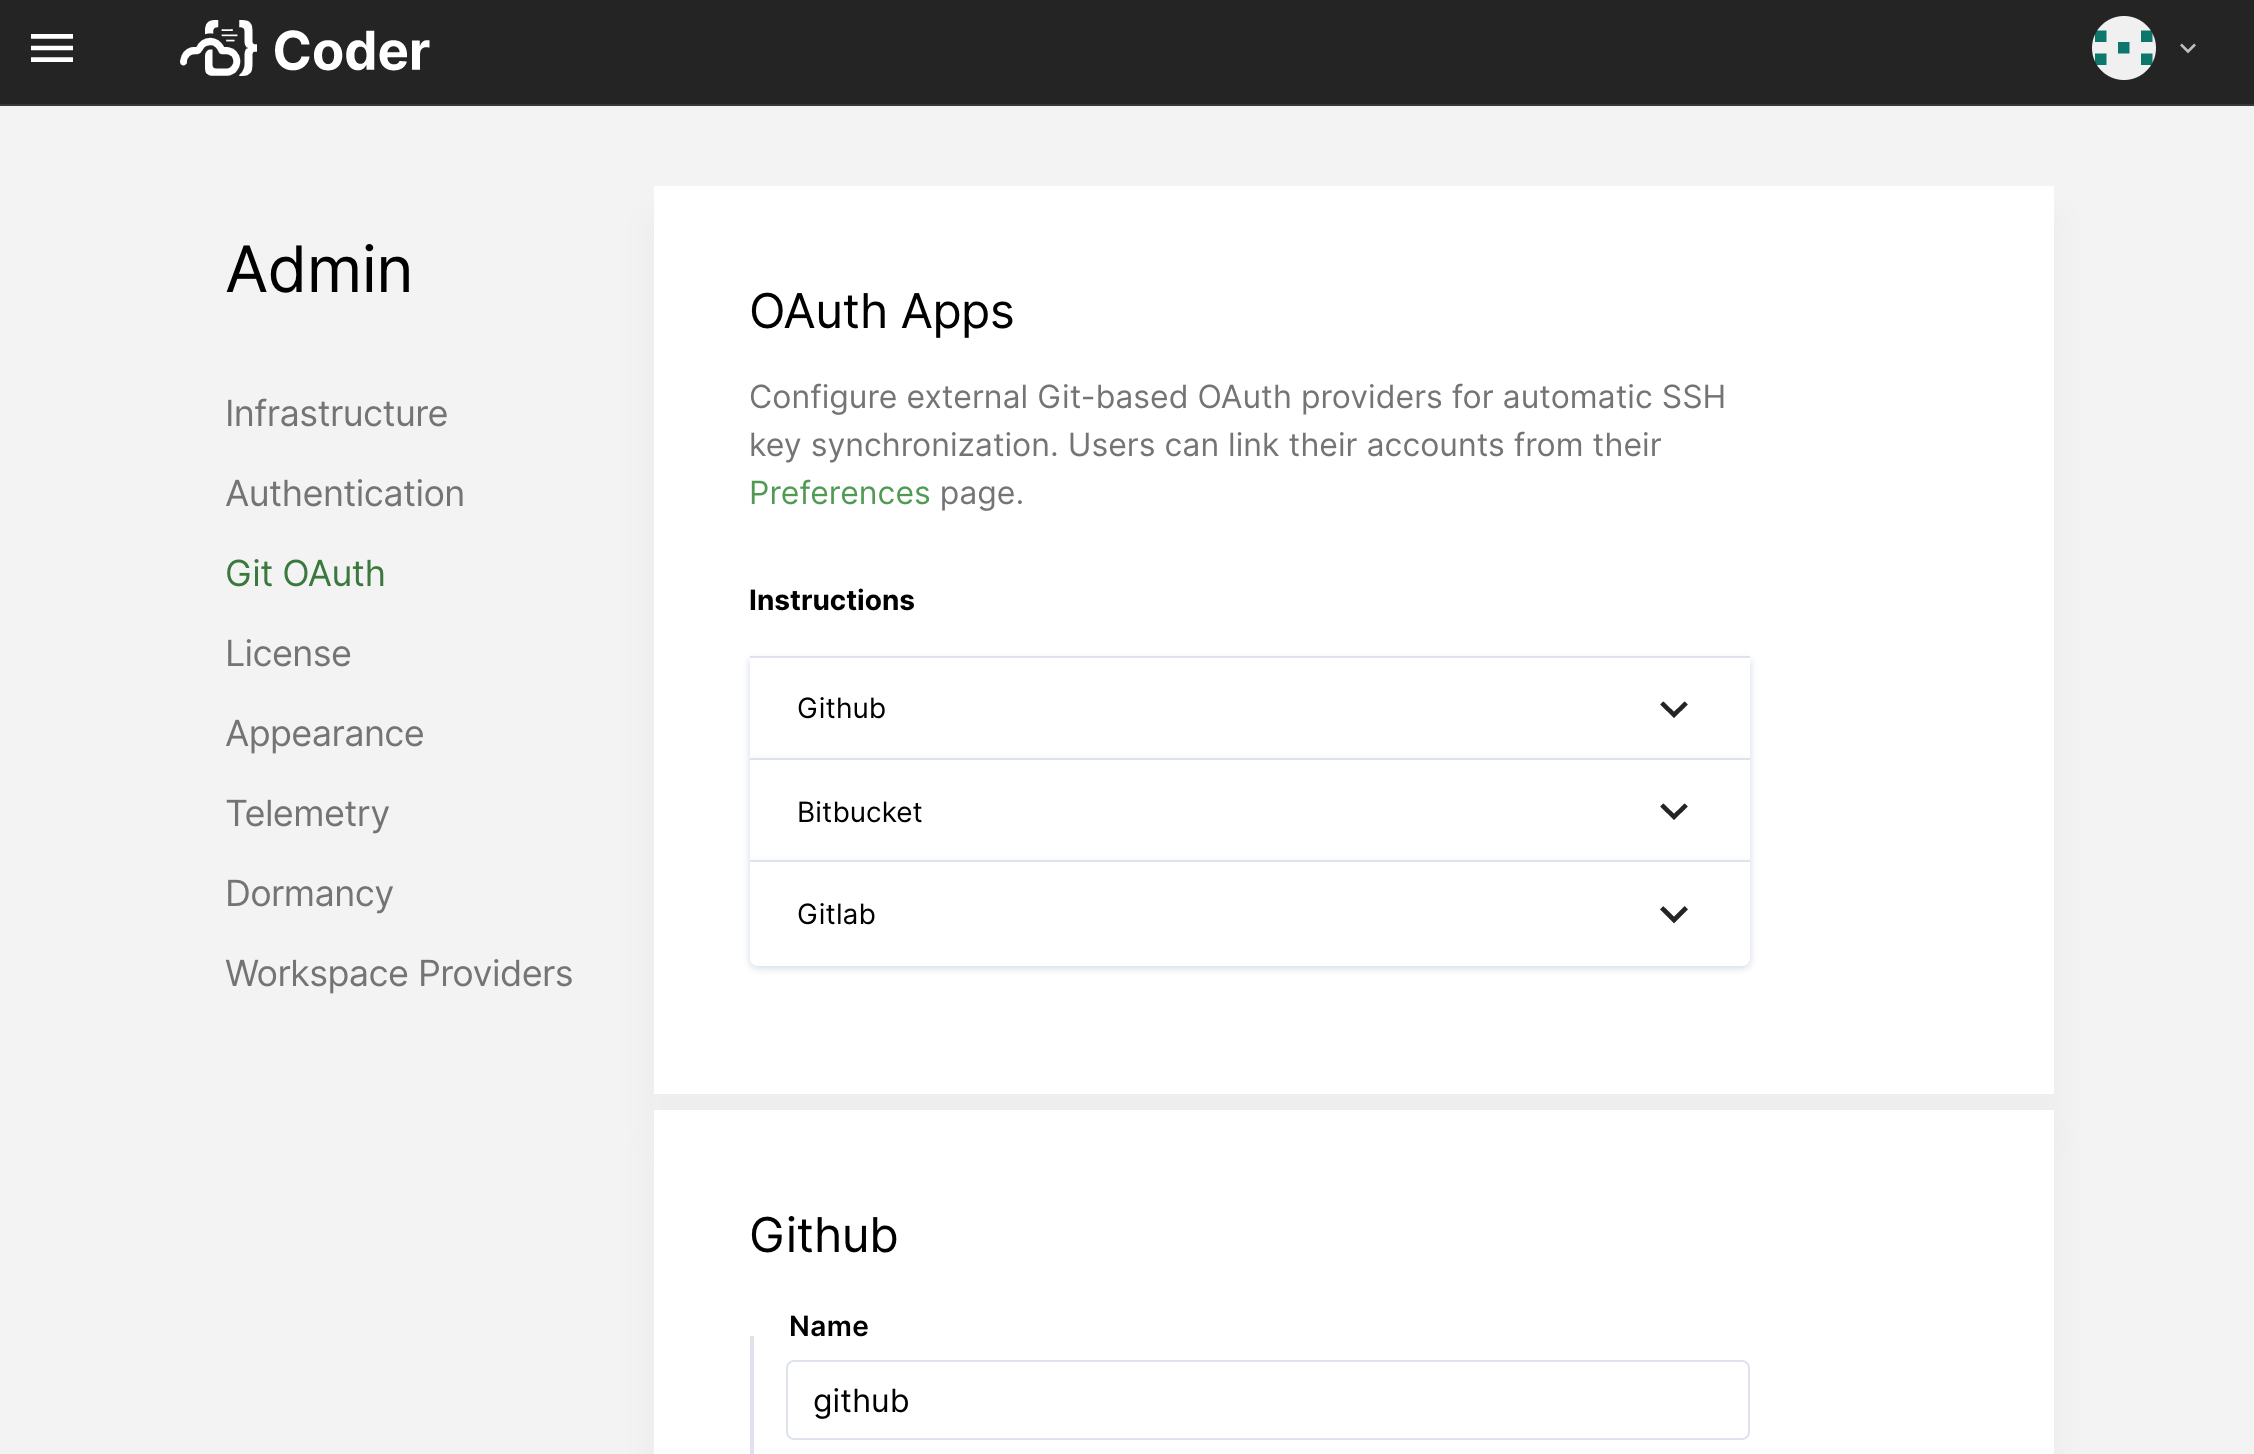
The Git Integration allows your developers to connect their Coder accounts to their accounts with the Git repository service of choice.
Support
Coder integrates with the following service providers for authentication and user key management:
- GitHub (both GitHub.com and GitHub Enterprise)
- GitLab (both GitLab.com and self-hosted GitLab)
- Bitbucket Server (not Bitbucket Cloud; the Cloud API doesn't support managing SSH keys for users via OAuth)
Linking your Coder account with a git service provider is not required. Instead, you can use Visual Studio Code with git, the command-line tool, and we expect that this combination will work with most hosting software or services. However, Coder doesn't test these and cannot provide recommendations or support.
Note The public key provided by Coder uses the ECDSA key algorithm. Ensure your git provider supports this.

Configuring OAuth
Before developers can link their accounts, you (or another site manager) must create an OAuth application with the appropriate providers. When registering, you'll be asked for the following details related to your Coder deployment.
GitHub
When creating an OAuth app, GitHub will ask you for the following Coder parameters:
- Homepage URL: Set to
[your-coder-domain](e.g.https://coder.domain.com) - User Authorization Callback URL: Set to
[your-coder-domain]/oauth/callback(e.g.https://coder.domain.com/oauth/callback)
Then, provide your Client ID and Client Secret to Coder.
When done, click Save.
GitLab
When setting up OAuth with GitLab, you'll have to provide the following during setup:
- Redirect URI: Set to
[your-coder-domain]/oauth/callback(e.g.https://coder.domain.com/oauth/callback)
You can modify the settings for your application afterward. Make sure you've enabled the following:
- Confidential: Check this option
- API (scope): Check this option
Then, provide your Client ID and Client Secret to Coder.
When done, click Save.
Bitbucket Server
On your Bitbucket Server, go to Administration > Application Links.
Create a new Application Link, setting the Application URL as
[your-coder-domain] (e.g. https://coder.domain.com). If you receive a No
response received error, click Continue to ignore it.
For your newly created Application Link, provide the following values as your Incoming Authentication properties:
- Consumer Key:
Coder - Consumer Name:
Coder - Public Key: Your public key (available from the Coder Admin Configuration page)
When done, click Save.


