This article walks you through the process of deploying a workspace provider to a Kubernetes cluster.
Workspace providers are logical groups of resources to which developers can deploy workspaces. As with the Coder installation, Helm manages the deployment of workspace providers into the Kubernetes cluster that will contain your workspaces.
Dependencies
Install the following dependencies if you haven't already:
Requirements
- Workspace providers must have a hostname set that is a subdomain of the
Coder deployment. For example, if the Coder deployment's hostname is
coder.example.com, the workspace provider's hostname must match the format*.coder.example.com. - The main Coder deployment and the workspace provider must be able to communicate bi-directionally via their respective hostnames.
- The workspace provider scheme (HTTP or HTTPS) must match that of the Coder deployment Access URL.
- The Kubernetes cluster address must be reachable from the Coder deployment.
Connecting to the cluster
To add a Kubernetes cluster as a workspace provider, you must first make sure that you're connected to the cluster you want to expand into. Run the following command:
kubectl config current-context
Confirm that your current kubectl context correct before continuing; otherwise, connect to the correct context.
Creating the Coder namespace (optional)
We recommend running workspace providers in a separate namespace; to do so, run:
kubectl create namespace [YOUR_WORKSPACE_PROVIDER_NAMESPACE]
Next, change the kubectl context to point to your newly created namespace:
kubectl config set-context --current --namespace=coder
Creating the new workspace provider
Using the Coder CLI, create a new workspace provider in the pending state.
coder providers create [NAME] \
    --hostname=[HOSTNAME] \
    --cluster-address=[CLUSTER_ADDRESS]
You must provide the following arguments:
-
name: A unique name of the workspace provider -
hostname: The hostname of the workspace provider -
cluster-address: The address of your Kubernetes cluster. You can retrieve this using:kubectl config view -o jsonpath='{.clusters[?(@.name == "'"$(kubectl config current-context)"'")].cluster.server}{"\n"}'
The coder providers create command will generate a Helm command you will use
for the next steps, so make sure to save the output.
The returned REMOTE_ENVPROXY_TOKEN is a shared secret between the two
deployments and is what the workspace provider will use to authenticate itself
when communicating with the Coder deployment.
Installing a workspace provider
-
If you haven't already, add the Coder helm repo:
helm repo add coder https://helm.coder.com -
Install the helm chart onto your cluster using helm command you generated in the previous step where you created the workspace provider. The helm command will follow this pattern:
helm upgrade coder-workspace-provider coder/workspace-provider \
   --namespace=[YOUR_WORKSPACE_PROVIDER_NAMESPACE]
   --version=[CODER_VERSION] \
   --atomic \
   --install \
   --set envproxy.token=[REMOTE_ENVPROXY_TOKEN] \
   --set envproxy.accessURL=[HOSTNAME] \
   --set ingress.host=[HOSTNAME_WITH_NO_PROTOCOL] \
   --set envproxy.clusterAddress=[CLUSTER_ADDRESS] \
   --set cemanager.accessURL=[CEMANAGER_ACCESS_URL]
Optionally, you can provide additional helm configuration values by providing a
values.yamlfile and adding the argument-f my-values.yamlto the generated command. Helm values control attributes of the workspace provider, including dev URLs, Kubernetes storage classes, SSH, and more. See the Workspace provider Helm chart values for more details.For installations using HTTPS, you must ensure the deployment has a valid certificate.
If you're unfamiliar with the helm configuration values file, see our doc on updating a helm chart
-
Once the helm chart is successfully deployed, fetch the ingress address:
kubectl get ingress web-ingressUse this IP to create a DNS record for the provided hostname of the workspace provider.
-
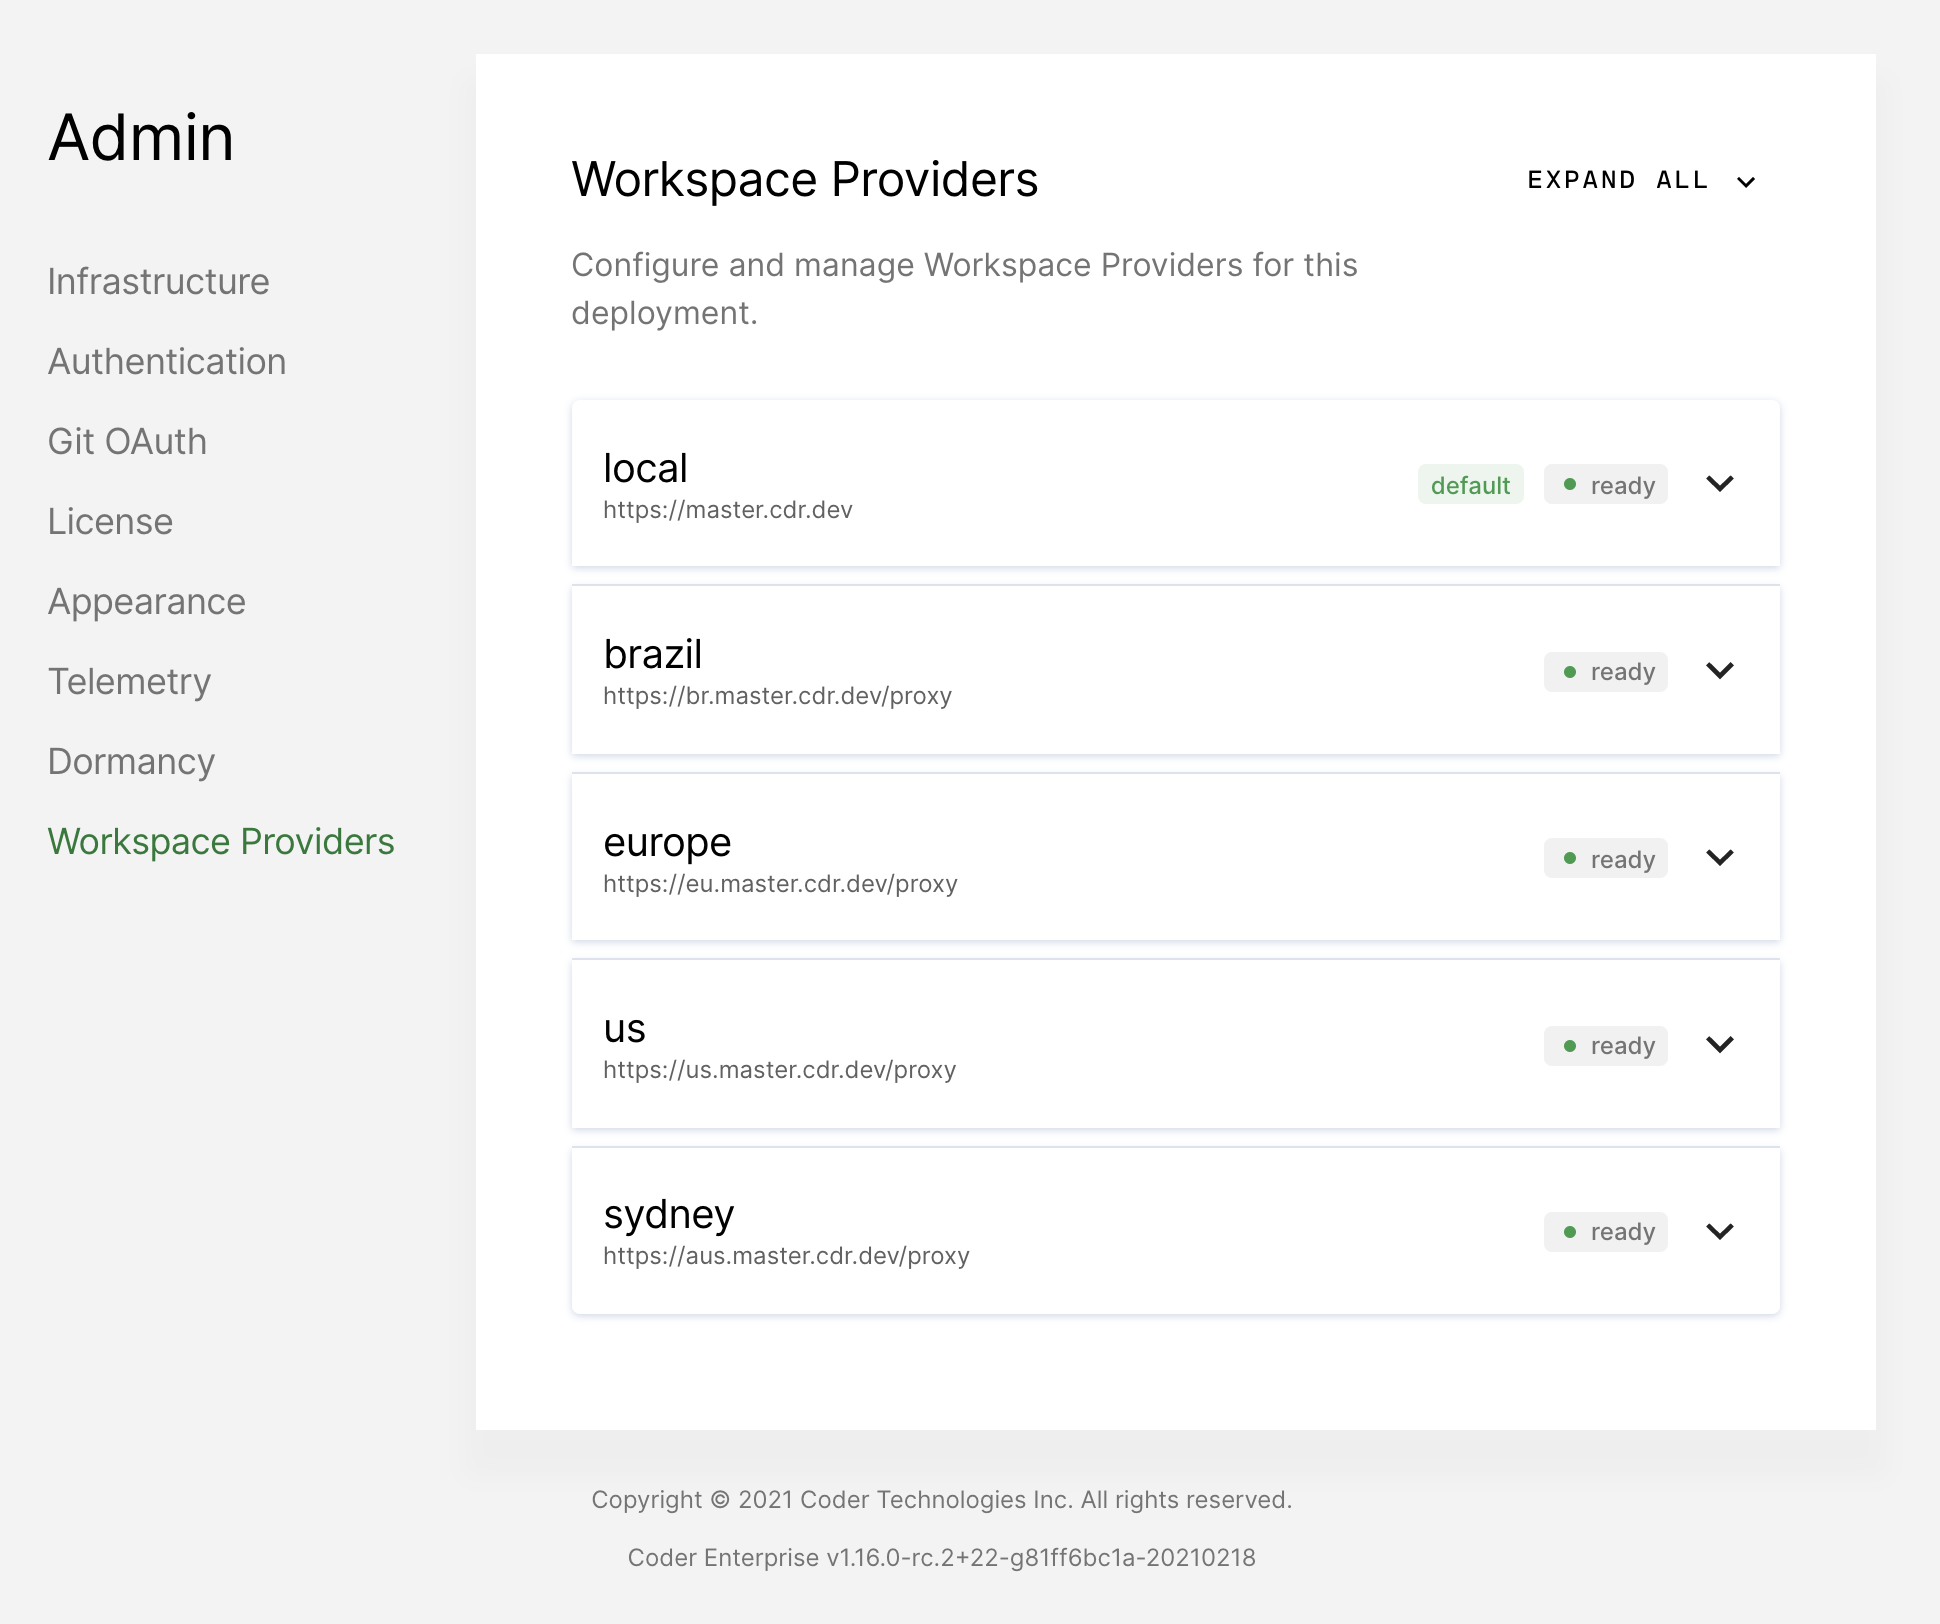
Once the Helm chart has deployed successfully, you should see the workspace provider in a
readystate on the Workspace provider admin page.
-
From the Workspace provider admin page, add the desired organizations to its allowlist.
Users in the allowed organizations can now choose to deploy into the newly set up workspace provider.
Upgrading the workspace provider
We strongly recommend that you upgrade your workspace providers in lockstep with your Coder deployment.
You only need to update the --version flag if you want to make no other helm
values changes; you can do this with
helm upgrade coder-workspace-provider coder/workspace-provider \
    --namespace=[YOUR_WORKSPACE_PROVIDER_NAMESPACE]
    --version=[CODER_VERSION] \
    --atomic \
    --install
If you want to update any of the helm chart's values, you can do so by supplying
a values file (-f myvalues.yaml) or using the --set flag. Any existing
values that you set during installation will persist unless you explicitly write
over them.
Deleting a workspace provider
You can only remove a workspace provider if it no longer contains any workspaces, so you must remove all workspaces before deleting the workspace provider.
To remove a workspace provider, run the following command using the Coder CLI:
coder providers rm [NAME]


