Coder powers secure, scalable development across key industries — automotive, finance, government, and technology — enabling faster builds, tighter compliance, and seamless AI adoption in enterprise-grade cloud environments.
JetBrains Gateway is a compact desktop app that allows you to work remotely with
a JetBrains IDE without even downloading one. Visit the
JetBrains website to
learn more about Gateway.
Gateway can connect to a Coder workspace by using Coder's Gateway plugin or
manually setting up an SSH connection.
Under Install More Providers, find the Coder icon and click Install
to install the Coder plugin.
After Gateway installs the plugin, it will appear in the Run the IDE
Remotely section.
Click Connect to Coder to launch the plugin:
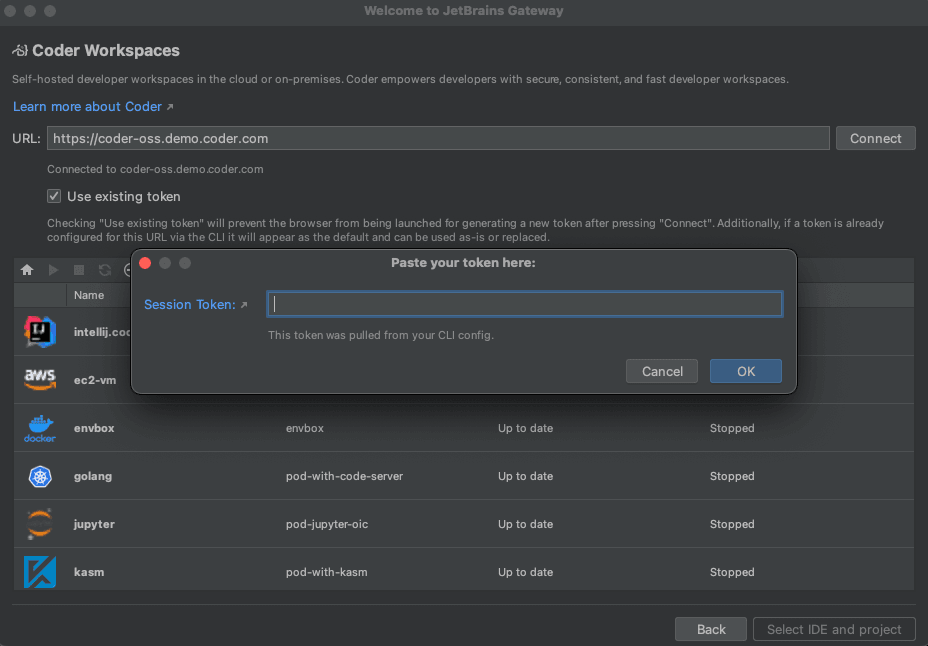
Enter your Coder deployment's
Access Url and click Connect.
Gateway opens your Coder deployment's cli-auth page with a session token.
Click the copy button, paste the session token in the Gateway Session
Token window, then click OK:
To create a new workspace:
Click the + icon to open a browser and go to the templates page in
your Coder deployment to create a workspace.
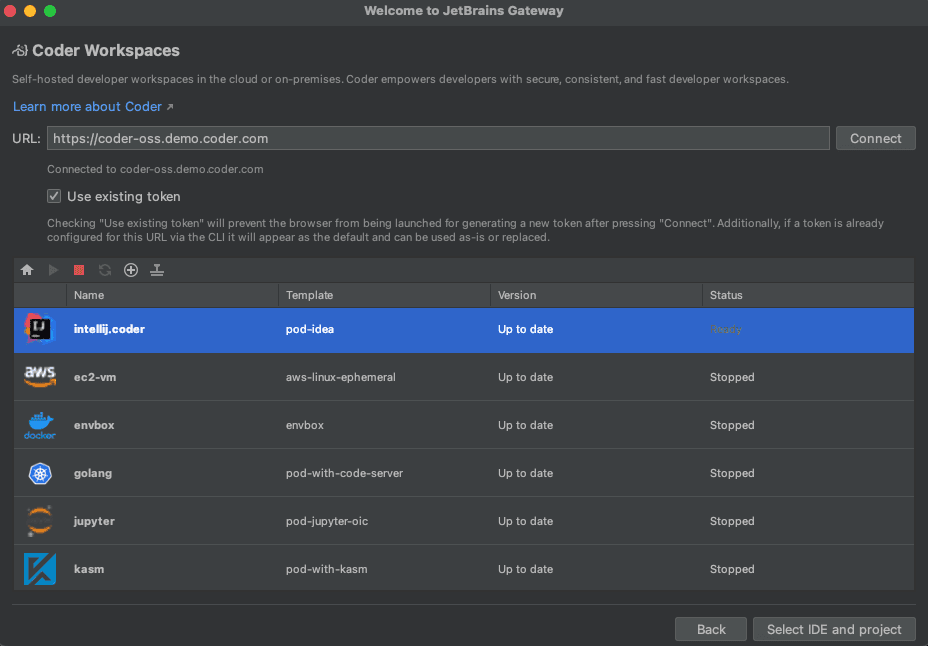
If a workspace already exists but is stopped, select the workspace from the
list, then click the green arrow to start the workspace.
When the workspace status is Running, click Select IDE and Project:
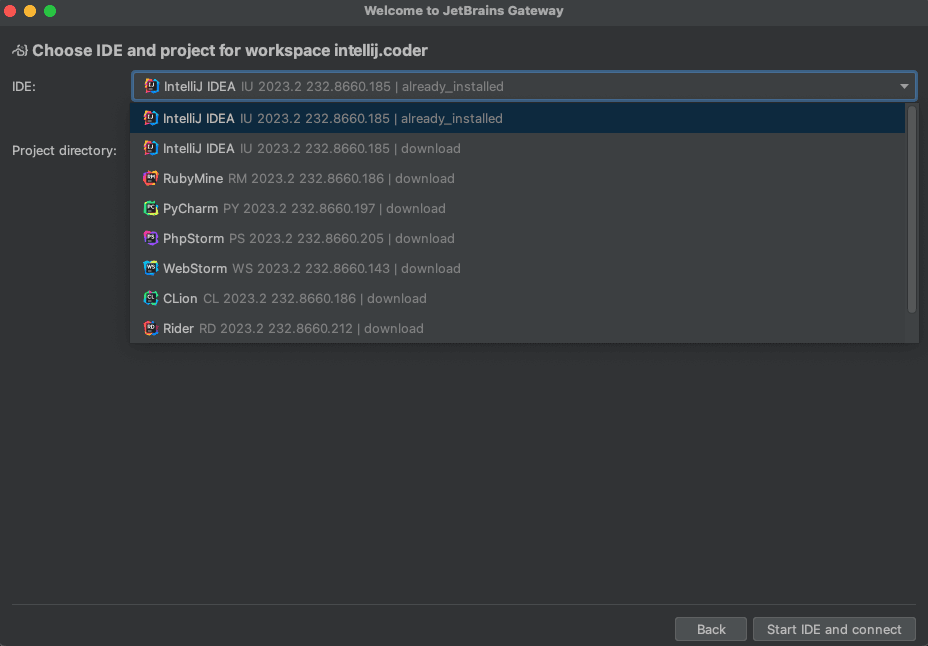
Select the JetBrains IDE for your project and the project directory then
click Start IDE and connect:
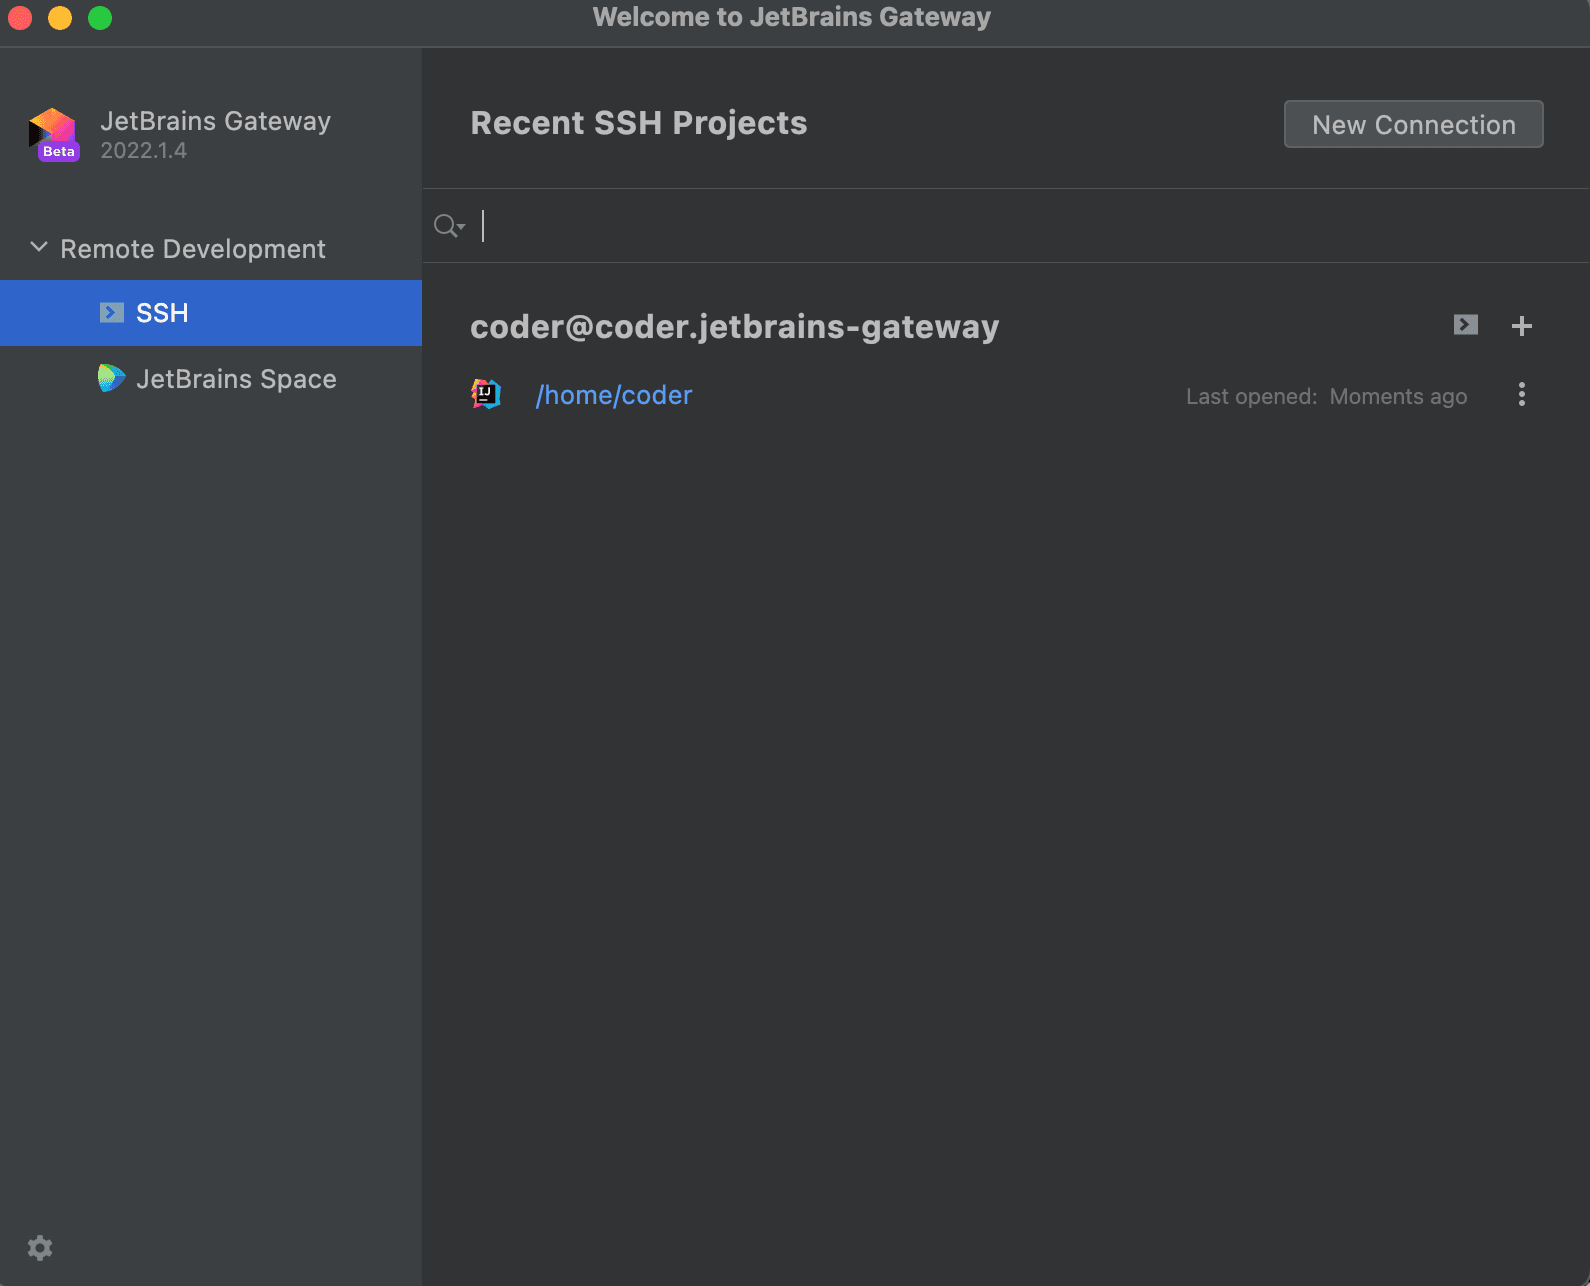
Gateway connects using the IDE you selected:
Note the JetBrains IDE is remotely installed into
~/.cache/JetBrains/RemoteDev/dist
Update a Coder plugin version
Click the gear icon at the bottom left of the Gateway home screen and then
"Settings"
In the Marketplace tab within Plugins, enter Coder and if a newer plugin
release is available, click Update then OK:
Configuring the Gateway plugin to use internal certificates
When attempting to connect to a Coder deployment that uses internally signed
certificates, you may receive the following error in Gateway:
Failed to configure connection to https://coder.internal.enterprise/: PKIX path building failed: sun.security.provider.certpath.SunCertPathBuilderException: unable to find valid certification path to requested target
To resolve this issue, you will need to add Coder's certificate to the Java
trust store present on your local machine. Here is the default location of the
trust store for each OS:
# Linux
<Gateway installation directory>/jbr/lib/security/cacerts

# macOS
<Gateway installation directory>/jbr/lib/security/cacerts
/Library/Application Support/JetBrains/Toolbox/apps/JetBrainsGateway/ch-0/<app-id>/JetBrains Gateway.app/Contents/jbr/Contents/Home/lib/security/cacerts # Path for Toolbox installation

# Windows
C:\Program Files (x86)\<Gateway installation directory>\jre\lib\security\cacerts
%USERPROFILE%\AppData\Local\JetBrains\Toolbox\bin\jre\lib\security\cacerts # Path for Toolbox installation
To add the certificate to the keystore, you can use the keytool utility that
ships with Java:
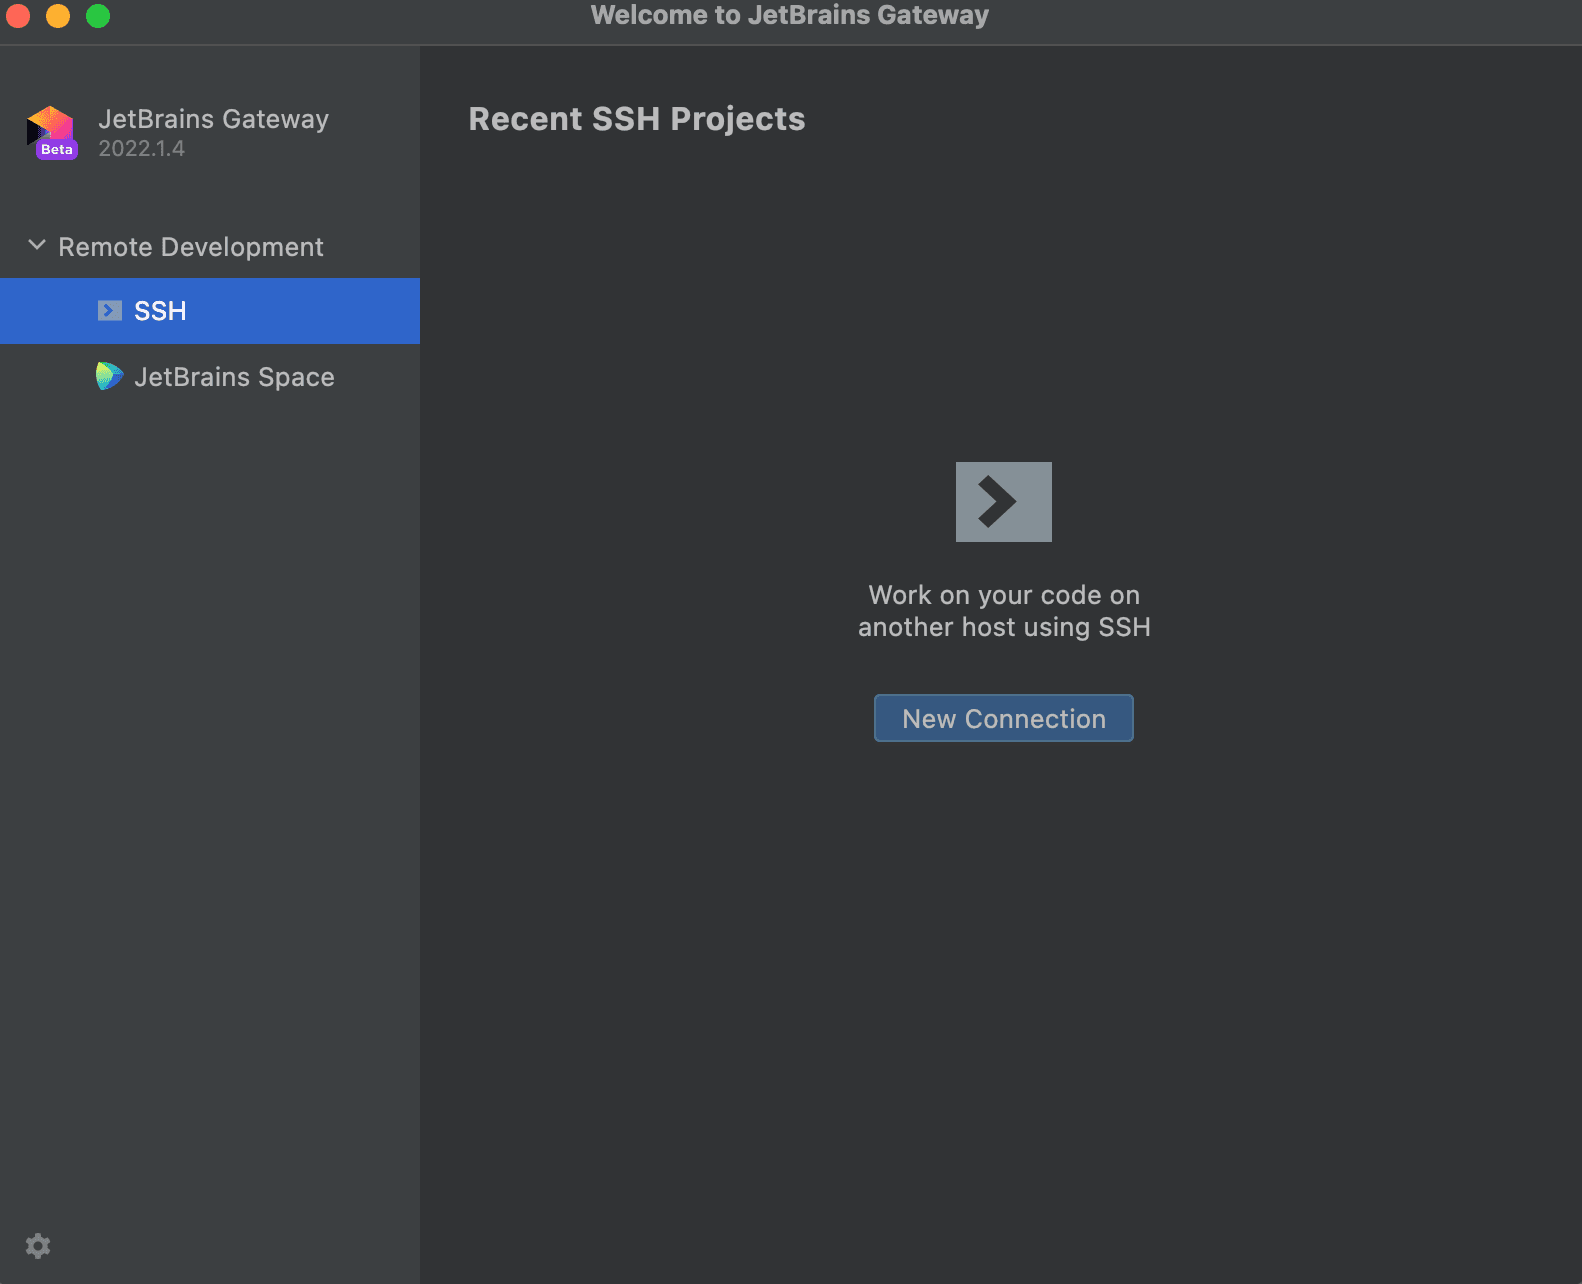
Open Gateway, make sure SSH is selected under Remote Development.
Click New Connection:
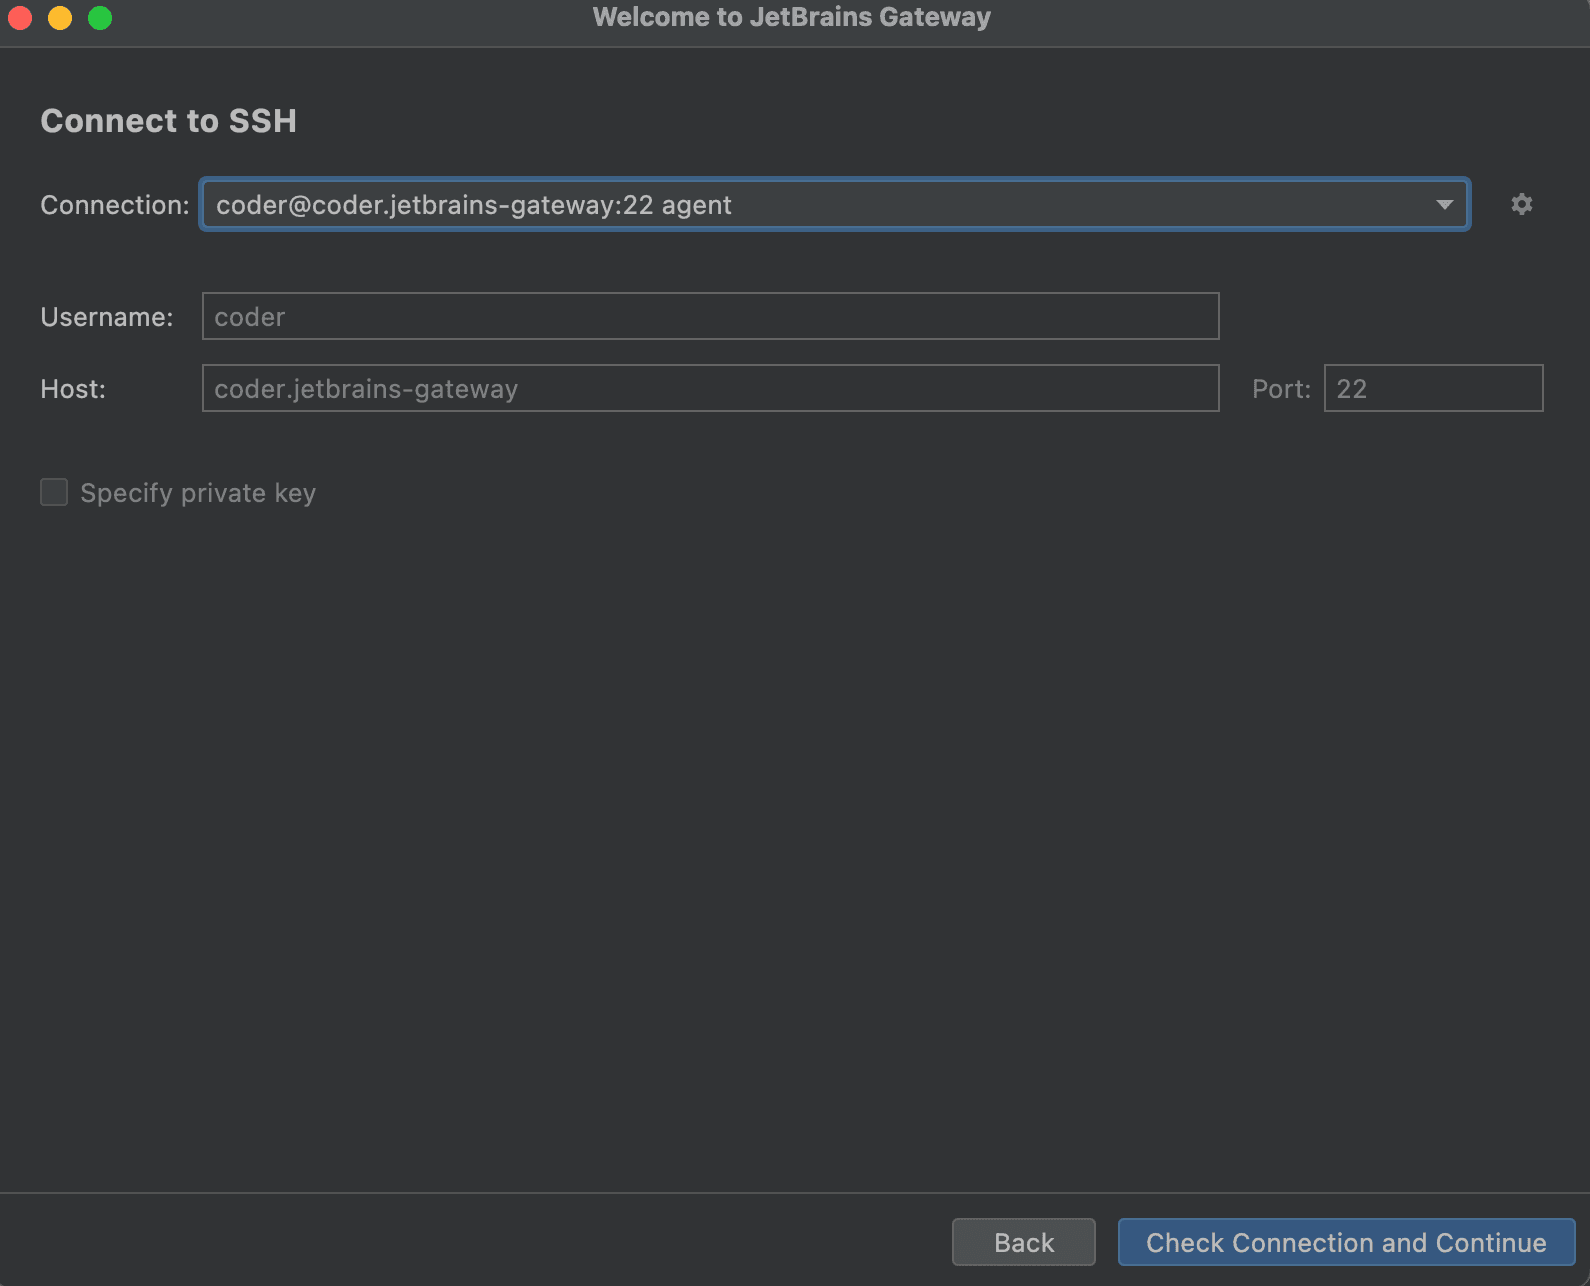
In the resulting dialog, click the gear icon to the right of Connection:
Click + to add a new SSH connection:
For the Host, enter coder.<workspace name>
For the Port, enter 22 (this is ignored by Coder)
For the Username, enter your workspace username.
For the Authentication Type, select OpenSSH config and authentication
agent.
Make sure the checkbox for Parse config file ~/.ssh/config is checked.
Click Test Connection to validate these settings.
Click OK:
Select the connection you just added:
Click Check Connection and Continue:
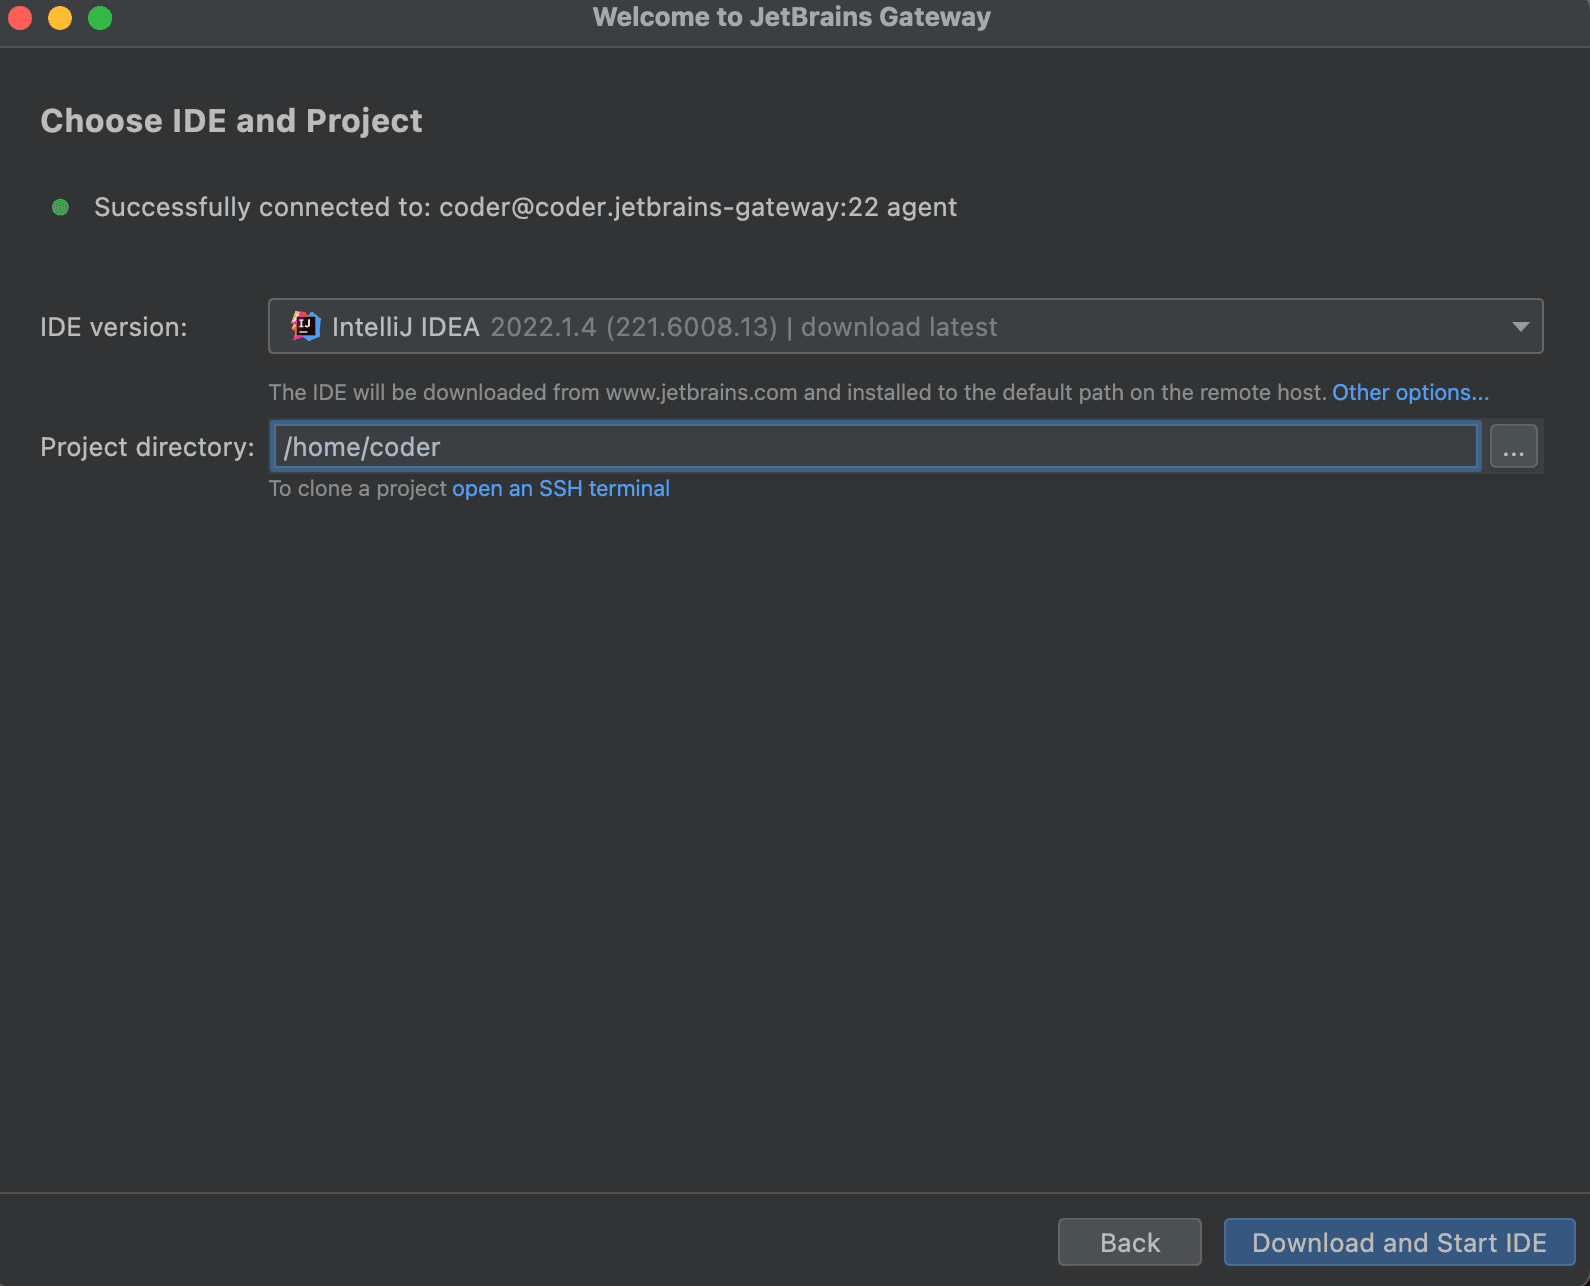
Select the JetBrains IDE for your project and the project directory. SSH into
your server to create a directory or check out code if you haven't already.
Note the JetBrains IDE is remotely installed into
~/. cache/JetBrains/RemoteDev/dist
Click Download and Start IDE to connect.
Using an existing JetBrains installation in the workspace
If you would like to use an existing JetBrains IDE in a Coder workspace (or you
are air-gapped, and cannot reach jetbrains.com), run the following script in the
JetBrains IDE directory to point the default Gateway directory to the IDE
directory. This step must be done before configuring Gateway.
cd /opt/idea/bin
./remote-dev-server.sh registerBackendLocationForGateway
Gateway only works with paid versions of JetBrains IDEs so the script will not
be located in the bin directory of JetBrains Community editions.
In networks that restrict access to the internet, you will need to leverage the
JetBrains Client Installer to download and save the IDE clients locally. Please
see the
JetBrains documentation for more information.
Configuration Steps
The Coder team built a POC of the JetBrains Gateway Offline Mode solution. Here
are the steps we took (and "gotchas"):
1. Deploy the server and install the Client Downloader
We deployed a simple Ubuntu VM and installed the JetBrains Client Downloader
binary. Note that the server must be a Linux-based distribution.
wget https://download.jetbrains.com/idea/code-with-me/backend/jetbrains-clients-downloader-linux-x86_64-1867.tar.gz && \
tar -xzvf jetbrains-clients-downloader-linux-x86_64-1867.tar.gz
2. Install backends and clients
JetBrains Gateway requires both a backend to be installed on the remote host
(your Coder workspace) and a client to be installed on your local machine. You
can host both on the server in this example.
You will need to run a web server in order to serve requests to the backend and
client files. We installed nginx and setup an FQDN and routed all requests to
/. See below:
Then, configure your DNS entry to point to the IP address of the server. For the
purposes of the POC, we did not configure TLS, although that is a supported
option.
4. Add Client Files
You will need to add the following files on your local machine in order for
Gateway to pull the backend and client from the server.
$ cat productsInfoUrl # a path to products.json that was generated by the backend's downloader (it could be http://, https://, or file://)

https://internal.site/backends/<PRODUCT_CODE>/products.json

$ cat clientDownloadUrl # a path for clients that you got from the clients' downloader (it could be http://, https://, or file://)

https://internal.site/clients/

$ cat jreDownloadUrl # a path for JBR that you got from the clients' downloader (it could be http://, https://, or file://)

https://internal.site/jre/

$ cat pgpPublicKeyUrl # a URL to the KEYS file that was downloaded with the clients builds.

https://internal.site/KEYS
The location of these files will depend upon your local operating system:
Additionally, create a string for each setting with its appropriate value in
SOFTWARE\JetBrains\RemoteDev:
5. Setup SSH connection with JetBrains Gateway
With the server now configured, you can now configure your local machine to use
Gateway. Here is the documentation to
setup SSH config via the Coder CLI.
On the Gateway side, follow our guide here until step 16.
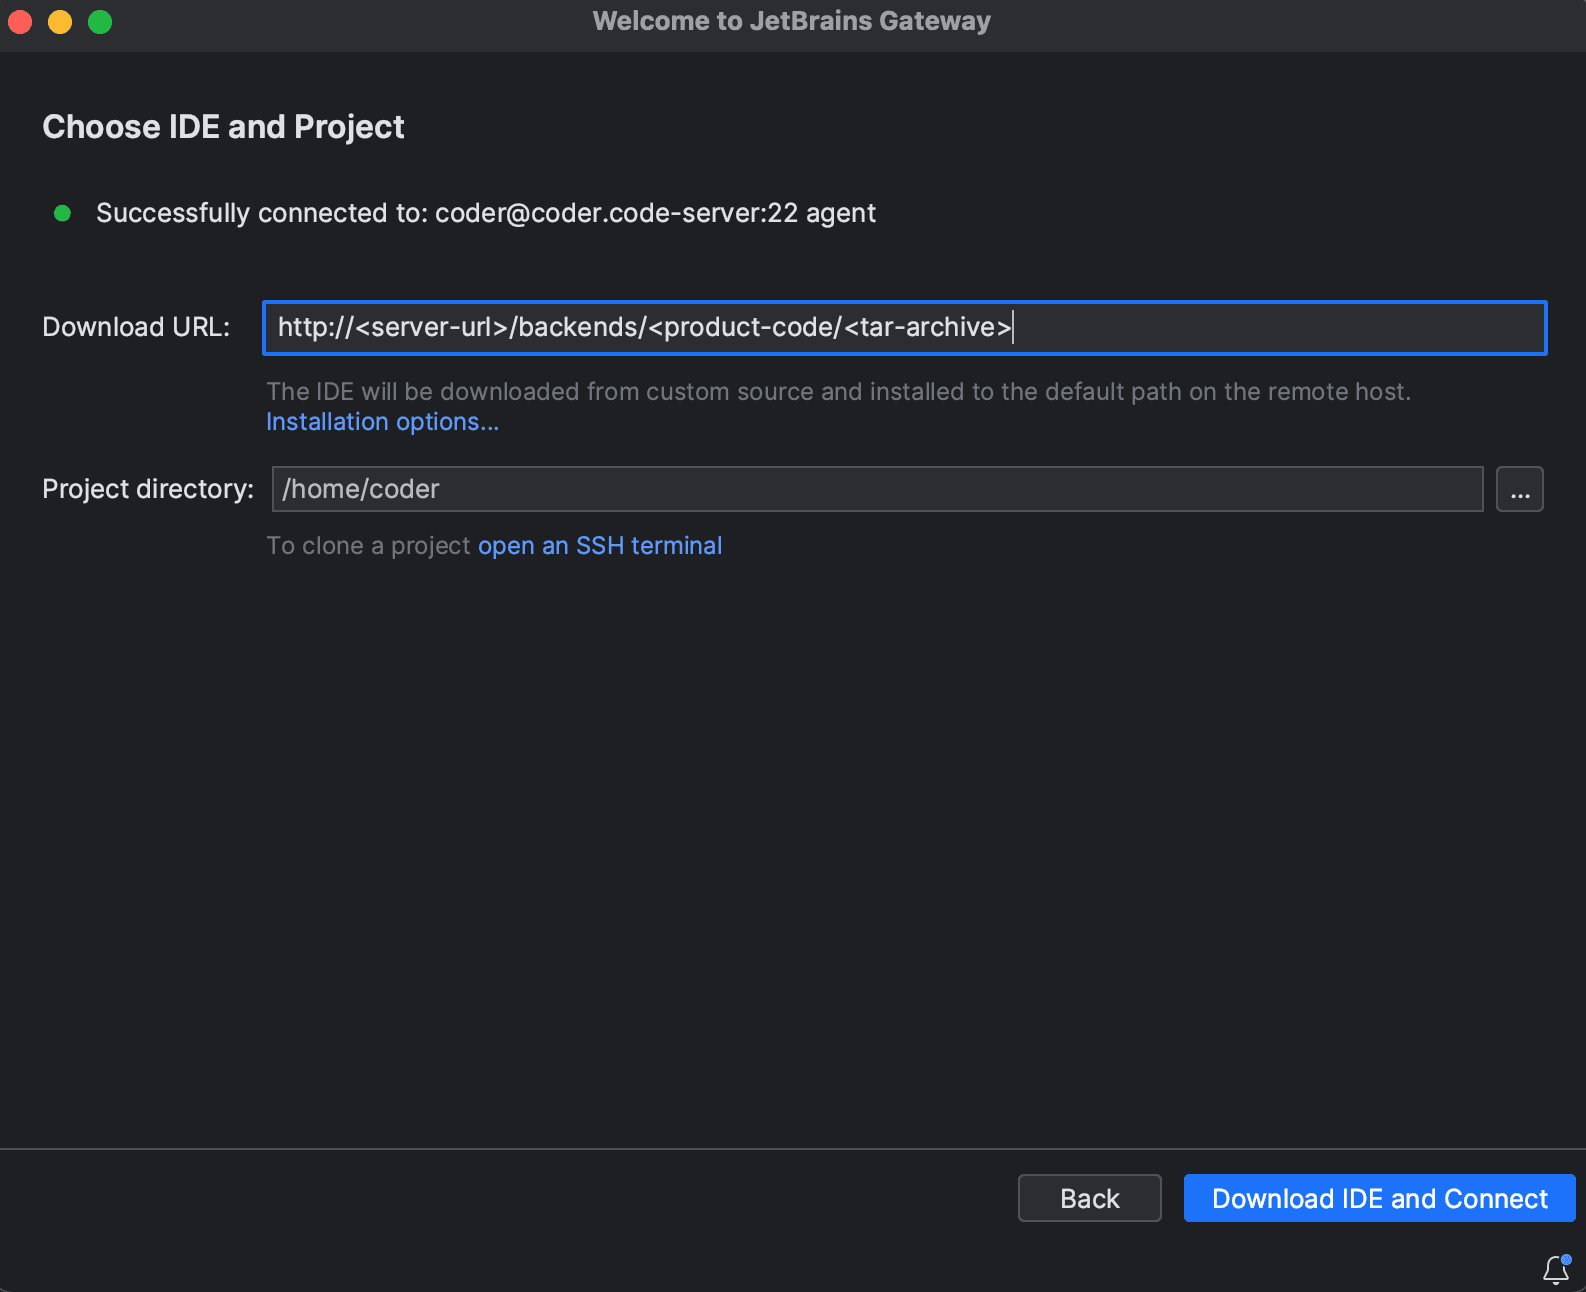
Instead of downloading from jetbrains.com, we will point Gateway to our server
endpoint. Select Installation options... and select Use download link. Note
that the URL must explicitly reference the archive file:
Click Download IDE and Connect. Gateway should now download the backend and
clients from the server into your remote workspace and local machine,
respectively.
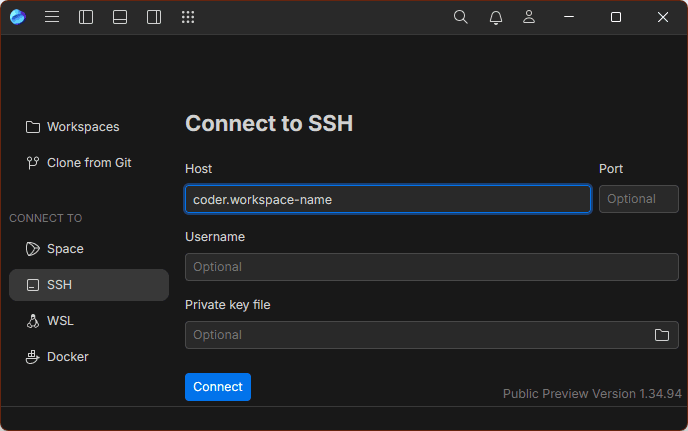
JetBrains Fleet
JetBrains Fleet is a code editor and lightweight IDE designed to support various
programming languages and development environments.