Coder powers secure, scalable development across key industries — automotive, finance, government, and technology — enabling faster builds, tighter compliance, and seamless AI adoption in enterprise-grade cloud environments.
You can develop in your Coder workspace remotely with
VS Code.
We support connecting with the desktop client and VS Code in the browser with
code-server.
Learn more about how VS Code Web and code-server compare in the
code-server doc.
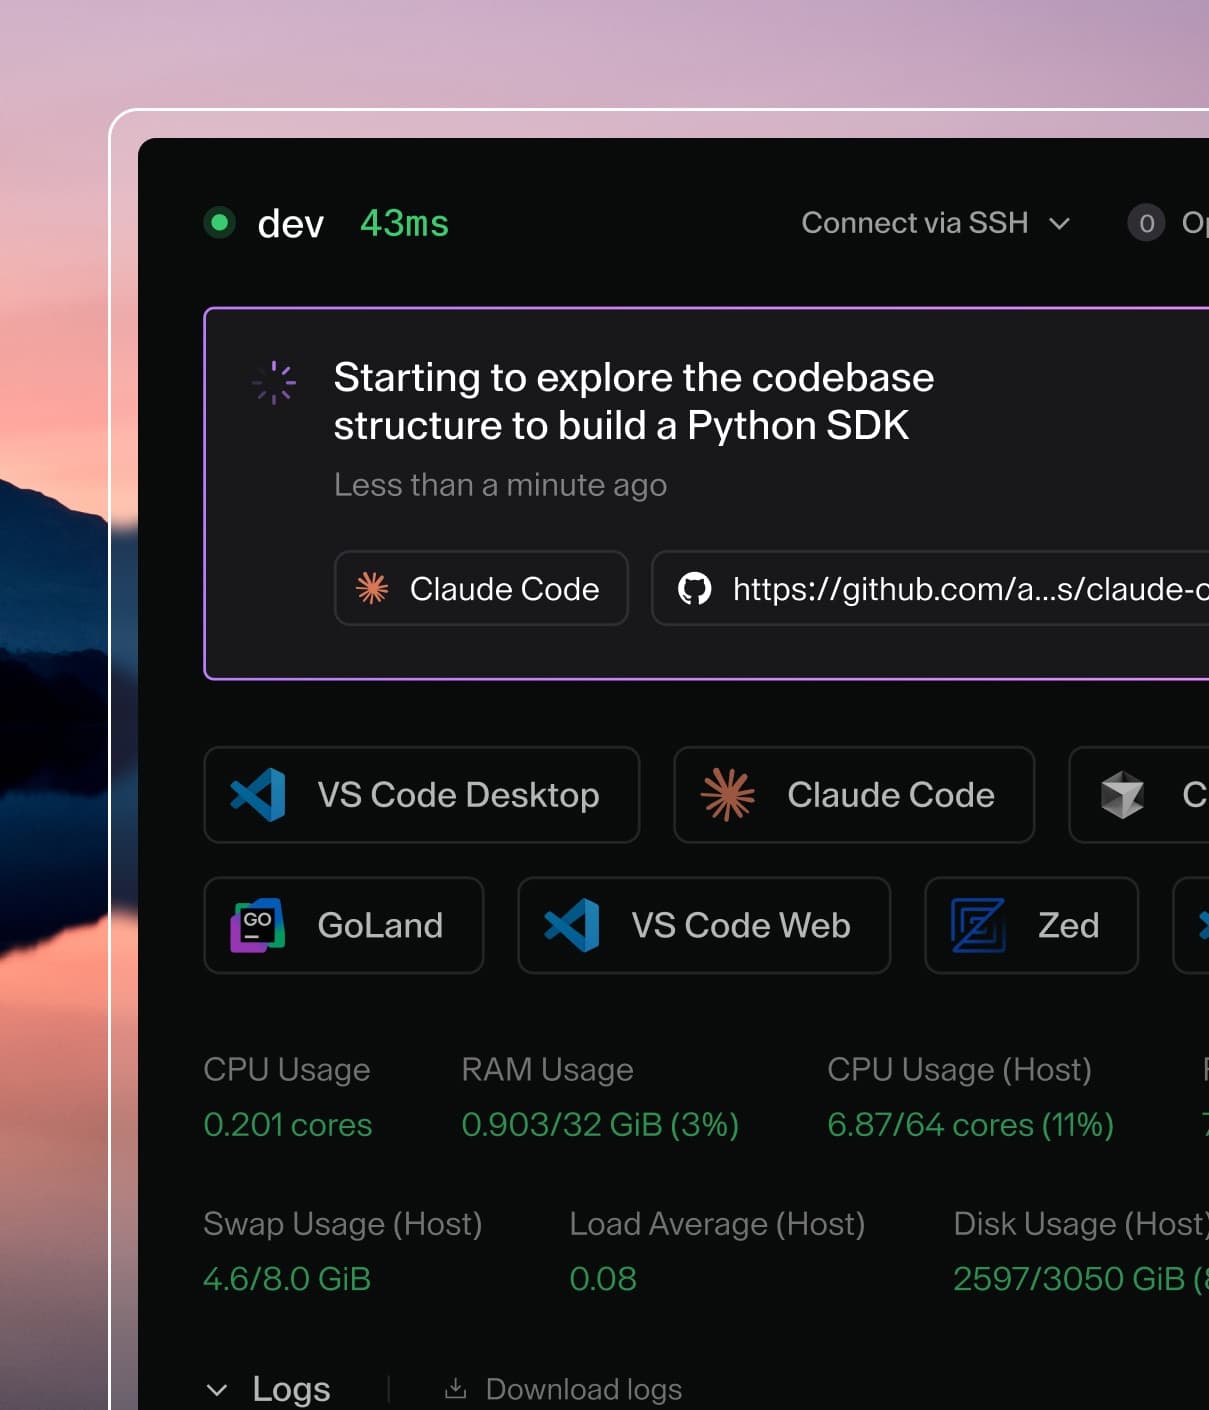
VS Code Desktop
VS Code desktop is a default app for workspaces.
Click VS Code Desktop in the dashboard to one-click enter a workspace. This
automatically installs the Coder Remote
extension, authenticates with Coder, and connects to the workspace.
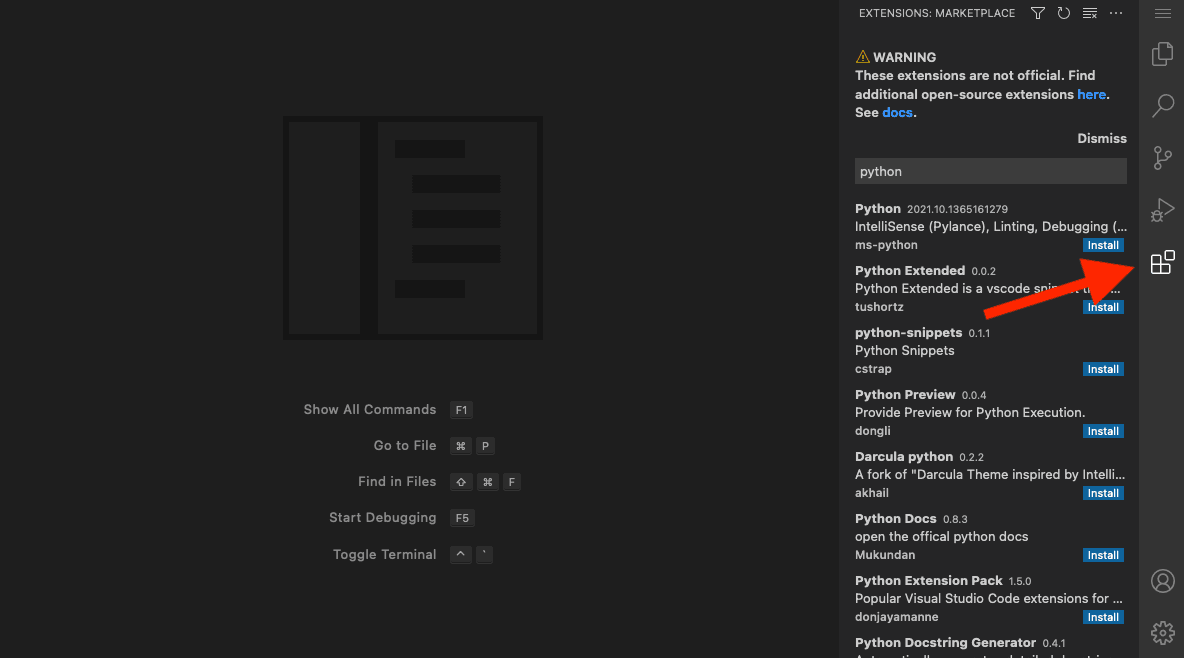
You can install our extension manually in VS Code using the command palette.
Launch VS Code Quick Open (Ctrl+P), paste the following command, and press
enter.
ext install coder.coder-remote
Alternatively, manually install the VSIX from the
latest release.
Local telemetry
The Coder Remote extension records local telemetry to help diagnose extension
and workspace connection issues. Telemetry is stored on your machine. It is not
sent to Coder unless you export it or include it in a support bundle and share
that file.
Local telemetry is controlled by the VS Code setting coder.telemetry.level:
Value
Behavior
off
Disable extension telemetry collection.
local
Record telemetry events on this machine. This is the default.
Stored data
Telemetry can include diagnostic details such as extension version, VS Code
version, operating system, machine and session identifiers, deployment URL,
workspace and agent names, command outcomes, connection state, request routes,
timing, and error details. It does not intentionally collect source code,
terminal contents, tokens, or credentials.
Tracked activity
The exact events vary by extension version. For a comprehensive list of current
events, properties, and attributes, see the
extension event reference.
The following categories summarize the diagnostic signals the extension may
record:
Area
Examples
Extension lifecycle
Activation, deployment initialization, and configuration loading.
Authentication and credentials
Sign-in state, token refresh, logout, credential storage, and deployment recovery.
Commands and diagnostics
Command outcomes, telemetry exports, support bundle creation, ping, and speed tests.
Workspace workflows
Workspace selection, open attempts, dev container handoff, start, and update prompts.
CLI and remote setup
CLI binary resolution, download, verification, configuration, and setup through SSH handoff.
Connection health
Workspace and agent state transitions, reconnects, SSH process health, and network samples.
HTTP diagnostics
Normalized routes, status classes, and latency rollups.
Storage and retention
The extension stores telemetry as JSON Lines files in its VS Code global storage
under a telemetry directory. Files rotate at 5 MiB, are kept for up to 30 days,
and are capped at 100 MiB total by default.
You can tune local retention with the advanced coder.telemetry.local setting.
Most users should keep the default values.
Diagnostics and support bundles
The extension includes commands for collecting diagnostics from VS Code:
Coder: Export Telemetry exports only local telemetry. Choose a date range
and JSON or OTLP JSON zip format, then review the file before sharing it.
Coder: Create Support Bundle runs coder support bundle and adds a
vscode-logs/ directory with recent VS Code extension diagnostics, including
extension logs, proxy and Remote-SSH logs, redacted VS Code settings, and
local telemetry files when available. The vscode-logs/ directory is only
added when the bundle is created from the VS Code Coder Remote extension;
bundles created with the CLI alone do not include it.
Coder: View Logs opens the extension output logs in VS Code.
Support bundles can contain sensitive diagnostic data. Review the generated
bundle before sharing it. Learn more about
support bundles.
VS Code extensions
There are multiple ways to add extensions to VS Code Desktop:
You can manually add an extension while you're working in the Code Web IDE. The
extensions can be from Coder's public marketplace, Eclipse Open VSX's public
marketplace, or the Eclipse Open VSX local marketplace.
Note
Microsoft does not allow any unofficial VS Code IDE to connect to the
extension marketplace.
Adding extensions to custom images
You can add extensions to a custom image and install them either through Code
Web or using the workspace's terminal.
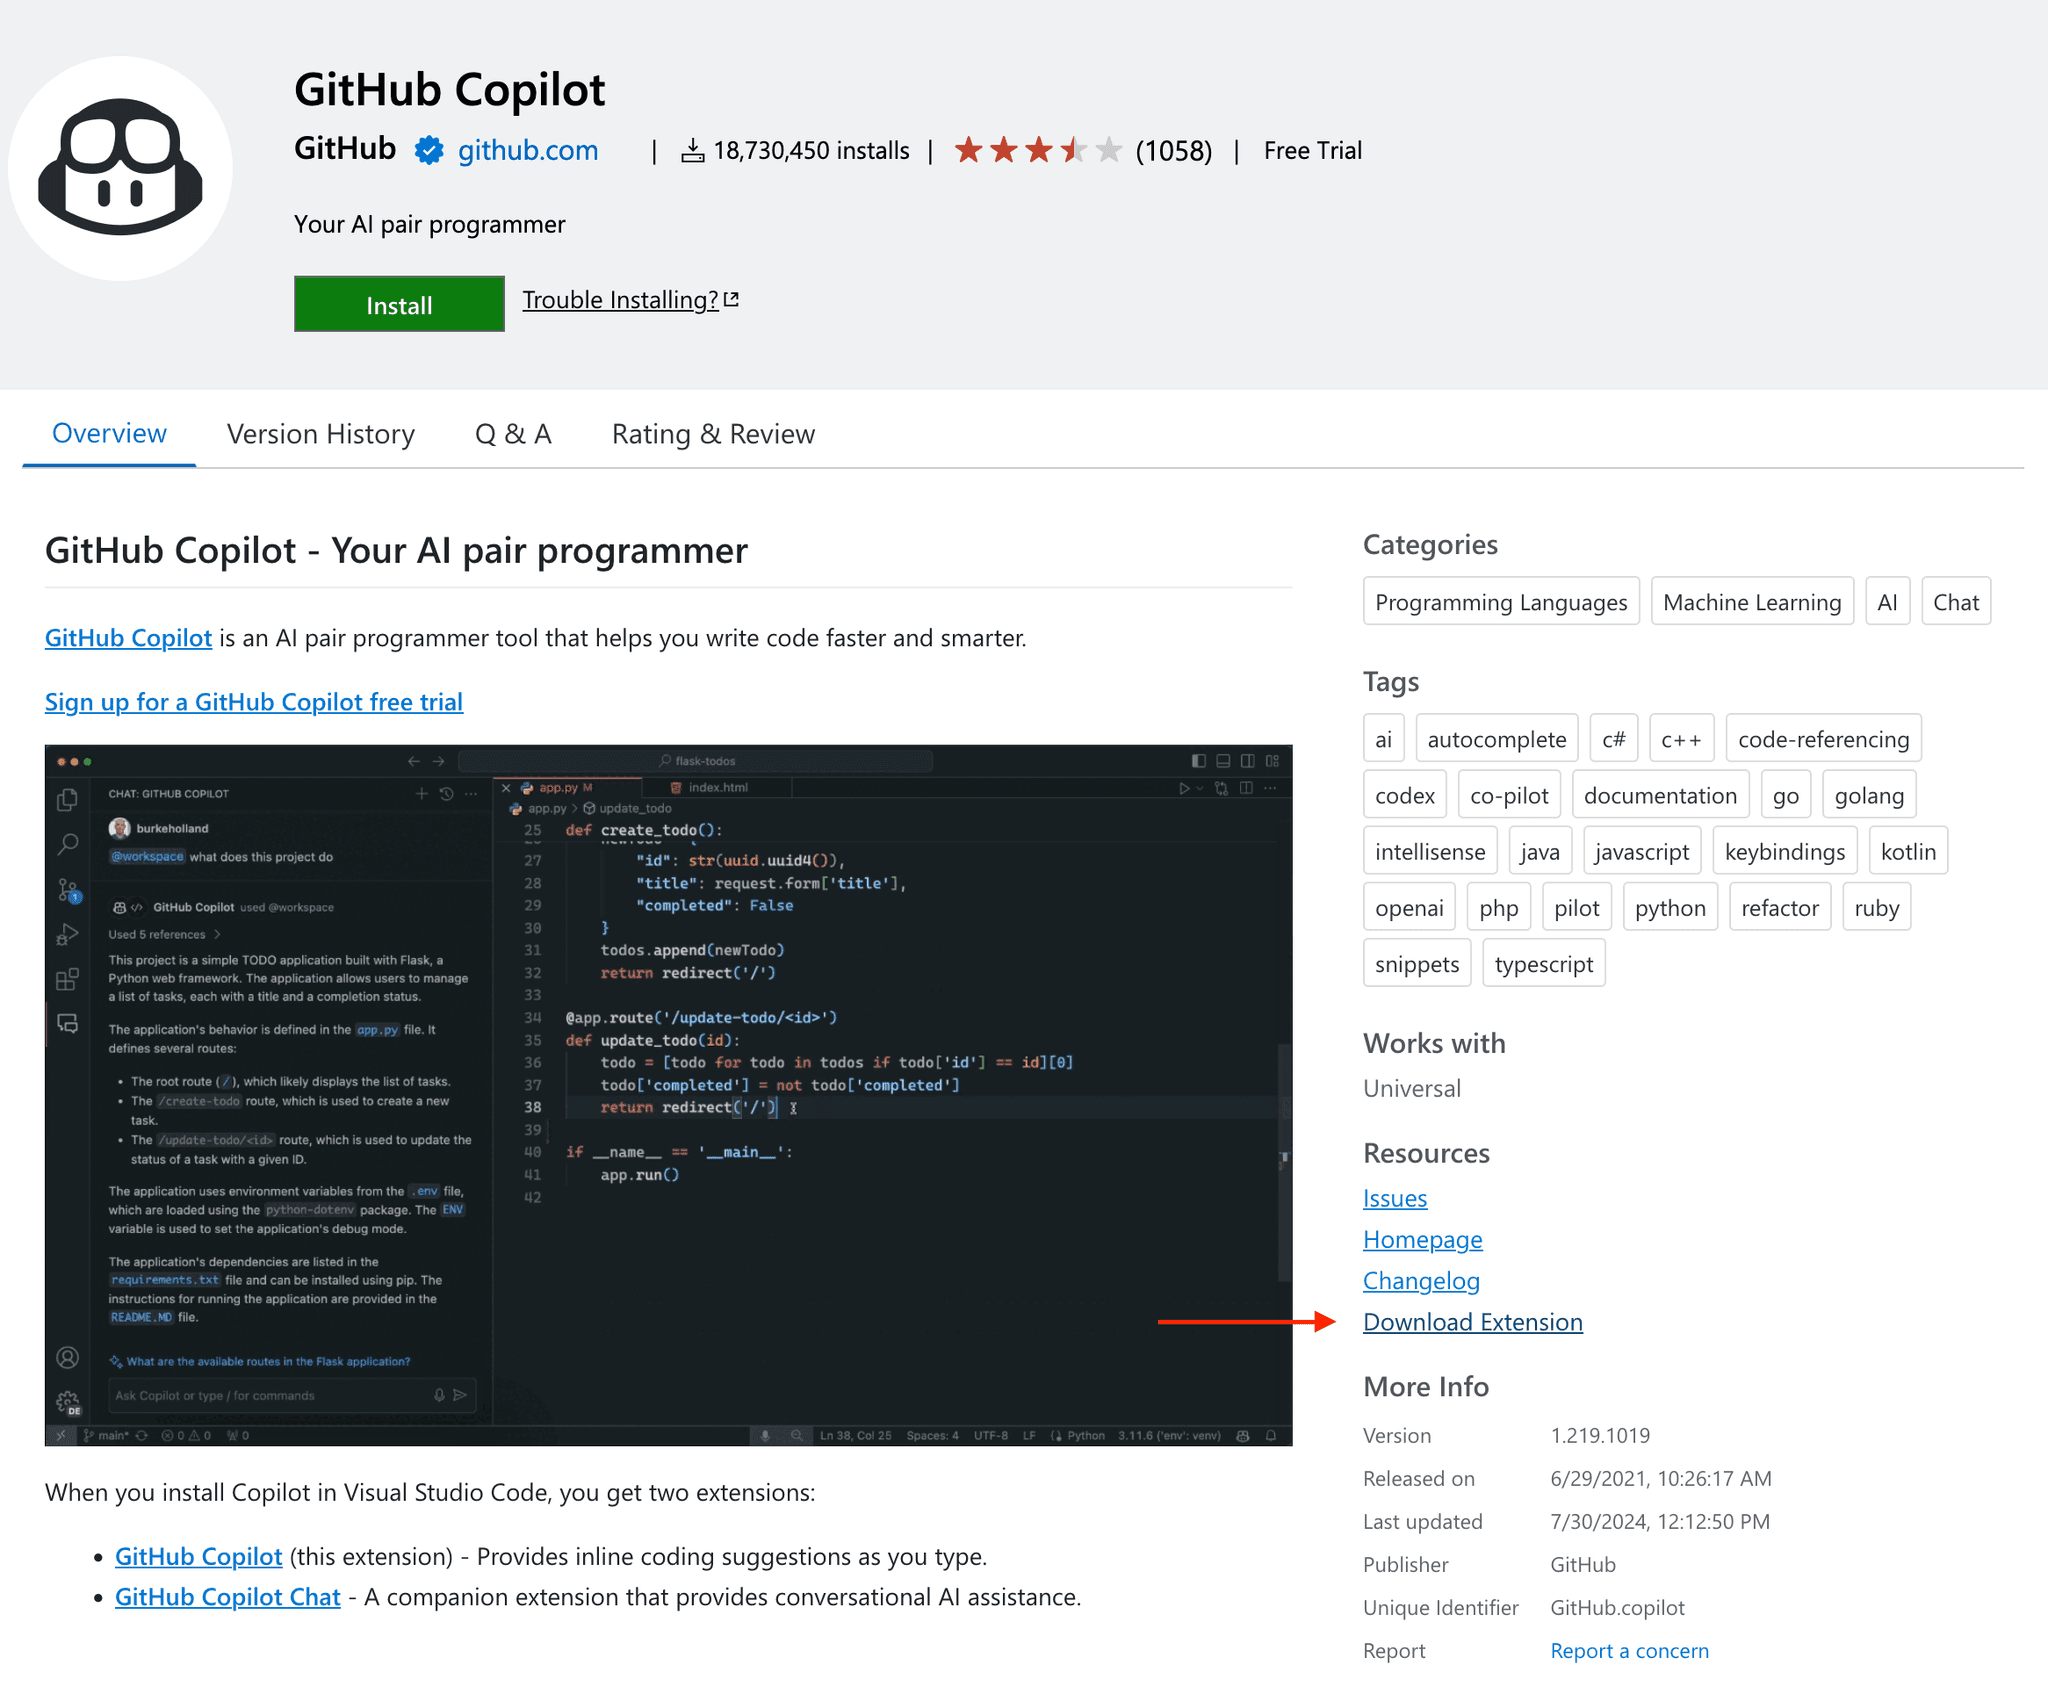
Download the extension(s) from the Microsoft public marketplace.
Add the vsix extension files to the same folder as your Dockerfile.
~/images/base
 ➜  ls -l
 -rw-r--r-- 1 coder coder       0 Aug 1 19:23 Dockerfile
 -rw-r--r-- 1 coder coder 8925314 Aug 1 19:40 GitHub.copilot.vsix
In the Dockerfile, add instructions to make a folder and to copy the vsix
files into the newly created folder.
FROM codercom/enterprise-base:ubuntu

# Run below commands as root user
USER root

# Download and install VS Code extensions into the container
RUN mkdir -p /vsix
ADD ./GitHub.copilot.vsix /vsix

USER coder
Build the custom image, and push it to your image registry.
Pass in the image and below command into your template startup_script (be
sure to update the filename below):
You will now have access to the extension in your workspace.
Installing extensions using its vsix file at the command line
Using the workspace's terminal or the terminal available inside code-server,
you can install an extension whose files you've downloaded from a marketplace:
Using the workspace's terminal or the terminal available inside Code Web (code
server), run the following to install an extension (be sure to update the
snippets with the name of the extension you want to install):
For your local VS Code to pickup extension files in your Coder workspace,
include this command in your startup_script, or run in manually in your
workspace terminal: