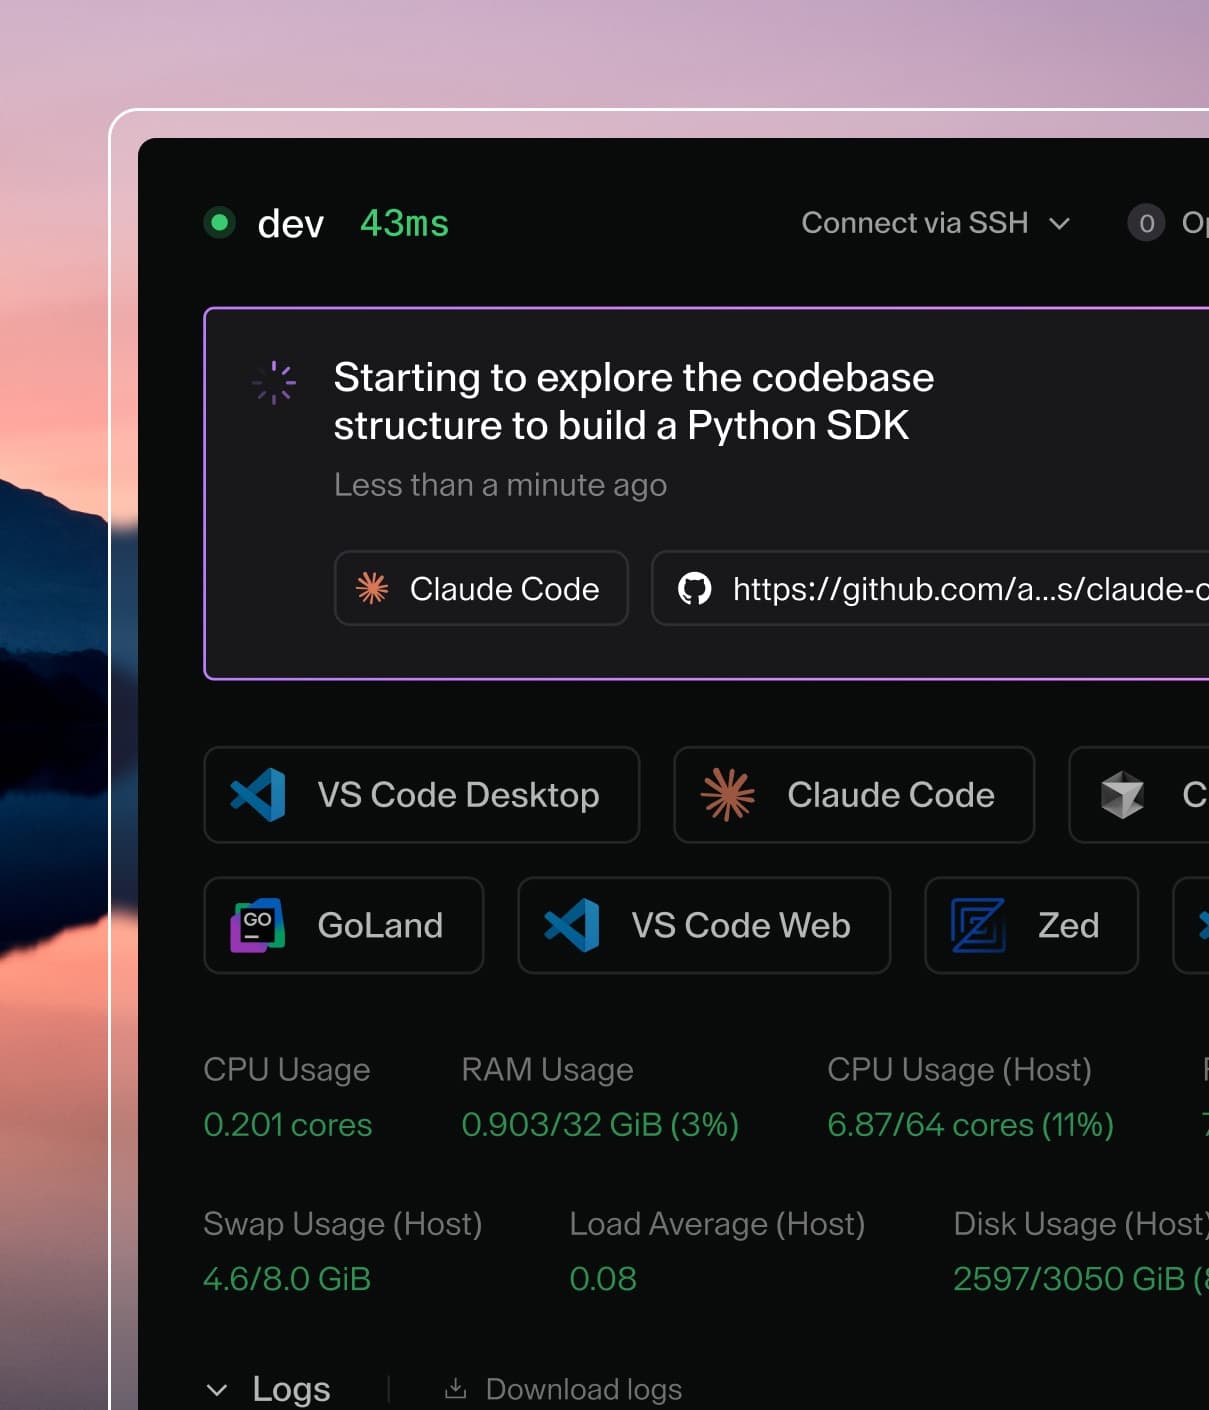
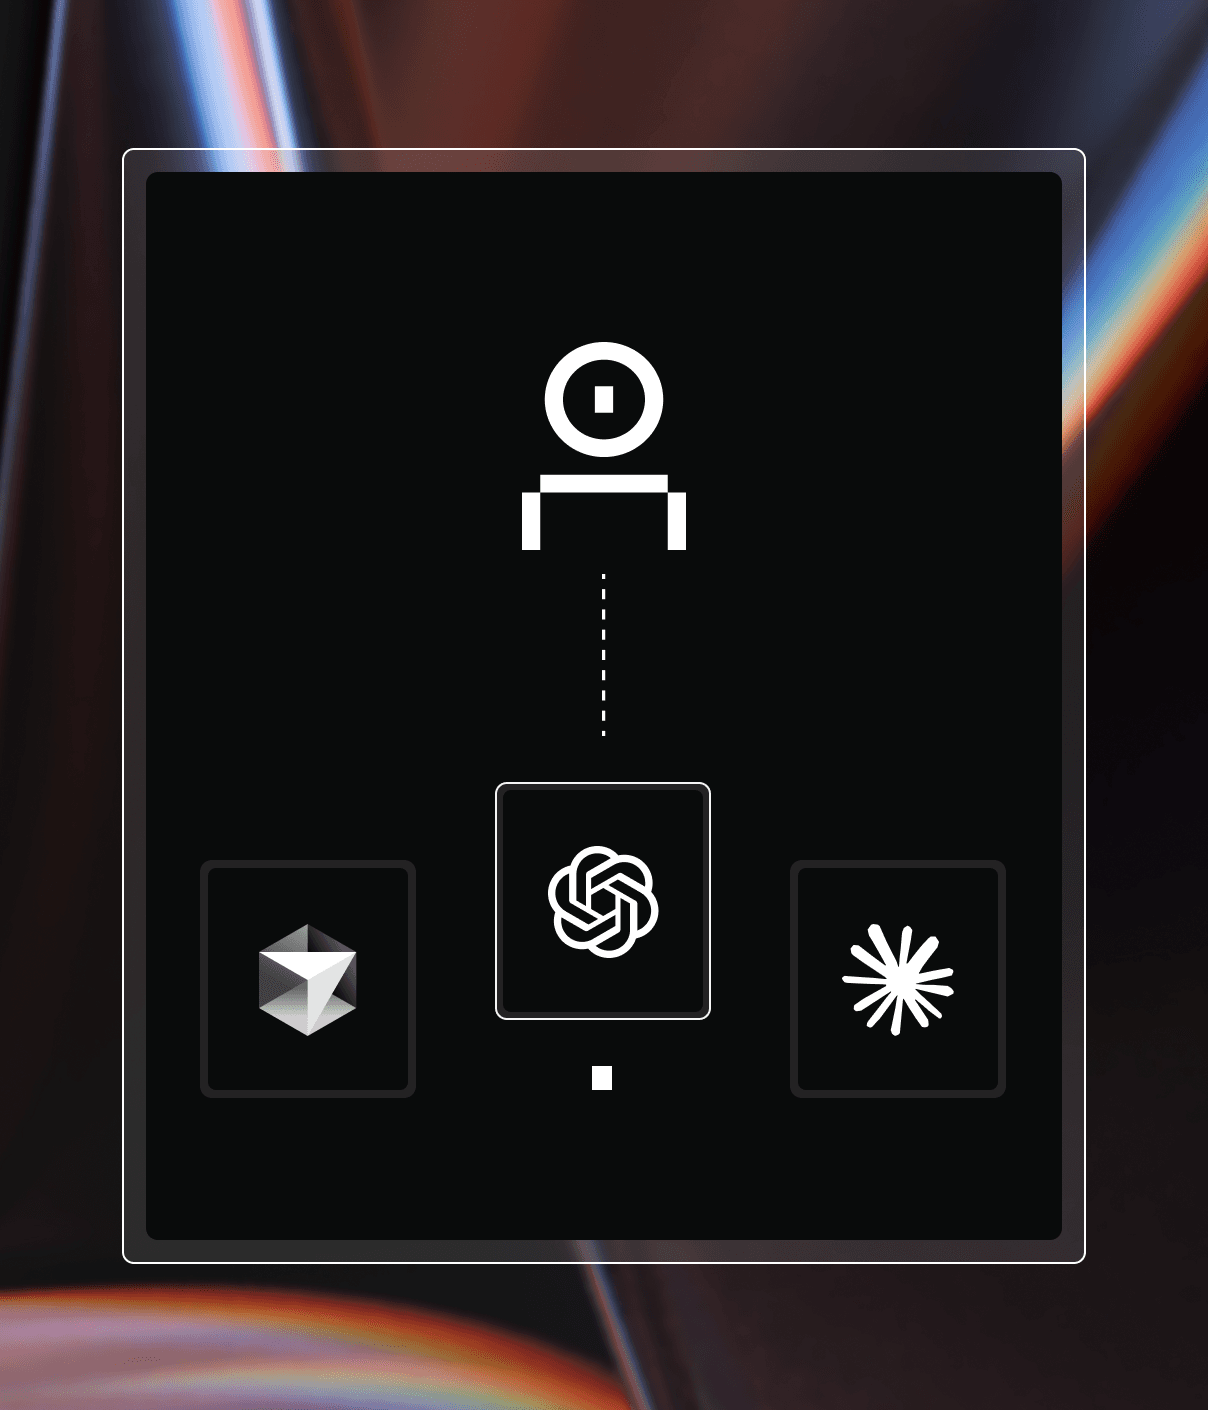
Coder powers secure, scalable development across key industries — automotive, finance, government, and technology — enabling faster builds, tighter compliance, and seamless AI adoption in enterprise-grade cloud environments.
This guide walks platform teams and administrators through setting up Coder
Agents, preparing your deployment, and running your first Coder Agent.
Note
Coder Agents is in Beta. APIs, behavior, and configuration may change
between releases without notice; pin a release before broad rollout.
Use Coder version 2.33.1 or greater.
Prerequisites
Before you begin, confirm the following:
Coder deployment running the latest release.
LLM provider credentials — an API key for at least one
supported provider (Anthropic, OpenAI, Google, Azure OpenAI,
AWS Bedrock, OpenAI Compatible, OpenRouter, or Vercel AI Gateway).
Network access from the control plane to your LLM provider. Workspaces
do not need LLM access — only the control plane does.
Admin access to the Coder deployment for configuring providers.
Coder Agents User role assigned to each user who needs to interact with Coder Agents.
This role is granted per organization. Owners and organization admins can
assign it from Admin settings > Organizations > [your organization] >
Members. See Grant Coder Agents User
below.
Step 1: Configure an LLM provider and model
Important
Configuring providers, models, and system prompts requires the
Owner role (Coder administrator). Non-admin users cannot access the
admin Settings panel or modify deployment-level Agents configuration.
To configure Coder Agents:
Navigate to Admin settings > AI and select Providers.
Add or update a provider with its credentials and upstream endpoint, then
save it.
Navigate to Admin settings > AI > Models.
Click Add and configure at least one model with its identifier, display
name, and context limit.
Click the star icon next to a model to set it as the default.
Detailed instructions for each provider and model option are in the
Models documentation.
Tip
Start with a single frontier model to validate your setup before adding
additional providers.
Step 2: Grant Coder Agents User
The Coder Agents User role controls which users can interact with Coder
Agents. The role is assigned per organization, so a user must be granted
it in each organization where they need access. Members do not have it by
default.
Owners always have full access and do not need the role. Repeat the following
steps for each user who needs access in each organization.
Dashboard (individual):
Open Admin settings > Organizations in the Coder dashboard, then
select the organization where you want to grant access.
The Members tab opens by default. Find the user in the table.
Click the Roles cell for that user to open the role editor.
Toggle on Coder Agents User and save.
Tip
If your deployment has multiple organizations, repeat this for each
organization where the user needs access.
CLI (bulk, per organization):
Granting the role via CLI is org-scoped. The edit-roles command replaces
the member's full set of org roles, so include every role you want them to
keep. To grant agents-access to a single user while preserving their
existing org roles:
You can also set the organization with the CODER_ORGANIZATION environment
variable instead of -O.
Step 3: Start your first Coder Agent
Go to the Agents page in the Coder dashboard.
Select a model from the dropdown (your default will be pre-selected).
Type a prompt and send it.
The agent processes the prompt in the control plane. If the task requires
a workspace — reading files, running commands, editing code — the agent
selects a template and provisions one automatically. Conversations that
don't require compute (planning, Q&A, architecture discussions) start
immediately with no provisioning delay.
Optimize your templates
The agent selects templates based on their name, description, and README.
It does not read Terraform. Clear, specific descriptions are the most important
factor in whether the agent picks the right template.
Update your template descriptions to include:
The language, framework, or stack the template targets.
Which repository or service it is for, if applicable.
What type of work it supports (backend, frontend, data pipeline, etc.).
When 128 characters is not enough, put the most important routing context near
the top of the template's
README.md.
The chat agent's template listing includes a bounded README excerpt (roughly the
first 1,000 characters), and template detail includes the README (up to roughly
8,000 characters). Both are reduced to plain text: frontmatter is stripped,
link text is kept while link URLs are dropped, images and badges are dropped
entirely, and code blocks and tables are preserved as text.
Good examples:
Description
Why it works
Python backend services for the payments repo. Includes Poetry, Python 3.12, and PostgreSQL
Specific language, repo, and toolchain
React frontend development for the customer portal. Node 20, pnpm, Storybook pre-installed
Clear stack, named project, key tools listed
General-purpose Go development environment with Go 1.23, Docker, and common CLI tools
Broad but descriptive
Descriptions to avoid:
Description
Problem
Team A template v2
No information about what the template is for
Dev environment
Too generic to distinguish from other templates
Default
Tells the agent nothing
See Template Optimization for
the full guide, including dedicated agent templates, network boundaries,
credential scoping, and pre-installing dependencies.
Things to know before you start
Plan for change between releases
Coder Agents is under active development. APIs, behavior, and
configuration may change between releases without notice. Pin a
specific release before broad rollout and review the release notes
before upgrading so changes do not surprise developers in production.
Use HTTPS for push notifications
Coder Agents use browser push notifications to alert you when a task
completes or needs attention. Most browsers require a secure (HTTPS)
origin for the Push API
to work. If your access URL uses plain HTTP,
push notifications may not function.
This does not affect agents themselves — only the browser notification
delivery. If you terminate TLS at a reverse proxy, ensure the
access URL is configured with an https:// scheme.
Set a deployment-wide system prompt
Administrators can set a system prompt that applies to all Coder Agents across the
deployment. Use this to encode organizational conventions:
Coding standards and style guidelines.
Commit message formats.
Branch naming conventions.
Required review processes before merging.
Any guardrails specific to your environment.
Configure the system prompt from AI Settings > Coder Agents > Instructions
or via the API at PUT /api/experimental/chats/config/system-prompt.
See Platform Controls for details.
Understand the security model
The agent runs in the control plane, not inside workspaces. This means:
No LLM API keys in workspaces. Credentials stay in the control plane.
No agent software in workspaces. No supply chain risk from
third-party agent tools.
User identity is always attached. Every action is tied to the user
who submitted the prompt — no shared bot accounts.
No privilege escalation. The agent has exactly the same permissions
as the prompting user.
Agent workspaces inherit the same network access as any manually created
workspace. If your templates don't restrict egress, the agent has full
internet access from the workspace. Consider
creating dedicated agent templates
with tighter network policies.
Plan for LLM costs
Every conversation turn sends tokens to your LLM provider. Long-running tasks,
sub-agent delegation, and complex multi-step work can consume significant
token volume. Consider:
Starting with a single model to establish a cost baseline.
Setting per-model token pricing under Admin settings > AI >
Models (Input Price, Output Price) to track spend.
Monitoring provider dashboards for usage trends during the evaluation.
Pilot with a small group
Identify 3–5 developers and a few concrete use cases for the initial rollout.
Good starting points:
Low-risk, high-visibility tasks — generating unit tests, writing inline
documentation, small refactors.
Prototyping — building proof-of-concept implementations, simple
dashboards, internal tools.
Set expectations that this is an evaluation period. Developers should still
review all agent-produced code before merging. The agent is a force
multiplier, not a replacement for developer judgment.
Use the API for programmatic automation
The Chats API enables programmatic access to Coder Agents.
This is useful for building automations such as:
Triggering Coder Agents from CI/CD pipelines when builds fail.
Creating Coder Agents from GitHub webhooks on new issues or PRs.
Building internal tools or dashboards on top of the API.
Scripting batch operations across repositories.
Quick example — create a Coder Agent via the API:
curl -X POST https://coder.example.com/api/experimental/chats \
  -H "Coder-Session-Token: $CODER_SESSION_TOKEN" \
  -H "Content-Type: application/json" \
  -d '{
    "content": [
      {"type": "text", "text": "Fix the failing tests in the auth service"}
    ]
  }'
Stream updates in real time by connecting to the WebSocket endpoint:
GET /api/experimental/chats/{chat}/stream
For service-to-service automation, use
API keys
rather than developer session tokens. Keep automation credentials
narrowly scoped.
Note
The Chats API is in beta and may change without notice.
See Chats API for the full endpoint reference.
Add workspace context with AGENTS.md
Create an AGENTS.md file in the home directory (~/.coder/AGENTS.md) or
the workspace agent's working directory to provide persistent context to the
agent. This file is automatically read and included in the system prompt
for every conversation with a Coder Agent that uses that workspace.
Use it for:
Repository-specific build and test instructions.
Important architectural decisions or constraints.
Links to relevant documentation or runbooks.
Any context that helps the agent work effectively in that codebase.
Consider prebuilt workspaces for faster startup
Workspace provisioning is the main source of latency when the agent starts a
task. If your templates take more than a minute to provision, consider
configuring
prebuilt workspaces
to maintain a pool of ready-to-use workspaces. The agent gets assigned an
already-running workspace instead of provisioning from scratch.
Providing feedback
Coder Agents is a collaborative evaluation between your team and Coder.
Share feedback — workflow observations, feature requests, bugs, performance
issues, or operational challenges — through your customer-specific Slack
channel with the Coder team.
Good feedback includes:
What you tried — the prompt, the template, and the model.
What happened — the agent's behavior, any errors, unexpected results.
What you expected — the outcome you were looking for.
Context — screenshots, chat_id values, or links to the Agents page help
the team investigate quickly.
Your input directly influences product direction during Beta.